Anyway, I bought a Crosman 150 at a gun show a month ago and figured I'd make a few changes to make it better suit my needs and preferences. Obviously, due to the title of the post, the narrow trigger had to go. And since I couldn't buy one, I had to make one.

Started with a piece of 1" diameter scrap knurled aluminum.

Faced it off and turned down about 0.5" of length just enough to remove the knurl.

Cut a groove 0.1255" wide--a hair wider than a Crosman 13XX/22XX trigger blade.

Test fit the trigger blade in the groove. Took the groove to a depth of 0.091".

Drilled the center out with progressively larger bits...

...then switched to a small boring bar.

Left about 0.100" of wall thickness at the bottom of the groove.

Radiused the inside edge.

Cut off with a hacksaw. The ring was about 0.5" OAL. Not shown--faced down to 0.430".

Back to the vise and the ring was cut in half.

Two trigger shoes for the price of one. Offset (intentionally) the slot to leave more metal on what will be the right side of the shoe.

Another test fit. Note: Crosman triggers are squashed at the very bottom of the blade to make them slightly wider. It's much easier to make the trigger shoe fit if you remove the extra width with a file or a grinder first. If I hadn't, I'd have had to make the slot in the shoe even wider to accommodate--and the shoe would have canted slightly when tightened down.

Did most of the shaping with a small sanding drum in the Dremel tool. Mostly thinning and contouring--especially the edges. Finished it with 400 grit emery cloth on a wooden dowel.

The lack of material meant there wasn't much metal on the side to fit set screws of any substantial size. Spotted and drilled 2 holes with #50 (0.070") drill bit.

Tapped #2-56.

I didn't have any setscrews in that size, and didn't recall seeing any that small at the local hardware stores. Cut the head off a #2-56 phillips head screw, then used an Excel jeweler's saw. I slotted the end for a small flat blade screwdriver. Made two.

They're really tiny. The trigger shoe is a snug fit to begin with so the setscrews just provide enough purchase to keep it in place.

Blackened the shoe with Birchwood Casey aluminum blackening compound. I'm dubious that it will hold up in use and will probably give the shoe a quick spray with an epoxy paint.

Trimmed the setscrews to sit just below flush.

Looks on the money. Truth be told, for the time invested, I think the adjustable trigger I made a few months ago was more bang for the buck--though it was more work. Then again, I do have enough material left to make a second trigger shoe...
Anyway, what's it for again?

Here's the trigger installed on the Crosman 150. The previous owner had made these target grips from pine.

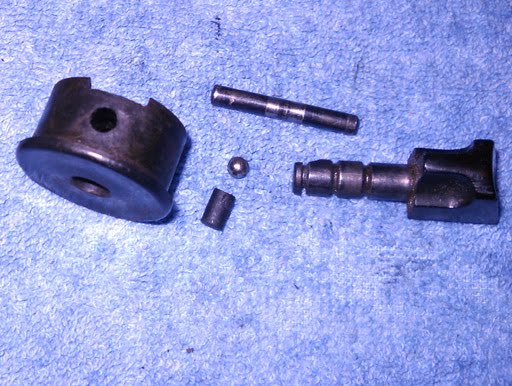
This is the same new 22XX/13XX brass trigger in the earlier pics. The original 150 trigger is blued steel and I didn't feel like grinding it down and re-bluing. The triggers are exactly the same except the material.

I'll make some new grips soon. The question is whether to make the grips fit the original grip frame or retrofit a modern 22XX/13XX frame so the grips work with the other guns in the collection. Oh, and the trigger feels great. Huge improvement in feedback.