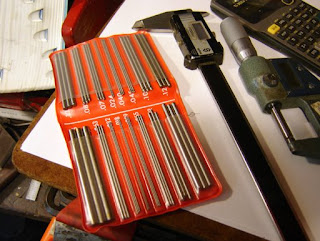
A caliper and a set of PeeDee thread wires.
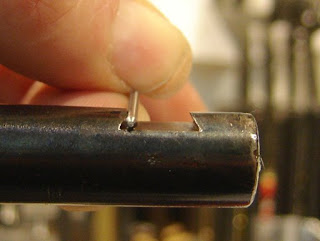
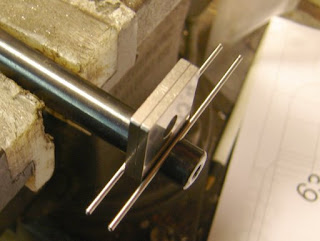
I chose a wire size that was just below the top of the slot.
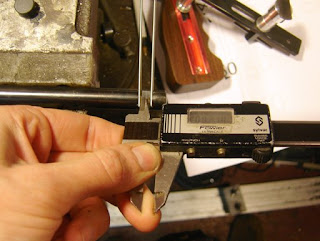
With wires in either side of the dovetail I measured the width, I got .217"
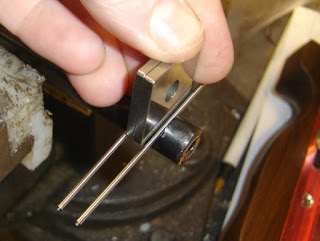
But when I verified this measurement with a gage block stack it would not fit. Calipers aren't that accurate.
So I tried .216" and it was spot on.
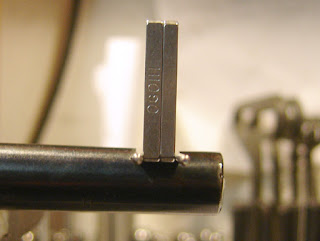
A side view.
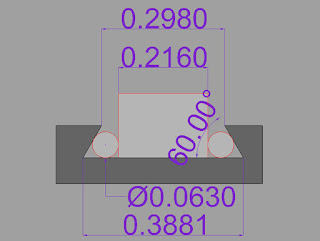
Here's a drawing.
The value we want is the width of the bottom of the slot.
We know the diameter of the pins, and the thickness of the gage block stack.
I assumed the dovetail was 60 degrees. It seemed to be.
So, knowing those and looking up the formula for measuring dovetails in Machinery's Handbook:
y=b–D(1 + cot 1⁄2α)
y=.2160
D=.063
α=60
b= base length
Since we need to know b, it becomes:
b=y+D(1 + cot 1⁄2α)
"cot" is a fancy way of saying 1/tan
tan 30 = 0.57735026918962576450914878050196
cot 30 = 1.7320508075688772935274463415059
+1=2.7320508075688772935274463415059
*D=0.17211920087683926949222911951487
+y=0.38811920087683926949222911951487
So that's how I got a value of .3881"
Honestly, I just wanted an excuse to do a little math tonight.