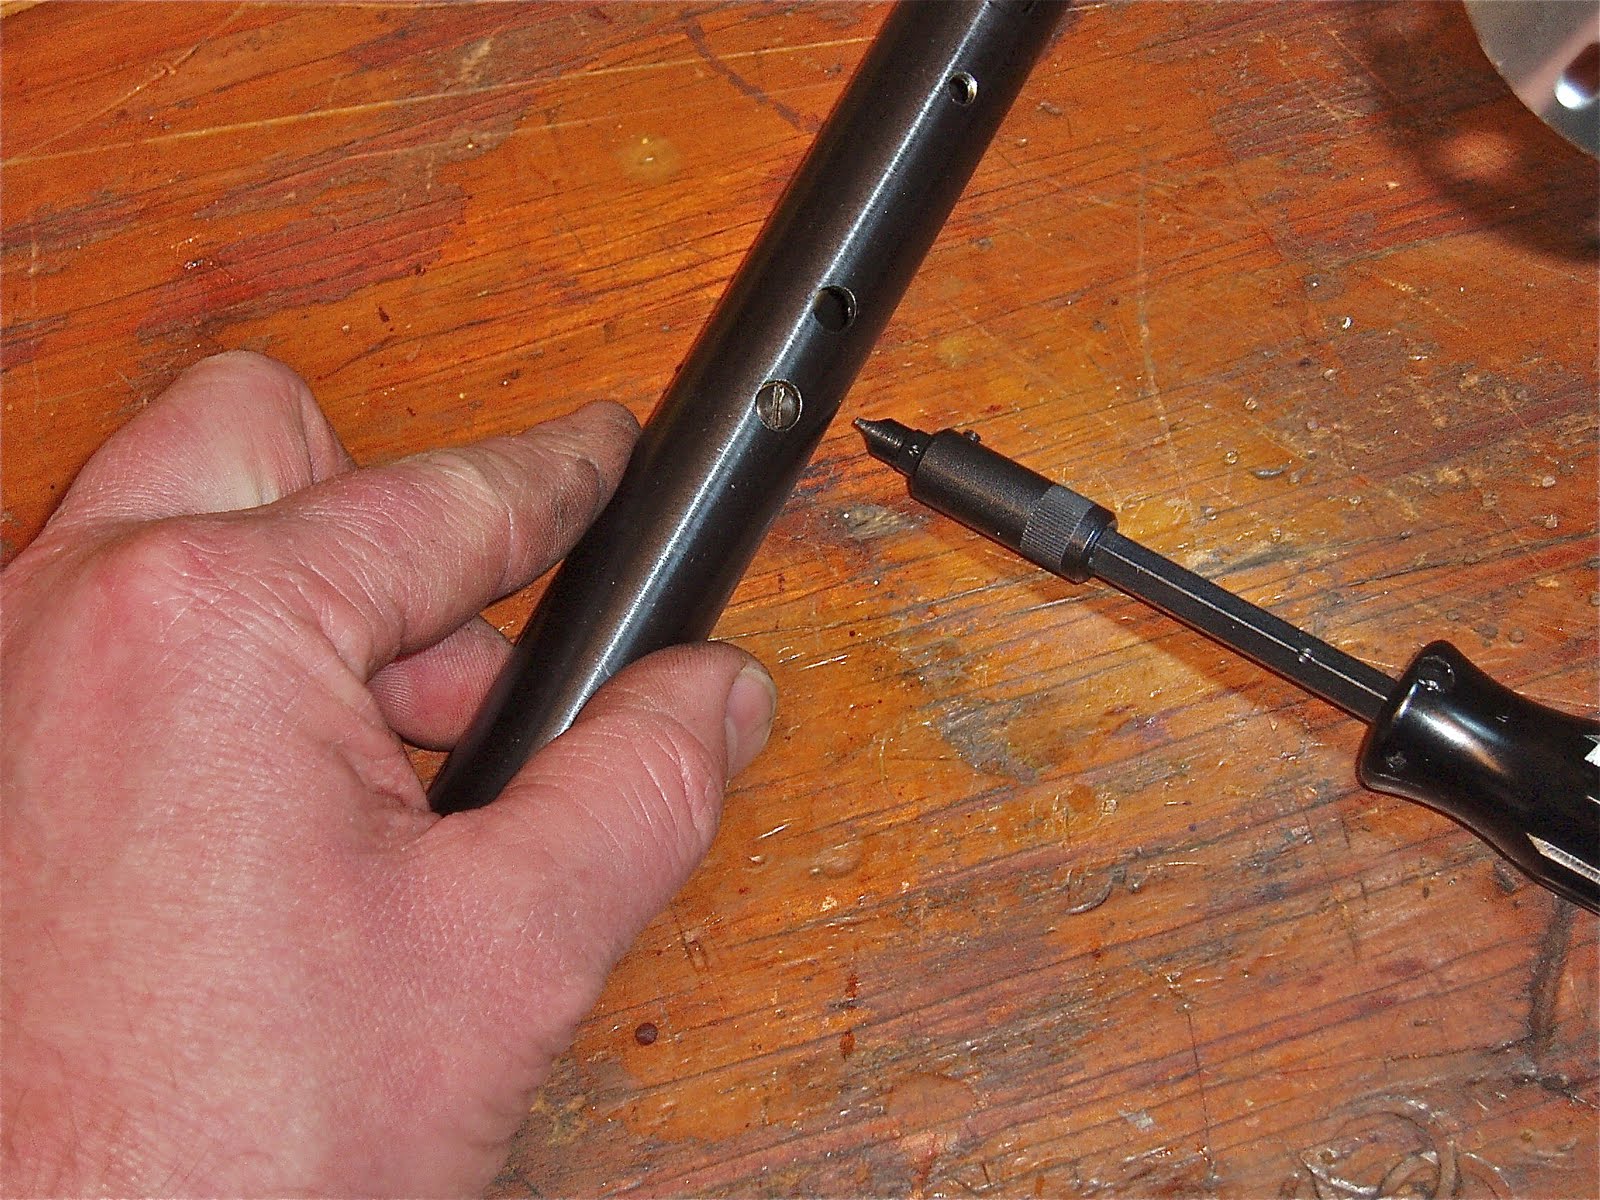
Showing posts with label Crosman 160. Show all posts

Tuesday, March 15, 2011

Overhauling a Crosman 160 Part 3 Final

I left the gas tube pressurized for almost 24 hours before beginning the reassembly. Seemed to make sense as the entire gun has to come apart to get the valve out.

Since I was doing some refinish to the trigger guard, thought I'd touch up the bluing on the gas tube. There was a small area that was thin and a bit plum. Here, I've buffed it a bit with some 0000 steel wool to remove the rust.

A closer look. I picked up a "new to me" bluing compound on Sunday at a gun show. The guy selling it was doing a demo that looked too good to be true but was too up close and personal to be faked. He got my attention and I bought 3 bottles.

Here's the result after just a couple minutes brushing the liquid on with a toothbrush. (I didn't use my wife's) Can't find the area I repaired and I know where to look. I think I have a new favorite cold blue. It's called Van's. Wiped the tube with an oiled rag and amazingly, there was almost zero bluing transferred to the cloth. Experience has sadly shown that most cold blues will partially (some almost completely) be removed just by oiling--and if you don't oil them, they rust. Heck, some still rust if you do oil them. I'm bluing a beat to all get out barrel right now with Van's. I'll put up a post in a couple days of before and after pics--regardless of the outcome.

Still don't want to depressurize the tube for reassembly, so I slid the barrel band on from the rear of the gas tube.


Almost forgot about the bolt o-ring. The original is smashed.

Removed it. It's too far gone to even attempt to measure it for size.

Tried a couple different ones. Used the breech for sizing. Install an o-ring, push the bolt into the breech and eyeball the side hole (for the bolt handle) in the bolt handle slot. When you feel the o-ring compress and it looks like the bolt will be in the closed position, you've got a winner. I believe I settled on a #007.

Scrounged up a new transfer port seal from my parts bin.

This is a current Crosman part. It's part #130-036.

The seal fits around the small protruding boss. I got ahead of myself here and slid the bolt assembly into location.

This proved to be a mistake and I had to remove it. The problem was the pressurized gas tube. The gas pressure had pushed the entire valve rearward until the valve anchor bolt was at the rear of it's through hole. This, in turn, pushed the small tube connector plug backward making it impossible to install the locator stud as the threaded hole didn't align. I had to depressurize the tube, remove the bulk fill cap, unscrew the valve face and tap everything forward about a hundredth of an inch.

I installed the locator stud THEN retightened the valve face and repressurized. Next time, I'll install the locator stud before I pressure test. I would have installed it sooner (to aid in retaining the valve assembly) had I tested with more than a couple grams of CO2. Ahhhh, the learning curve continues. Oh, I installed two 1/4"-28 nuts on the bottom thread of the stud, tightened them together, then used that to tighten the stud into the plug.

The rest of the assembly was straightforward. Hammer assembly got a thin coat of grease and went right in, the breech was screwed down (above pic)...

Bolt was greased and installed--keep in mind that the through hole for the CO2 has to face downward when the bolt is cammed closed.

Gave the barrel shank a coat of anti-seize before pressing it into the breech.

Barrel secured with the set screw.

Attached the trigger unit and rear breech and gas tube caps then fine tuned the trigger settings. Dropped the action into the stock, reinstalled the safety lever and called it a day.

There's a QB77 sitting here that could stand some slicking up of the cocking action. It's pretty high on the list since it's a duplicate of this gun and should be an easy fix.

But before that happens, there's a 50+ year old Walther LG55 on deck next. Check back soon.

Saturday, March 12, 2011

Overhauling a Crosman 160 Part 2

Right back into the action...

The smashed flat transfer port o-ring needed a dental pick for removal.

Banged the end of the gas tube on the bench and the valve slid out.

Had to tap the plug out with a dowel rod.

Here's the stud I dislike so much. I wasn't going to countersink the fastener--then I was--now I'm not--for now. I've got another project coming in that is somewhat time sensitive (self-imposed) so I've got to get this gun finished.

In the mean time, I will make a duplicate stud as I don't want to re-use the thread damaged original. A piece of 0.250" drill rod was hacksawed to length.

Cleaned up the ends and used the Taig tailstock die holder to start 1/4"-28 threads on each end.

Finished the threading by hand with a proper die holder and the piece in the vise, then back to the Taig lathe to face the ends down to a final length of 1.885".

I'll blue this later to match.

Took the cover plate off the trigger. Nothing was wrong with it, but since I was this far into the gun, it made sense to check everything.


A few pics for parts orientation so I can reassemble it later.

Top set screw handles sear engagement, middle is the trigger stop and bottom is weight of pull.

The sear is potentially the only trigger component that can give you trouble on reassembly.

The spring, the two small pins, and the sear's three contact points could be a bit confusing.

So I took a few more pics--especially of the spring orientation.

And just like that, the battered trigger housing was stripped and repainted as I began its reassembly.

Once the sear was installed correctly, the rest of the parts drop right in. Used Buzzy's Slick Honey on all the metal to metal contact points. I also polished all the contact points.
Side plate reattached and set the trigger unit aside for later.

Here's how the valve tool interfaces on the valve face inside the gas tube.

As the face of the valve is tightened, the o-ring in the middle of the valve body expands outward sealing the tube. (The rear of the valve is anchored in the tube so it can't rotate as the front is tightened.) The strip of steel for the tool measures 0.131" thick, 0.736" wide and 8" OAL. If you have something close, it'll work, though it may take a couple minutes with a file.

It's sometimes necessary to clamp half of the valve in rubber or aluminum vise jaws and unscrew with a strap wrench.

But this time it came apart by hand. The o-ring is rock hard. It's got 90 degree edges. Toast.

Disassembled. Pretty straightforward Crosman valve stuff.

There's a felt ring, a brass screen, steel washer, spring, piercing needle and the valve stem.

Had to crack the old o-ring to get it off.

You'd swear this is a plastic ring.

A couple new valve body seals next to the old one.

Actually had a new valve stem on hand. I think Bryan & Associates, Precision Pellet, JG Airguns, Mac1, Archer Airguns and several other places sell rebuild kits. Use the Google to track them down. The red stuff on the seal is Crosman Pellgun oil.

I'll try this o-ring. The valve is loosely threaded together. Gets tightened once it's inside the gas tube.

Pushed the valve into the tube from the front.

Used a transfer punch to align the threaded hole for the securing bolt.

Like so.


Tightened the rear of the valve in place.

Then snugged down the valve inside the tube.

Installed a bulk-fill cap. At this point, the entire gas tube is now sealed and can be pressure checked for leaks.

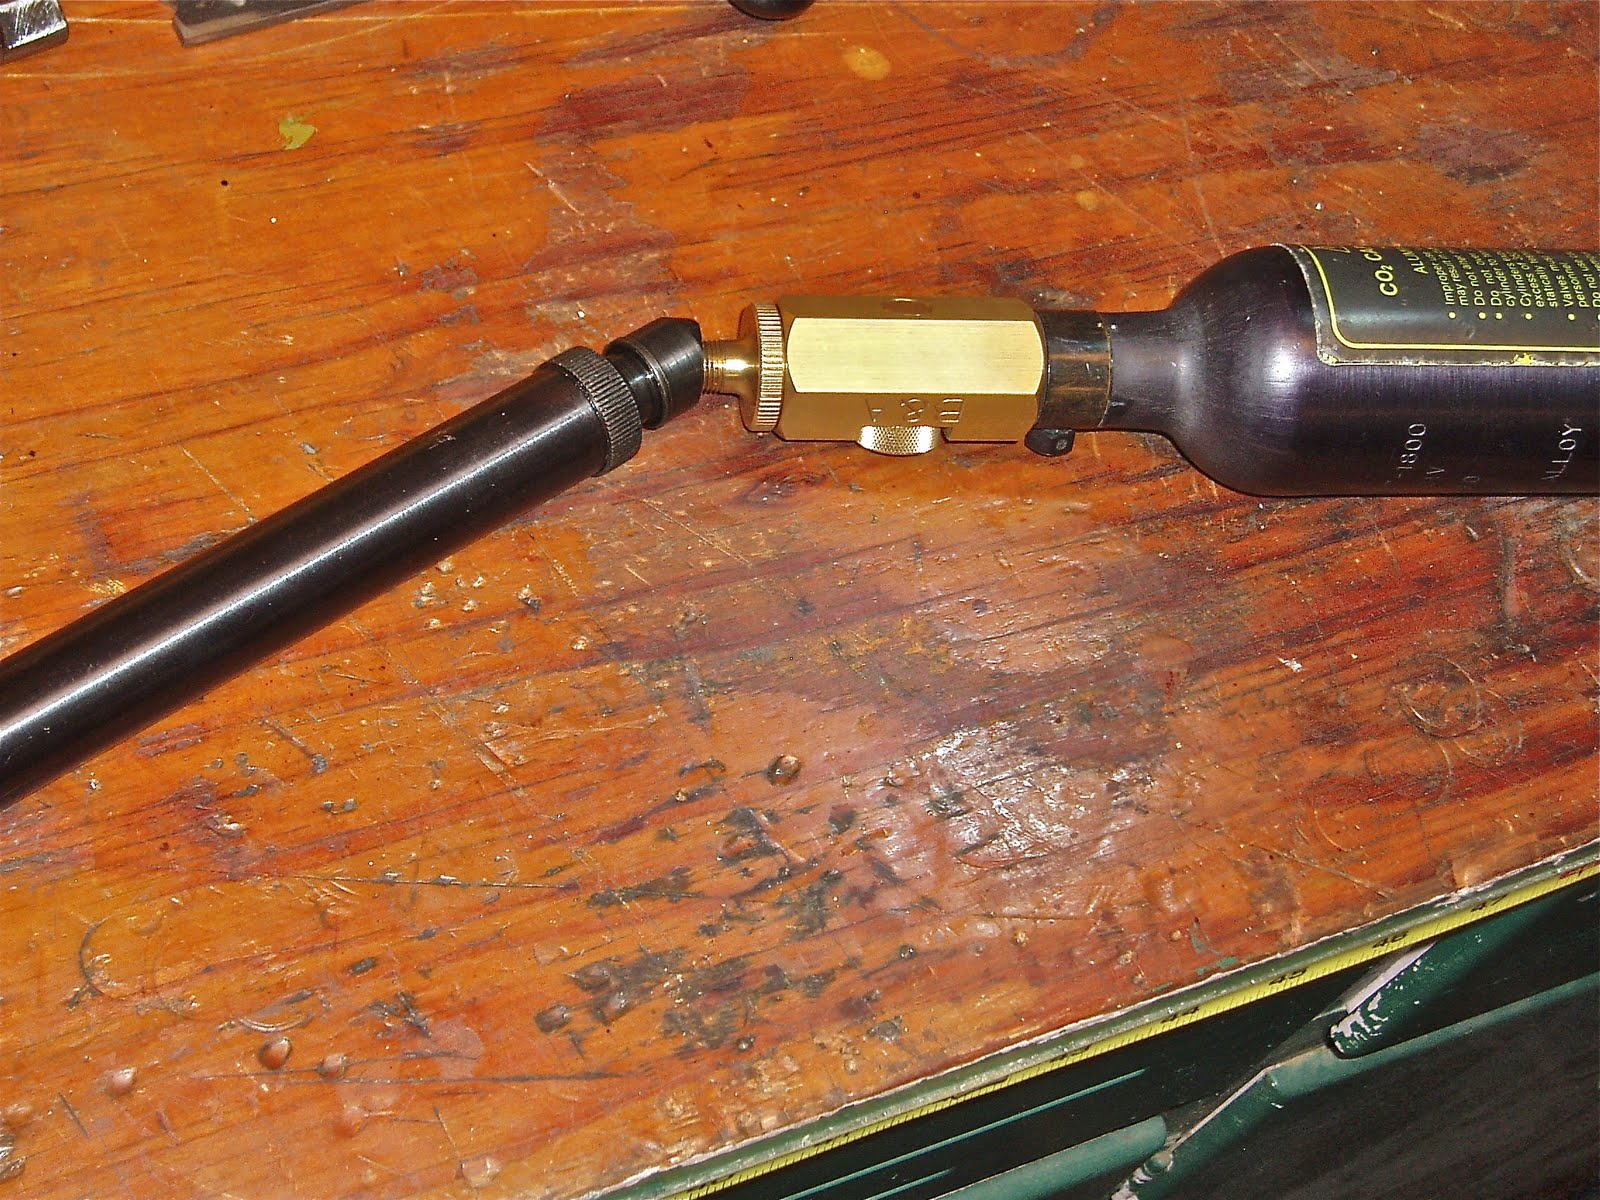
A small 3.5 oz tank with the B&A adapter.

Just a tiny bit of CO2 gas before reassembly.

Tapping the valve stem with a dowel rod will crack open the valve and vent CO2 through the transfer port. I'll leave it pressurized overnight.

More soon.