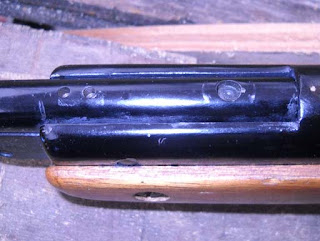
You can see the small setscrew that adjusts the trigger bears against that pin.

The front of the trigger blade and the screw. So you have to take the gun out of the stock to adjust the trigger?

Pushing out one pin.
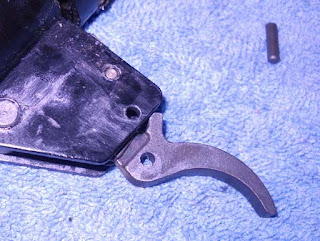
But the trigger is still connected...

Pushing out another pin...

And it's still connected.

Final pin.
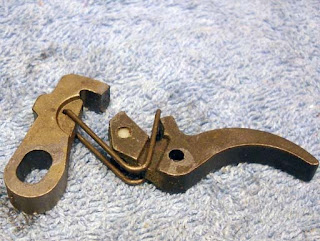
And out comes the trigger group.
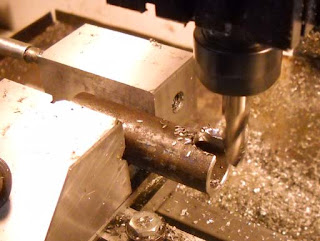
Milling a tool to take up the spring load.

Just a notched tube.

Pushing it in.

Not far enough though...
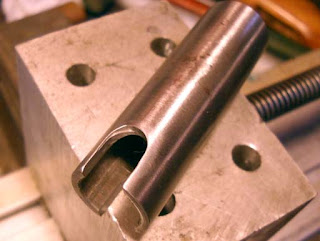
Lengthen the notches.
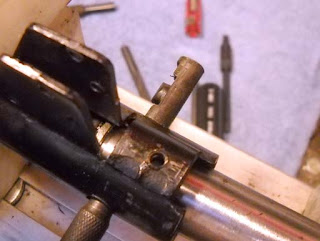
Now push that pin out. Again, it looks like the pin on the Superstar.
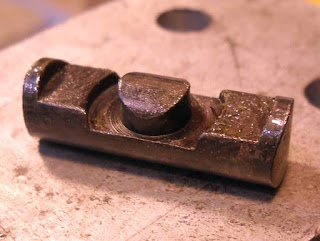
Really a thing of beauty.

After all that, this is the amount of spring preload.
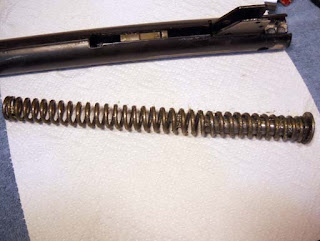
The spring and guide.

The guide and washer.
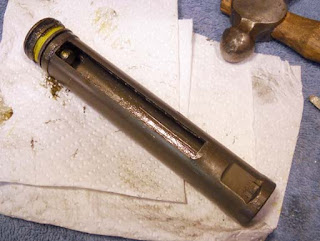
The piston.

I don't know what that yellow stack is...
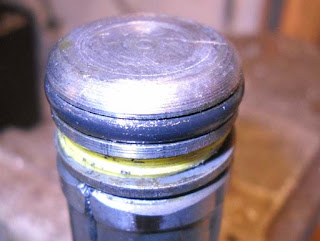
An o-ringed piston head. Easy to replace.
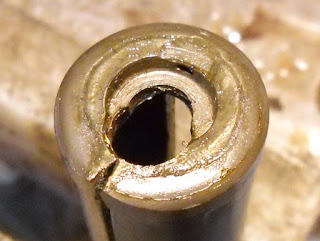
The piston head fits into the piston via a slot... Looks a bit worn and the head was loose.

The piston head stem.

A steel washer and a stack of poorly punched yellow plastic washers, likely a replacement for what should be a rubber or leather washer.
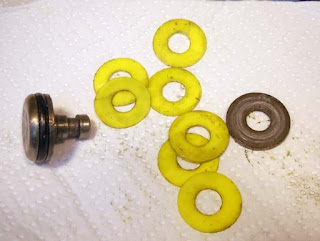
Lots of washers. Well if you don't have a lathe...
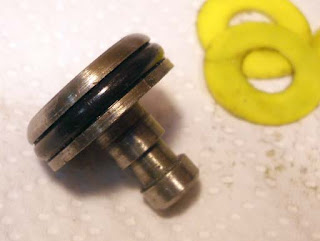
The piston head.
Anyway I have to clean it up now, make a new washer for the piston head, lube and reassemble, then do the stock work...


