A few months ago, I ended up with a couple Aeron target guns. Didn't exactly mean to get two, but the second gun was purchased for a buddy on a whim--but the timing didn't work out for him and he wanted some other airguns. No problem, I've always got room for another match gun. Besides, my wife likes making metal silhouettes go CLANG with it.

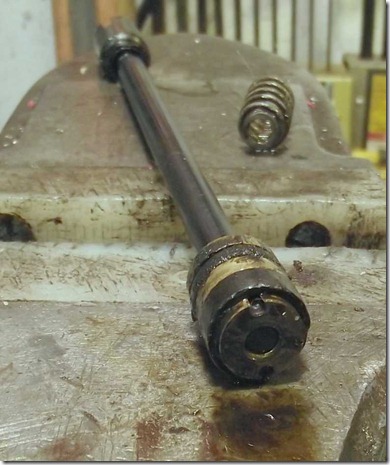
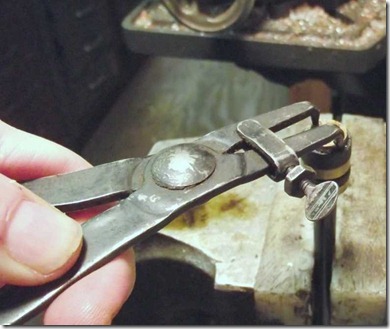
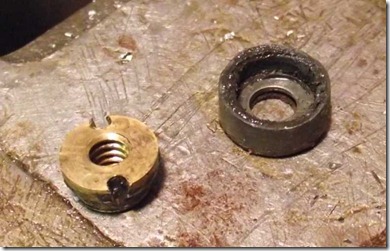
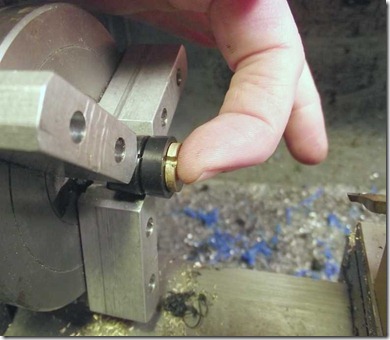
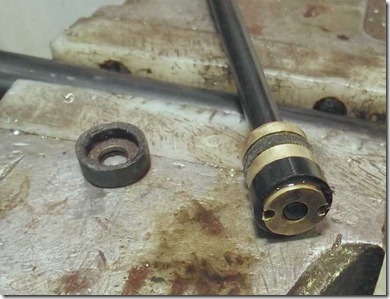
This was one of Tom Gaylord's guns. He sent it with a small CO2 tank, and two different end caps. One allows filling from the tank (bulk-fill), the other allows use of standard 12 gram CO2 cartridges.

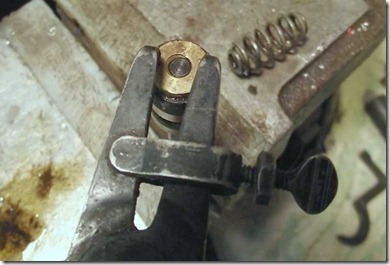
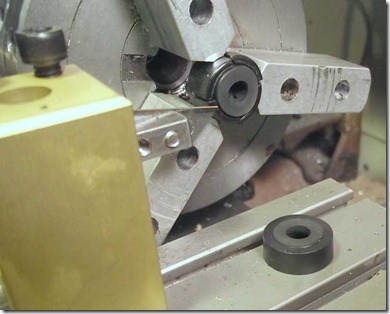
My grubby fingers are holding the bulk-fill cap. The 12 gram cap is installed on the gun.

Essentially, just swap caps then screw the tank to the cap to fill the gun.

Tank has a pin valve, bulk fill cap has a check valve.

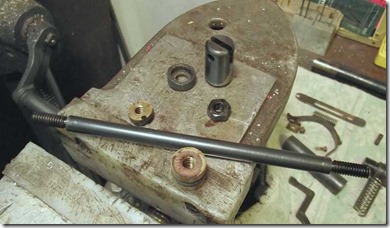
The missing link. There's one small problem-- I don't have a way to fill the tank that fills the gun. I've been looking at all my various CO2 adapters and trying to come up with the simplest combination to make this work. If I start with a 20 oz paintball tank, attach a B&A bulk fill adapter, then a Crosman PB to Airsource adapter, I only need to make a double-threaded nipple to finish the connection. Yeah, only....

The small tank has M18 x 2mm threads (and needs an internal o-ring to seal on a stem) while the Air Source adapter requires M16 x 1.5mm threads.

Aluminum was ruled out by co-worker Rich who plays tournament paintball matches and has seen enough equipment failures to know what he's talking about. He was concerned that aluminum would suffer excessive thread wear over time if it was unscrewed under gas pressure. He was adamant about using either brass or steel. I didn't have a piece of 3/4" OD brass on hand so a piece of O-1 tool steel will have to do.

Faced the ends and turned one end down to 15.85mm...

and the other end to 17.8mm.

Threaded the skinny end to M16 x 1.5mm for the A/S adapter.


I didn't have a round 16mm thread-cutting die on hand . The hex die (it was essentially brand new) worked just fine. I'll have to cut a radius at the end of the 16mm thread to engage the internal o-ring in the female adapter.

The M18x2mm thread was harder to cut, as it's a big, coarse thread. Once started on the lathe for alignment, I quickly moved the die to a large handle and finished in the bench vise.

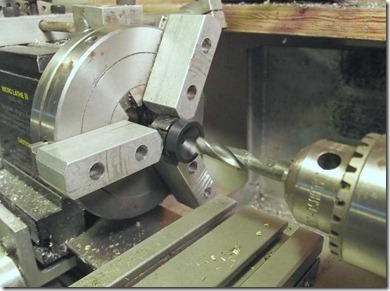
I'm a bit concerned about the M18 end. The end needs bored and an internal o-ring as well as a pin to depress the tank valve. I may have to grind some blank lathe tool bits before making any further headway.
I'll be back in a few days.
