Finally got it together for a new project. I have several rifles based on the Crosman 160 air rifle--including a Crosman 160, Crosman 180, Tech Force TF79 (AKA: Industry Brand AR2078A) and an early QB77 (AKA: Industry Brand QB78/79). --Click on any of the models to see past blog posts covering repair/modifications. The QB77 had at some point, been stuffed into the same target stock as the TF79. Aside from caliber, there really wasn't any difference, and the QB didn't get used much. A couple years ago, I'd purchased a QB walnut stock blank from Dennis Quackenbush with the intent of finishing and fitting it to the Crosman 160 action. So far, that hasn't happened and I think I'm now going to use that stock for a QB77 project. That's the back story.
Before I start the stock project, there are a few modifications I'd like to make to the QB. Rather than use 12g cartridges, I run the gun on bulk CO2. It's easy and cheap to fill the gun from a paintball tank. I was thinking about making a gas tube extension for additional on-gun CO2 capacity, but it seems cleaner to make a longer, extended gas tube. Wanna run the tube full length to the end of the muzzle.
The QB rifle, being built in China is metric with corresponding metric sized tubing. The gas tube is 22mm in OD. This became the first hurdle. Metric tubing, while available, is pretty limited in the US. It made sense (at least to my squirrel brain) to use an imperial sized tube. 7/8" (0.875") is pretty common and just slightly larger in size than 22mm. Then there were wall thickness and corresponding tube ID dimensions to consider. I was concerned primarily about fitting the valve and hammer components into the tube and achieving a gas tight seal. Comparing ID dimensions to the stock QB tube, everything I found online looked 0.010" too big or 0.005" too small. Eventually settled on a piece of tubing at the bottom end of ID figuring that it would be easier to turn down the valve body a couple thousandths rather than shim it up to make it fit tighter. That made it 0.875" OD with a 0.065" wall thickness.

Got this from McMaster-Carr. Three feet of 4130 Cro-Moly for $18.

The hardest part of the project--for me--will be threading the tube for the gas tube end cap at the muzzle end.

I had a really awful M22 x 1mm die that I bought for super cheap--it was about $8--shipped. When it arrived, it wasn't the nice looking split die pictured in the listing. I sent the seller a few helpful listing tips without mentioning words like "mail fraud". At least I got positive buyer feedback. No extra charge for the tetanus.

Lacking a tailstock die holder and not being interested in setting up the lathe gears for metric threading, I turned the end of the tube to be a snug slip fit into the die threads then cut a taper to start the thread. Idea was to let the tube center itself in the die. Aluminum sheet pads the steel tube in the chuck.


Die slips over the turned down section of tube before it engages the taper.

I didn't have a proper die stock for this thing. The die has an OD of 45mm. The machine tool supply place I visited a mile from the house had never seen or heard of a die with a metric OD. SO, that meant no dice on a handle and I wasn't about to spend half the day making one. That's OK, I wasn't exactly enthused with spending more money on the mail fraud die. Improvised (barely) with a strap and pipe wrench.

But it was enough. Here, the guide has been cut off and faced leaving just enough full size thread for my end cap.

Astonished that the die worked this well.

Test fit: The bulk fitting from the QB fits into the tube and the thread locks down tight. Nice surprise --the bulk CO2 fill cap didn't have to be turned down to fit into the tube.
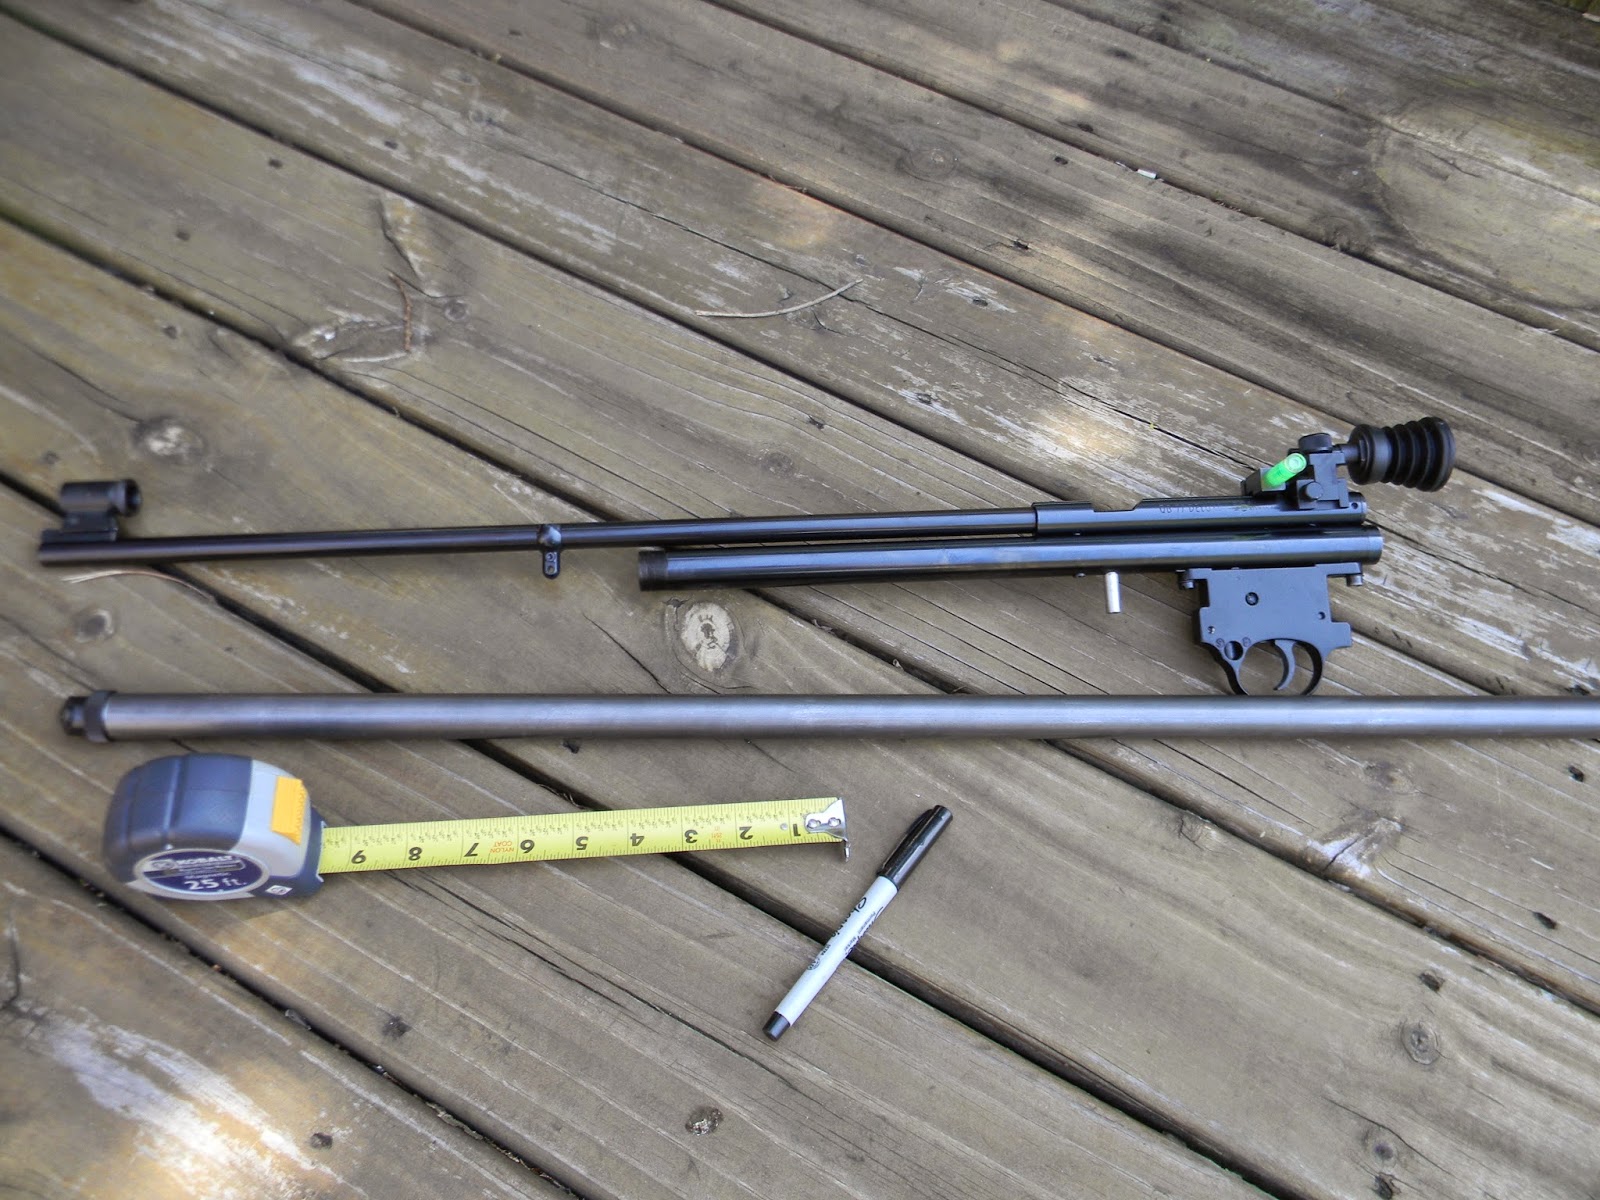
Now it's a matter of cutting the tube to length. This is a high precision tape measure kinda cut. 27" with the bulk fill adapter installed.

The Ultra Fine Point Sharpie makes the mark.

Cut the tube, faced and beveled the end.

Now, I need to disassemble the QB77 down to a bare gas tube and start transferring hole and slot locations.
More in a couple days. I've got a gun to strip.
