Derrick is still coming to grips with the project...
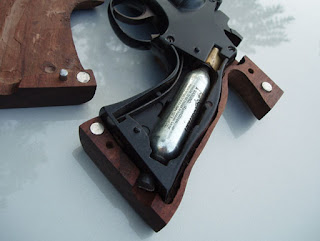
Test fitting the two halves together.
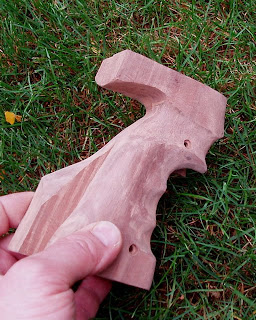
I skipped over showing the sanding steps. Too boring. Tips: "garnet" type sandpaper is substantially better than aluminum oxide papers for wood sanding. The areas to be stippled do not need to be glass smooth. About 100 or 120 grip on those areas will be more than adequate. The non-stippled areas should be taken to about 220 grit. I don't see any real improvement going smoother.
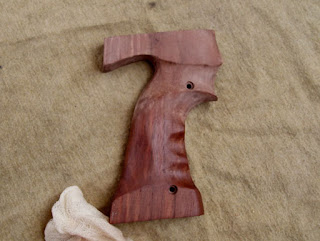
The finish you see half-applied above is just wax from a tack cloth. I like it so much on this piece of wood, I think it's the only finish I may apply this time. I'll burnish the wax into the wood with a silicone cloth to remove the stickiness of the wax..

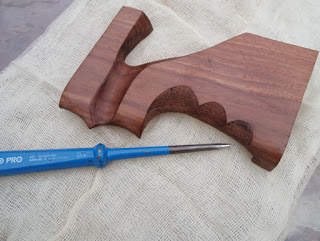
Stippling time. I use a Dasco Pro 7" scratch awl. Dasco model #431-0. It's heavy enough to punch the wood smartly and leave a clean impression. I've seen people use a nail and a light hammer. Too hard to juggle the grip (or stock) a nail and a hammer. A while back I also purchased a set of stippling tools that looked like a punch set with diamond-shaped serrations on the faces. All they did was smash the wood. Good stippling has a somewhat sharp texture to it. The scratch awl does needs to be re-pointed occasionally to keep it sharp.
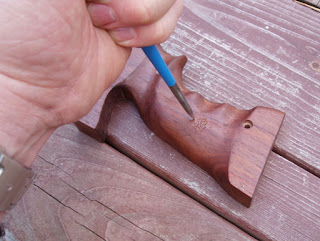
Here goes nothing. Great care needs to be taken when working near edges as you do not want to punch through the side and have a tear out. You also don't want to punch through yourself. As I can unfortunately attest!
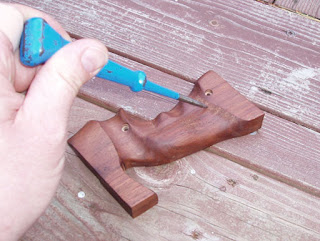
When working up to areas without stippling, it can be helpful to simply push the awl into the wood to create the holes and form the border.
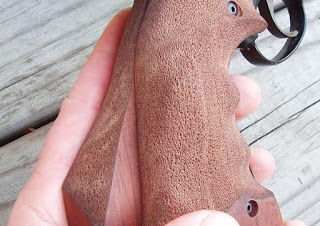
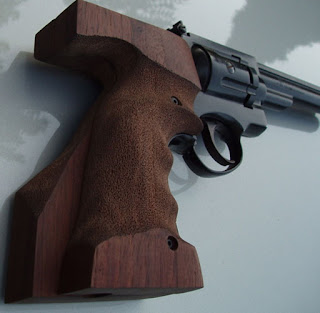
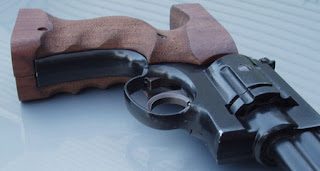
Many, many holes make up the texture. That wax finish looks pretty good.
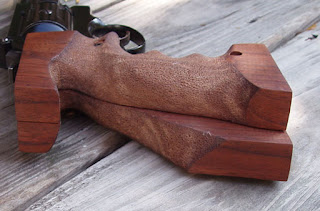
While I was stippling, a friend timed me at approximately four hits per second with the scratch awl. We decided that I had between 48,000 and 50,000+ punches into the wood. OCD. Carpal tunnel. Insanity. Here I come.
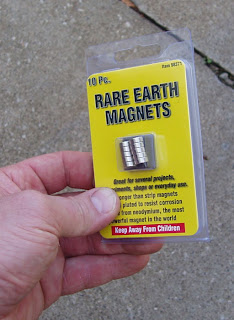
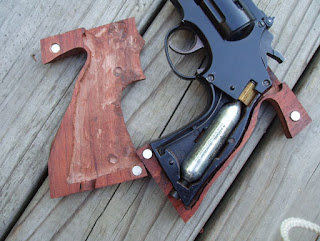
The right-side grip bolts to the 38T's frame. The left is attached via a metal clip to the CO2 cartridge. I'm going to lock the grips together magnetically.
test fitting
50,000 stipples......
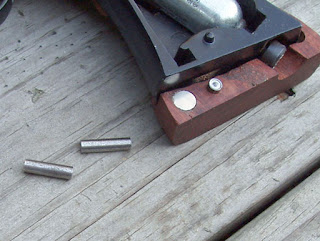
No pics of the work. I simply spotted holes for the neodymium magnets and glued them in place. The magnets are insanely strong for their size. Now I need to remove any play in the grip halves. A couple pins should work.
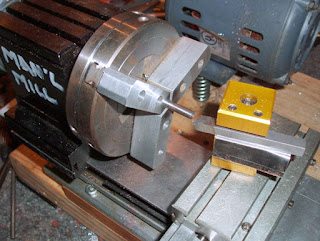
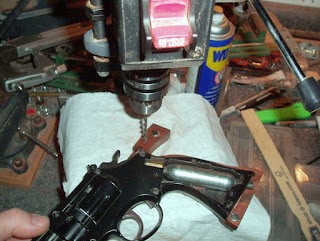
Used the lathe to face off some 3/16" diameter steel rod. You can put a very square face on the rod in a single pass.
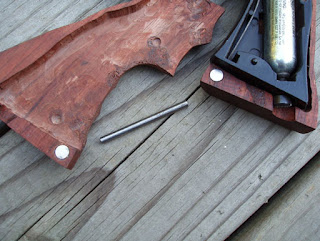
Here's the 3/16" piece that I'll make the pins from.
This looks like a good spot for a pin.
Here's another spot for a pin. Two will do it. Dilemma: How to transfer the pin holes from the right grip to the left accurately? I used a small piece of the 3/16 rod and turned a point and radius to act as a transfer punch. I lined up the left grip, pressed the grips together and the tool left a clear mark to center the pin holes.
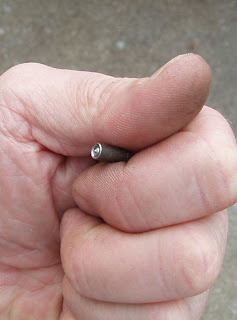
Here's a close up of that locator. Just a simple transfer punch really.
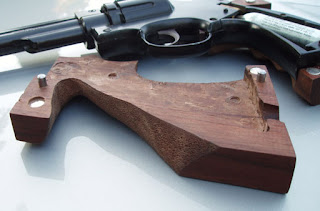
Pins are glued into one side of the grips. They mate into the other side and have no slop in the connection. The rare earth magnets are almost too powerful. The grips don't want to come apart once attached.
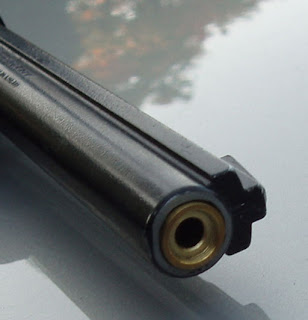
I had drilled much earlier for the CO2 piercing screw hole. Extreme relief when I saw how well it lined up.

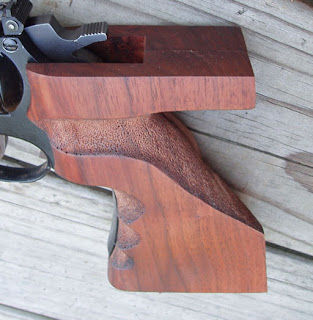
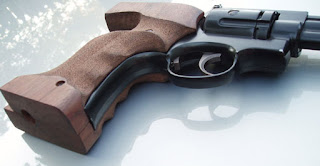
Almost home now. Just the palm shelf remains. This is clearly not a look one associates with a revolver. The ultra high-end Korth revolver served as the initial inspiration for this grip project.
I see a few spots from these pictures where I can tighten up the fit between the grip halves. Now that the pins and magnets are in place, the grip even becomes an "assembly" when it's not installed on the 38T's frame. I'll run the "assembly" across some sandpaper and close the dimensional gaps on the tops and bottoms.
More to come...


