Lionel and Paul, Thank you for the encouragement.
As is my usual, I went into this project without a clear plan. Pretty handy with mechanical-type stuff, but I'm not a woodworker so I feel out of my element. After several grip projects though, I have learned a couple things. First and foremost, use a decent piece of wood that's easy to work. A piece of walnut or cherry is much, much easier to sand and shape compared to hard woods like maple. Also be leery of exotic hardwoods. Some people, (and I'm in this group) can have allergic reactions to some species of wood. Often rosewoods are in this category. I've required a couple rounds of steroids after a particularly bad reaction to a Brazilian rosewood. I still use them, but I'm very cautious of the dust. Oak is a bad choice too--mainly because steel tends to rust when in contact.
Basically, I gravitate toward easier to work lumber with a nice grain.
With no plan, I started with this nice piece of bubinga. The piece was a bit smaller than I really wanted to begin with, but the grain looked so good...

Cut it diagonally

Got out the big guns and glued the faces together to leave a thick block. Could've left it as two pieces and made a right and left panel. There can be advantages to that. I find it easier to work each piece separately during the shaping. There are also disadvantages to that. I find it harder to make all the pieces fit my hand at final assembly. There are also other factors. How does it attach to the pistol? In the case of the Hammerli master, the old plastic grip was poorly attached with two 3mm bolts. They effectively squeeze the grip closed against the grip frame. It wasn't particularly secure and the grip would occasionally shift on the frame ever so slightly. My lack of a plan does not include this wiggly grip attachment feature.

A pic of the original plastic grip. The molded-in checkering is just--lovely?

Anyway, I used the old grip to check the radius where it fits against the gas tube. Looks like 22mm. (the gun was made in Germany) I've got some 7/8" ball mills. Close enough.

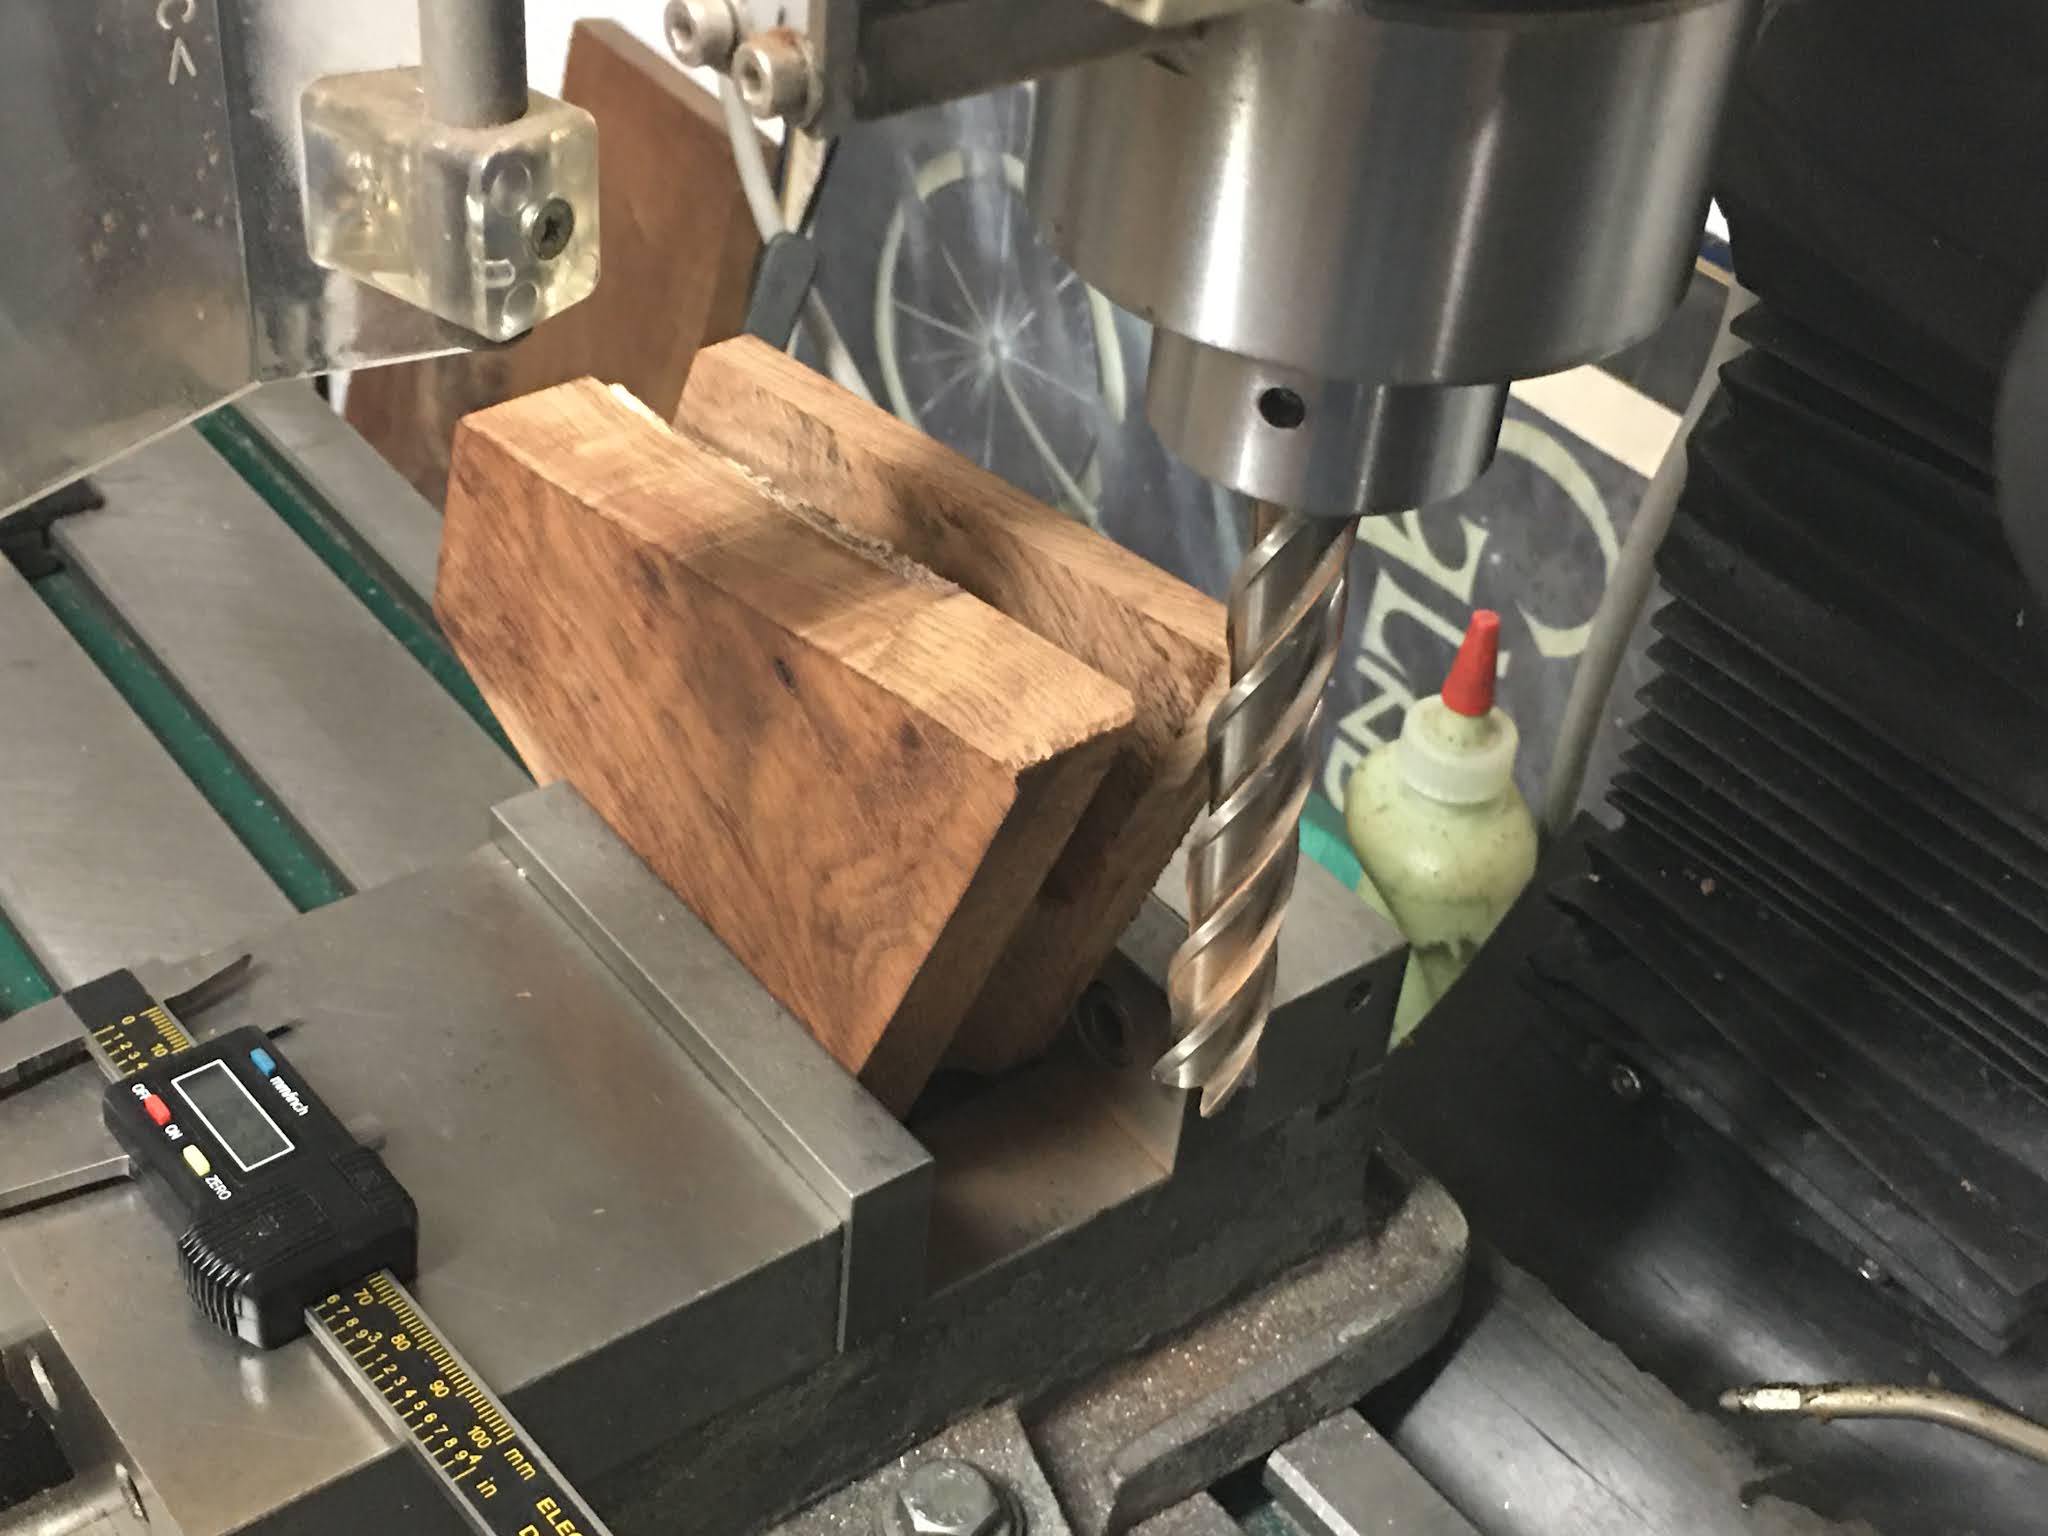
Put it on the milling machine, milled what will be the top flat, then cut the radius.

Intentionally offset to leave extra wood on the left side for the thumb rest. Hey, just because I don't have a plan doesn't mean I don't have a vision.

My Starrett protractor head finally saw some project time. Using the original grip, I set the top to the grip frame's rake angle. I'm not using the gage because I care what the angle actually is. I never bothered to even check the number.

I used the gage to line up on the mill. This will allow me to cut the slot for the grip frame at the correct angle so the gas tube also seats flush. Side note: This is a major construction hassle that separate grip panels don't require.

Here's the major headache: Who actually has the correct size end mill LONG enough to make this cut? This is probably why some of my projects take so long to happen. Though I joke about never having a plan, I did need to consider how to make this slot before gluing the block up. Again, separate grip panels, no issue.

With permission, I borrowed this cutter from work. --Even I don't have stupid long cutters like this just laying around.

With slot cut to width and depth (all while still centered with the first 7/8" cut) I made some pencil lines and decided this could be an anatomic match grip after all.

Cut the profile out.

Almost done!
More in a day or two.

