Showing posts with label Barrel Band. Show all posts

Sunday, April 30, 2017

Carbon Fiber Sleeve on the IZH 61 -- Part 2 Final

With the barrel sleeved in carbon fiber, it was necessary to make a new barrel band with a larger bore.


The IZH barrel band allows for mounting an open sight.  Not gonna bother with that.  After sleeving the barrel and pondering a new barrel band, I found this excellent post on the Canadian Airgun forum.  Mr. Samija has apparently already gone down this path while tuning a model 61 for his son. He certainly did a much cleaner and tighter tolerance job than I.


Despite my recent problems machining plastic, I bought a 1" diameter piece of acetal from McMaster-Carr.  Think it was under $5.


Lacking a 15mm drill bit to match the OD of the carbon tube, I considered boring to size on the mill, then remembered to cross check the size against fractional bits.  15mm = 0.5905", 19/32 = 0.5937  I can probably live with a couple thousandths clearance.


With a .500 edge finder, I found the side of the rod, then dialed in 0.750" to be on center (1/2 the edge finder tip diameter + 1/2 the diameter of the work piece).


Drilled a hole in each end.  Figured I'd screw up at least once.


Test fit then cut the ends off to what I think is 1/4" too long.


The original barrel band was not the correct height for the threaded hole in the breech.  Was hoping it was, so I could simply make this to the same center line height.  Nope.  


Started to get all fancy with my measurement, but the thought of measuring the top of the forend on the gun to the center of the threaded hole in the breech started to make my head hurt.


Gonna wing it.  Drilled for the mounting screw.


Flipped and faced the top.


Chamfered.
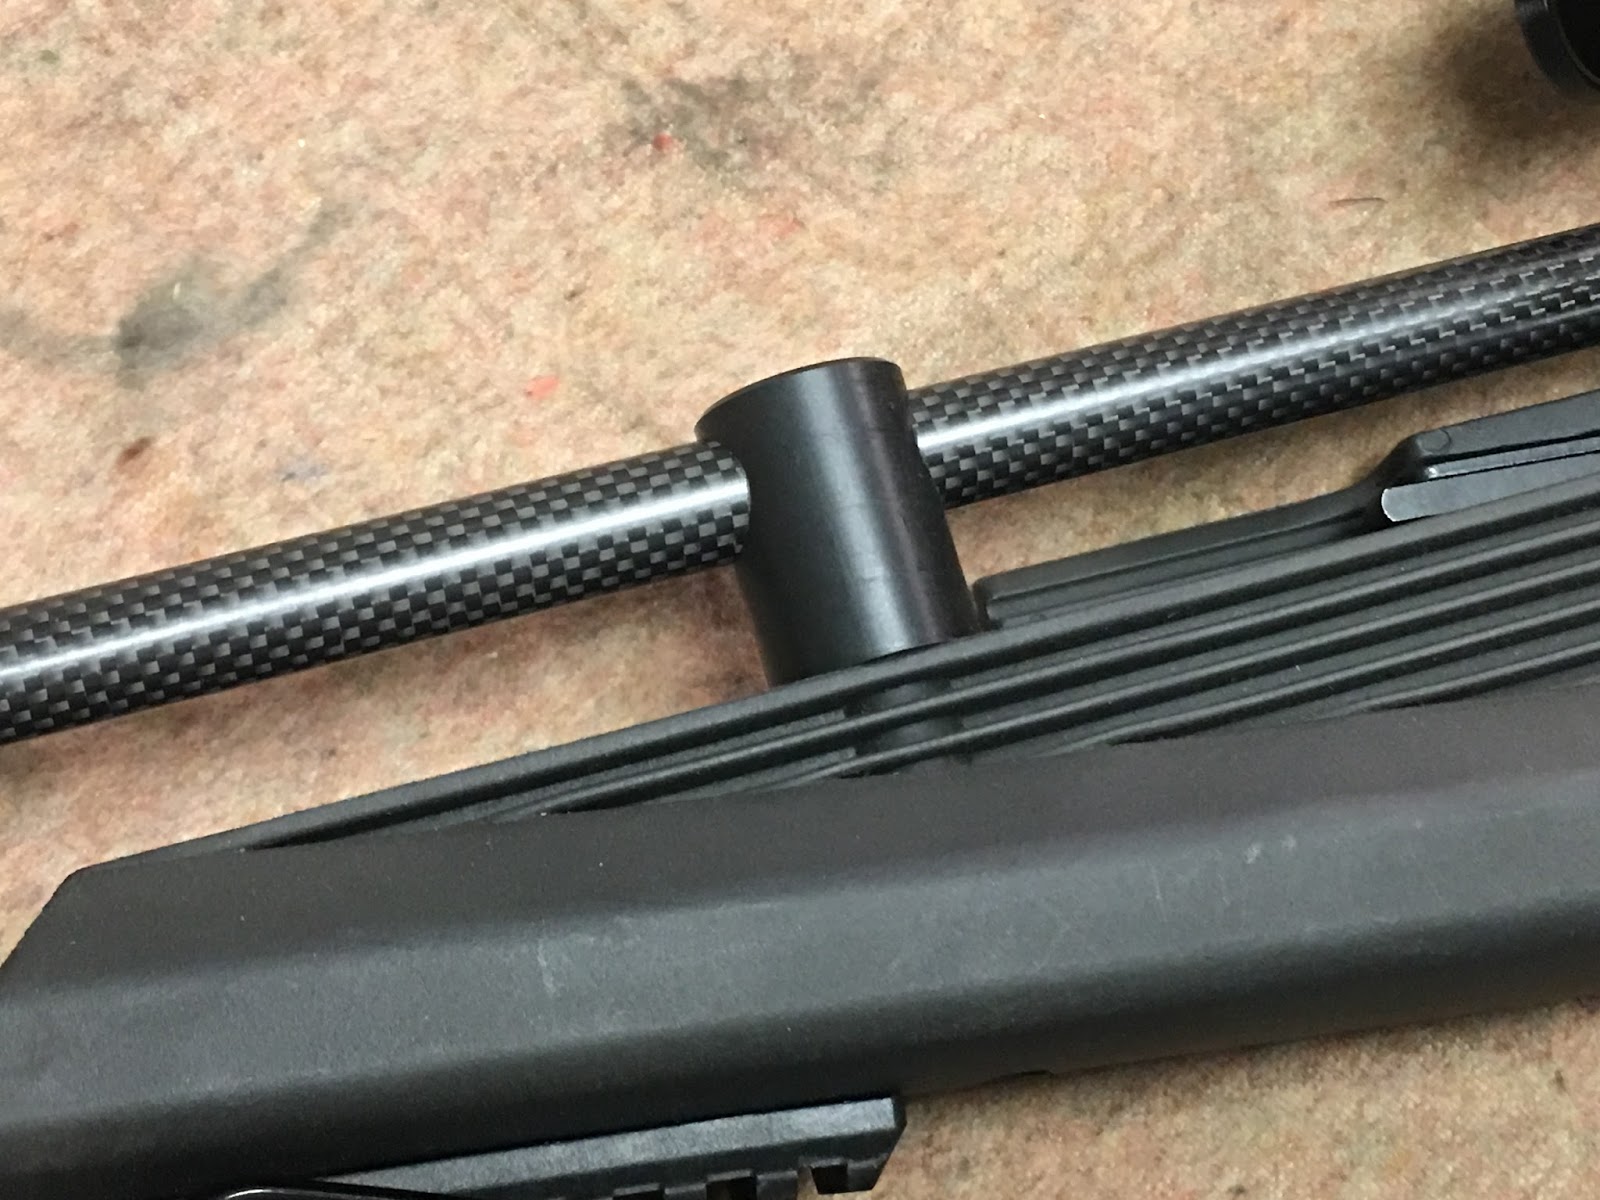


Test fit. 


It looked like the height was off by about 0.020". This is actually closer than the factory band, but not close enough.  Went back to the lathe and stepped the OD to make it a bit slimmer.  Then made the base even shorter.  Scuffed it with a maroon Scotchbrite pad in an attempt to match the IZH finish.


Actually went shorter, because I didn't have a 0.020" washer, but I did have some acetal washers that are about 0.050".   Found that it's often easier to source a thicker washer than one made from what amounts to shim stock.


Used the assembly itself to approximate the correct height. 


Here's the amount the barrel needs to come up.


Washer installed.  The finish looks like an acceptable match. 


Don't see an alignment issue, so it's done.


A few glamor shots.  The wisteria over the deck is in full swing and dropping blooms everywhere.


So, the IZH continues to evolve.  It's now very close to what I envisioned for this little rifle.  Still want to make a shorter muzzle brake and spend more time shooting it.

Thanks for checking in.

Sunday, May 31, 2015

Making a Barrel Band for my QB77

Got back on track with the QB77 project.  The original barrel band was a brittle plastic and finally gave up.  


Found a chunk of aluminum in my scrap bin.   Dusted the edges on the mill to make them somewhat parallel and easier to clamp.  If I ever make another, I'd seriously consider using black colored acetal.   Strong enough, even easier to work and permanently colored.  Anyway, aluminum it is for now.  Marked the center line.


Centered up on the milling machine. Need two holes.  The gas tube is 0.875" in diameter and my barrel measures 0.555"--just over the 14mm nominal size.  


Spotted then just through drilled the 0.875" hole (7/8").  No drill chuck.  Clamped the shank in a collet.


 Chips!


I didn't have a custom sized 0.555" drill bit, so after spotting the hole it was first drilled with a 0.500".


Thought about taking it to the lathe and boring the hole to size, but then I remembered I had this small boring head.  Pump and Products Co. Tool Division, Cleveland, Ohio.  Patent probably still pending.   Got it from a co-worker a year ago.  Guess it's at least 30--OK, probably at least 50 years old. Anybody know anything about the company?   The setscrew clamps a 0.375" boring bar.


The two screws on the back allow you to change the angle of the boring bar relative to centerline. 


Well, I've never used this tool before, but after looking at it for a minute, I realized that this is probably wrong.  The cutting edge of the boring bar likely needs to be in the same plane as the adjustment angle.  Here, it's at approx 90 degrees.


Lined up.  Adjusting the two upper screws makes the cutting edge move in or out.  Set it just slightly larger than the hole diameter and plunge.  Downside?  There's no micrometer reference on the tool like there is on a modern boring head.  It's bore, measure, adjust, bore, measure, adjust...  After a couple adjustments, the hole was done.


So now, I've got this incredibly cool block with two holes in it.


With the front sight, and the gas tube cap removed, it was a successful test fit.


Back to the mill to clean up the faces.  Gotta get them now while it's still rectangular and easy to clamp.


After it was faced, I penciled in some lines and started milling edges.  Eyeballed all the set ups--just made the line look parallel to the top of the vise jaws, then milled to the line.  It's not like this is a precision part.


Starting to look like something.  Eventually, I did nine edges.


Did some more magic marker layout and drilled for a setscrew to clamp to the gas tube.  


Tapped M4 x 0.7mm.  


It's done for now.  May need some additional shaping/fitting in the near future.  No set screw for the barrel as yet.  Not sure if it'll need one.


Hope to start the stock next.