Saturday, October 23, 2021

Match Grips for the Hammerli Master -- Part 4 Final

Wrapping up the grip project. 


Part 1

Part 2

Part 3

Still going...


Needed a simple nut to hold the palm shelf.  Made this from a scrap. Also made another screw cup for said shelf.


Almost done with the shaping.


Some final fit adjustments.


Then it was time to finish sand.  Took the grip to 320 grit.  Plenty good enough for me.


Had good luck with this in the past.  I like that it dries to a hard finish. 


The grain on the bubinga is gorgeous.


The padauk took on a deep red color.


I think I forgot to show the final shaping for the palm shelf.  Some angles and edge breaks.


And just like that.  It's done and ready for installation.  Only took me a few years to get around to it!


The palm shelf color contrast is a nice touch. 


Just hanging out with a few pals.  


I made a long list of various projects that I'd like to attempt.  At the moment, Kathy and I are repainting a bedroom and all the furniture is displaced to the garage and basement.  Not the week to run machines and make metal chips or wood dust.  Bear with me as I get there.  I thoroughly enjoyed how this turned out.


Thanks for following along.  More soon.


Thursday, October 21, 2021

Match Grips for the Hammerli Master -- Part 3

Part 1

Part 2


Picking up where I left off...


Mentioned previously that the bubinga board was a bit on the small side for an adjustable grip.  Elected to use a piece of padauk for the palm shelf.


Rough cut.


Back to the mill and cut an adjustment slot into the grip.


And the palm shelf gets a mounting hole.


Which also gets counter bored.  Here, I used a 4 flute end mill.


Didn't like the mock up.  The heel of the grip needs to extend rearward almost an inch.


Would've cut it that way at the start, but did I mentioned the board being small?  Found a cut-off from the initial shaping on the scroll saw.


A bit of sanding and shaping until it fits against the heel.


Like so.


Epoxy and a clamp.


Almost sanded flush.


Much better.


Found a small crack when I sanded the bottom of the grip,


Let the glue wick into the crack and saturate the wood.


A couple applications over half an hour or so until the crack was overfilled.  Sand it flush later


And re-cut the back of the palm shelf.


Almost done.  

Should have the final installment posted in a few more days. 


Sunday, October 17, 2021

Match Grips for the Hammerli Master -- Part 2

Continuing from Part 1...

With the grip rough cut in profile, started the tedious process of sanding to shape.


My primary tool for shaping--a cheap Harbor Freight drill press and various diameters of sanding drums.  

The sanding drum refills are difficult to find in local hardware stores.  McMaster-Carr has a huge selection of diameters and grits for about $8 per 24 drums. 


Whenever I make a grip like this, I turn to the internet for design inspiration and look at all the .22 target guns from MatchGuns, Pardini, Hammerli, Walther, Benelli... and the custom grip makers like Nill-Griffe, Rink...

And then I start gnawing away.


The shape evolves.  Always trying to make it fit my hand more comfortably.    The top edge against my thumb joint can be a sore spot.


And getting the palm swell in the right spot is challenging.  Grab the grip, point at an imaginary target on the wall.  Take a bit more off at a pressure point.  Repeat. 


When I got bored with drum sanding, I fired up the 4x36 belt sander and cleaned up some edges.


About a week later, after working on the grip here and there after work, it was time to make it attach to the Hammerli frame.


Some M4 socket head cap strews.


And took a hard look at that Hammerli frame again.  Gonna make inserts that fit in those webbed pockets.


Before that happened, I put the clearance holes for the M4 screws into the left side of the grip.


Counter bored to sink the heads of the screws below flush.


Only need to attach the grip from one side. 


Another detour.  Screw cups to reinforce the holes in the wood.  This isn't mandatory, but it sure is a nice touch. 


Two of these were spotted, through drilled and counter bored from some scrap steel rod.  I'll need at least one, maybe two for the palm shelf later.


Cut to length. 


The screw fits like this into the cup.   Cups will get blued later.


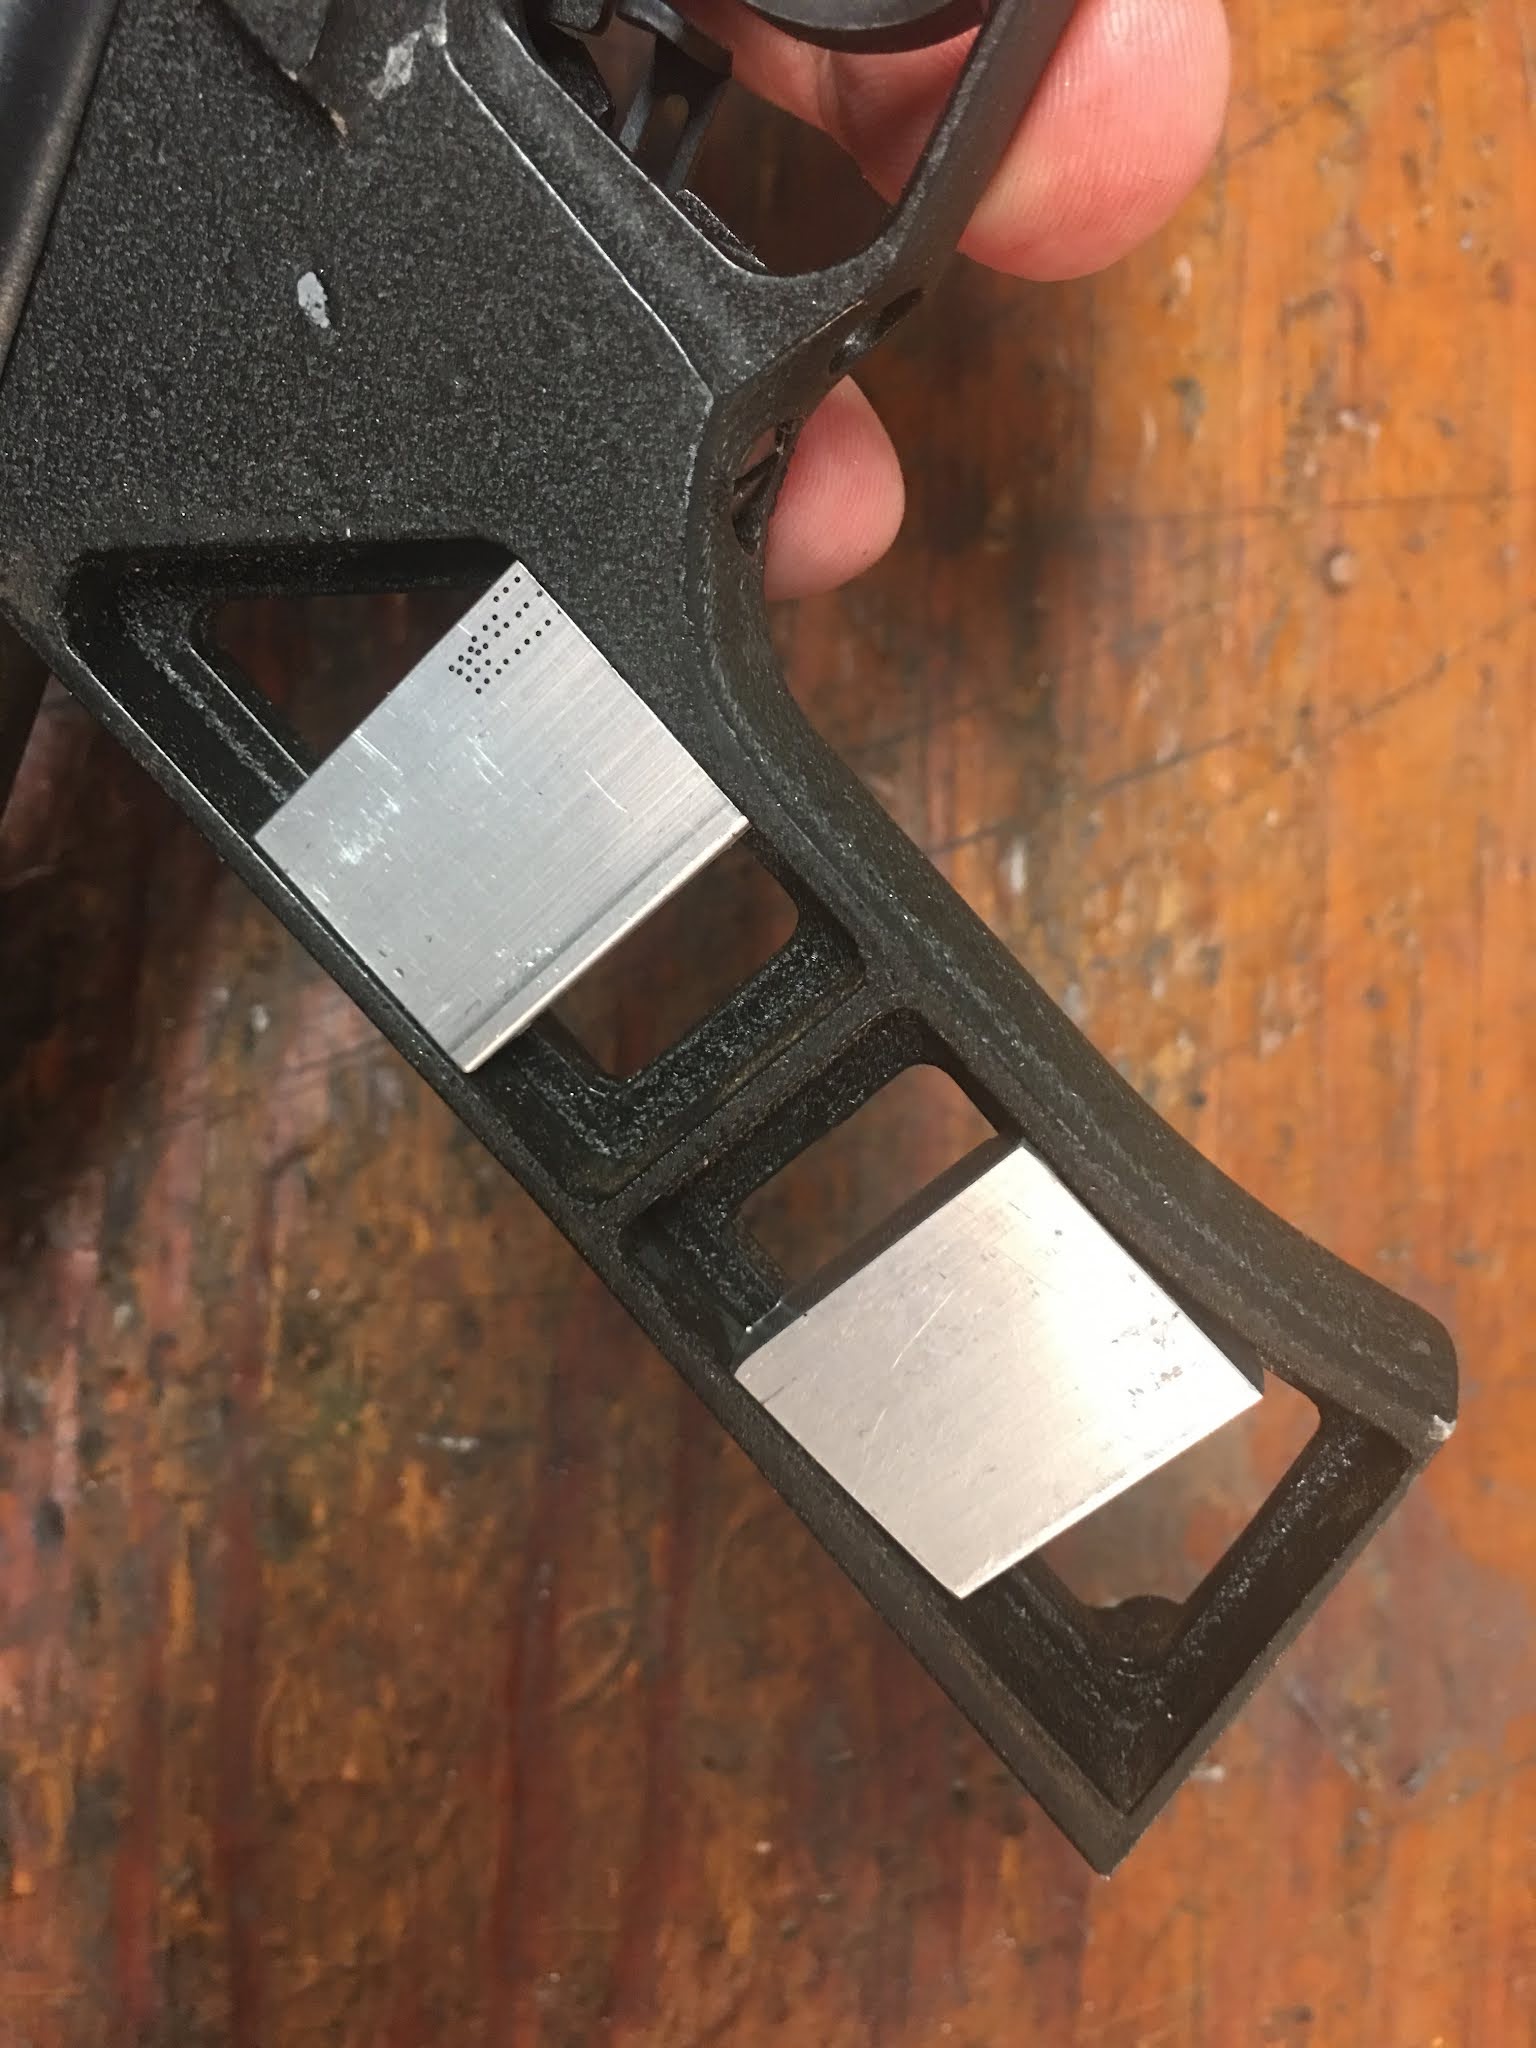
Now, insert nuts for the grip frame.  Cut and milled two small pieces of aluminum.


These will fit into the right side of the grip frame against the recessed web.  The outside edges are below flush with the grip frame so the wood grip slips right over.


Some magic marker as layout fluid will be used to show where to drill the holes.  


By drilling and threading these inserts, the grip can be securely tightened from the left side to sandwich the frame.  No more wiggly grip.


With the grip slid over the frame and tight against the gas tube at the top and tight against the heel of the grip frame at the back, the holes were spotted.


Drill and thread for the M4 grip screw at the punch mark.


The smaller secondary punch mark on this one told me which nut was which. 


Drilled and tapped.


I'll have more up in a few days.  As always, we appreciate everyone checking in.