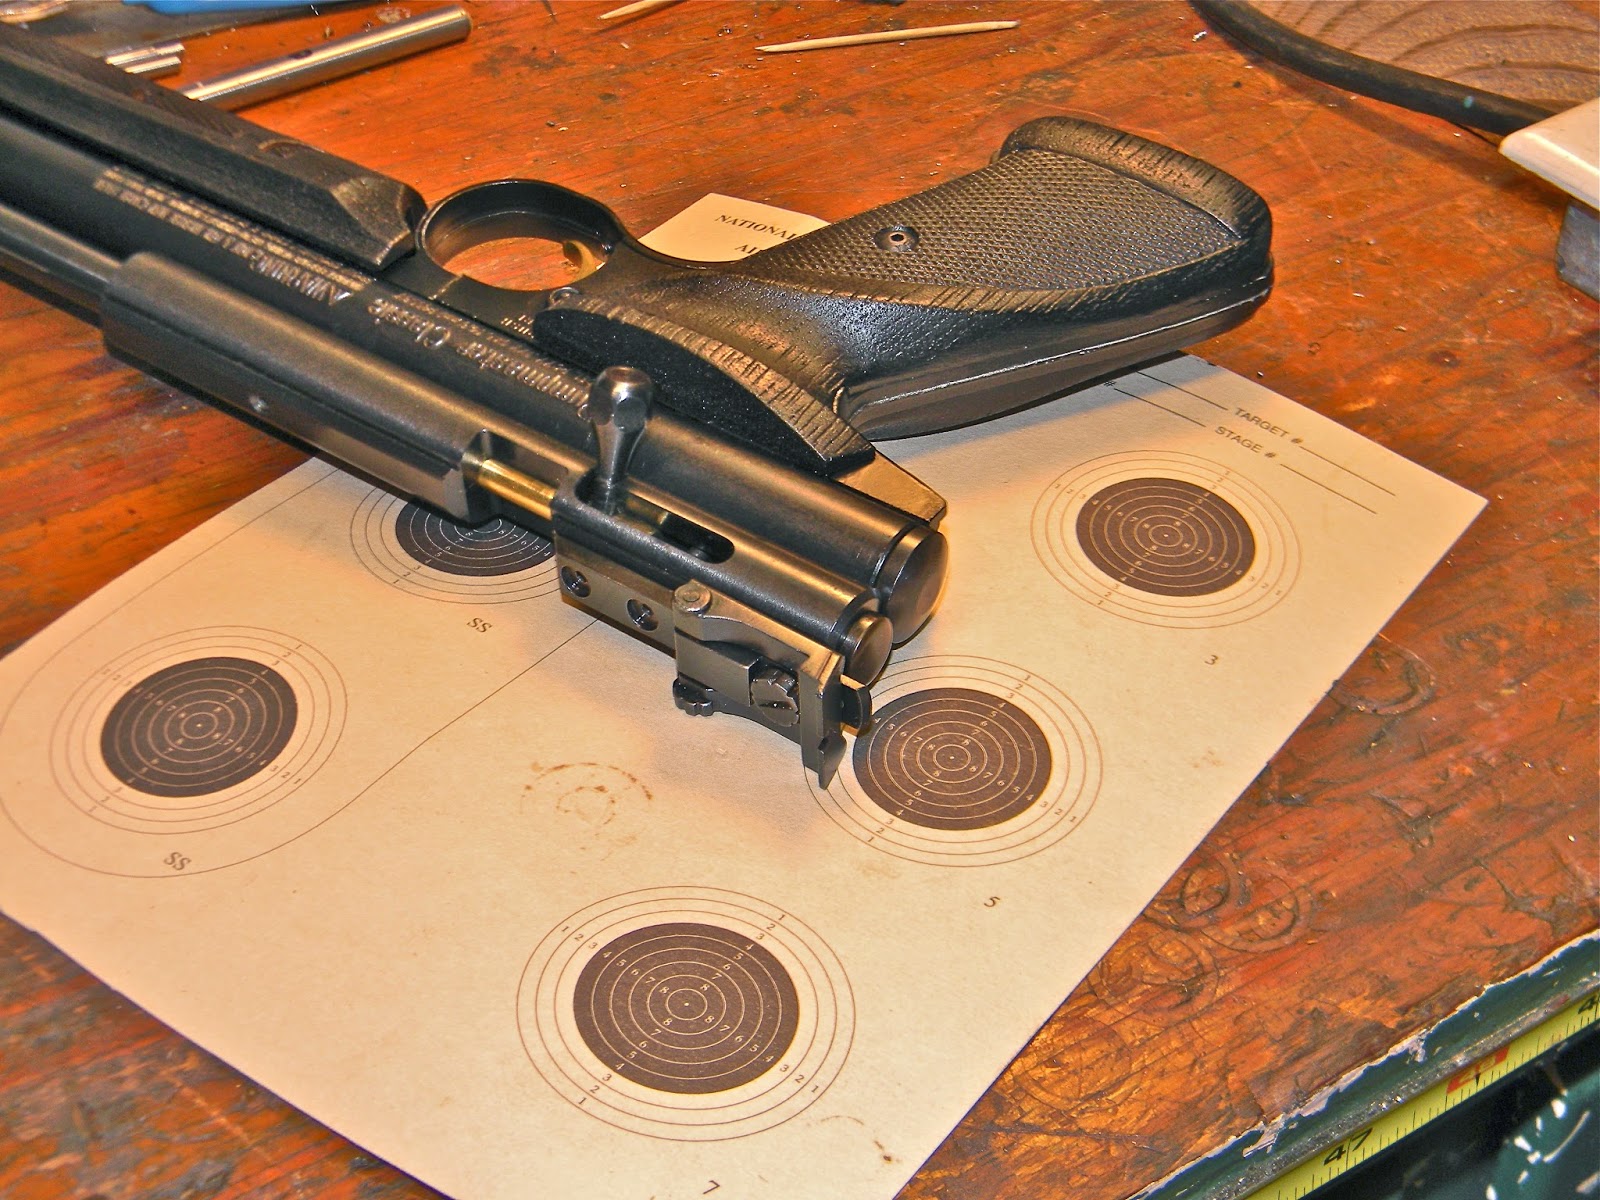
I was distracted from the QB project this morning. Noticed the lack of a rear sight on my Crosman 1377. It must have been wearing a red dot that was appropriated to another gun. Fortuitously, the 1377 was wearing a Crosman steel breech.

Rummaged through the pieces parts and came up with a rear pistol sight of unknown pedigree. At least it's all steel and looks to be well-made. It was an eBay find that cost all of four or five dollars. It was rebuilt and re-blued then put aside a couple months ago.

It's a dead simple install--two threaded holes. Removed the breech from the 1377, set the sight on top and eyeballed the front to back location. After figuring out where it best fit, I found, then marked the centerline on top of the breech.

Then marked how far the holes are apart from each other. Rummaged through the hardware and found that 3mm flat heads were the best fit to the sight's mounting plate.

Set the breech on top of a parallel in the milling machine. This would also be an easy set up in a drill press.
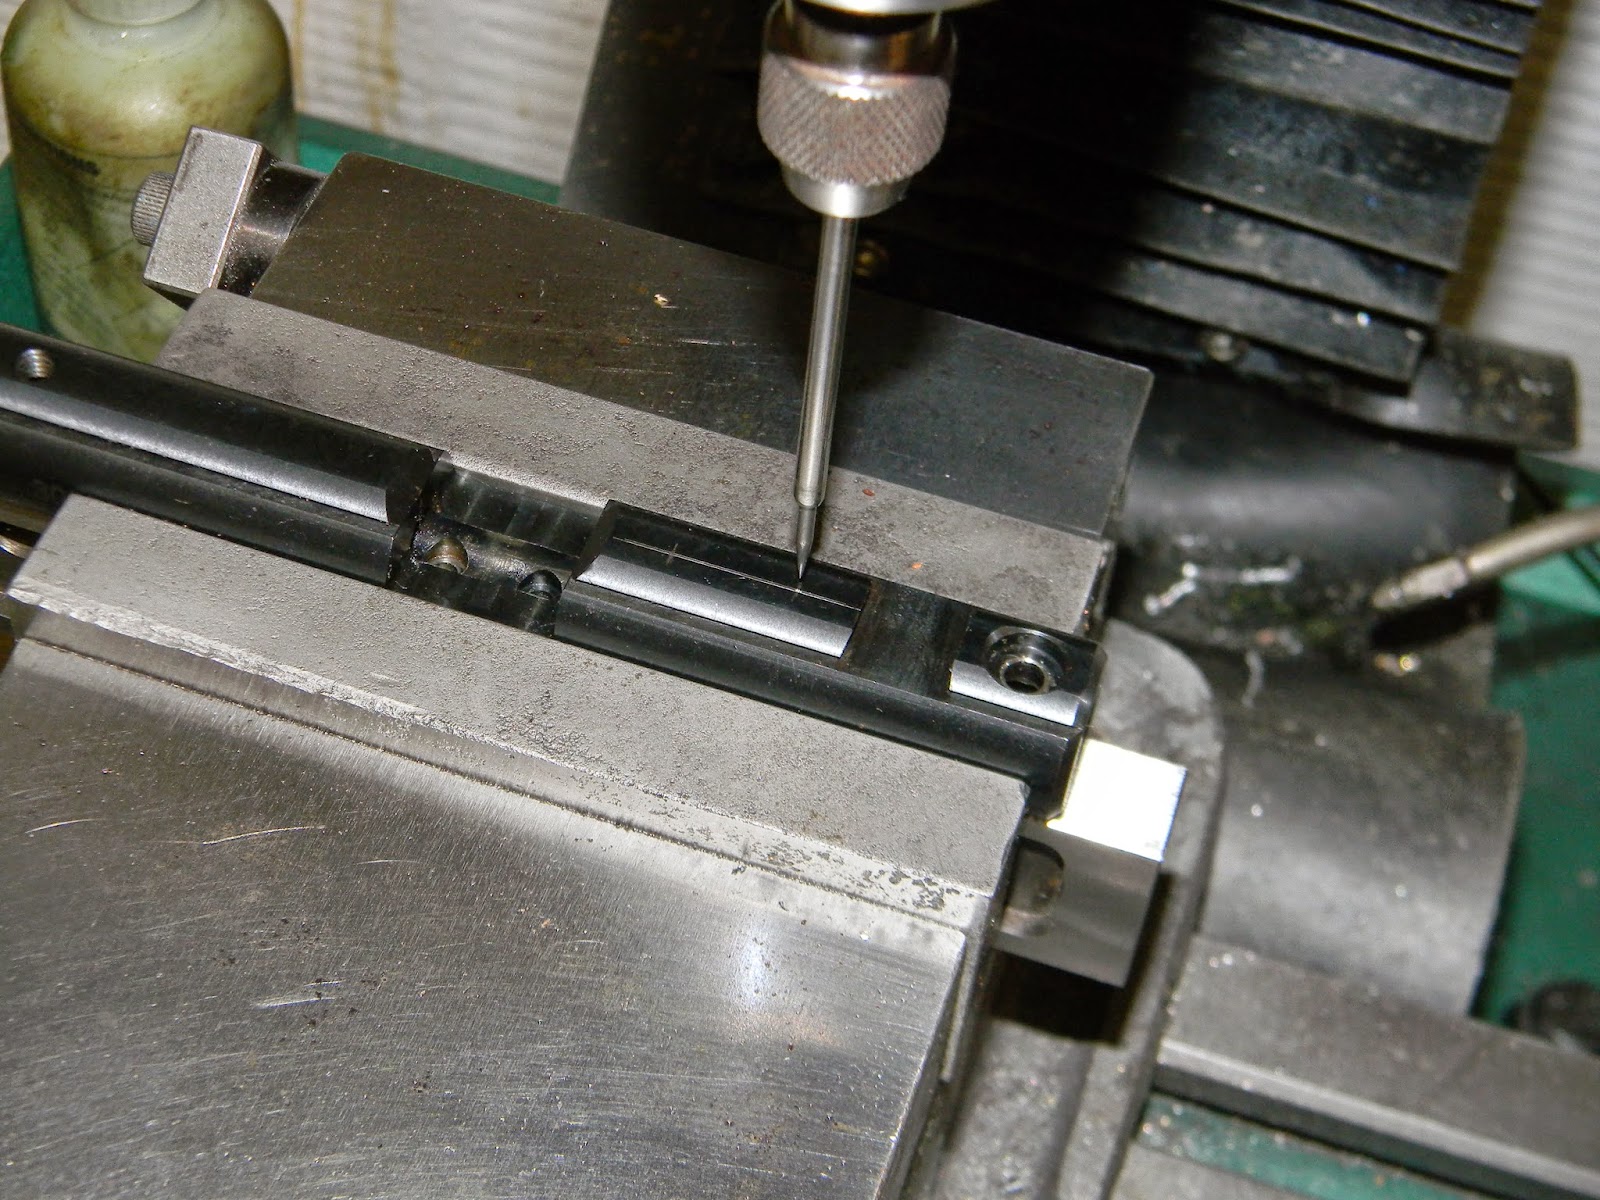
Used a wiggler with a needle point to center up on the hole locations.

Spotted with a center drill. Spotting hints: When spotting a hole on a scribed line, it's good practice to just lightly touch the workpiece (barely leaving a mark), then stop and double check that it's exactly on location before drilling any deeper. It's also a time saver to drill deep enough with the spotting drill so the hole is countersunk for the final threaded hole diameter. This takes a bit of practice to get the counter sink diameter correct, though the tap or screw thread can be used for comparison. Saves from having to countersink after threading--which ususally necessitates cleaning up the thread a second time.

Through drilled with a 2.5mm drill bit.

I believe my grandfather made these low profile points. Probably back in the 1950's.

Helpful as a tap center when you don't quite have enough vertical space for the vise, parallel, workpiece, tap, tap handle, chuck...

Good tap handles have 60 degree centers at the end for alignment. This is a M3 x 0.5mm tap, btw.

Light downward pressure on the quill holds it all vertical as the tap is started. Here, the thread is being cut in the second hole.

Cleaned up for the pic, but there was plenty of thread cutting oil for the actual tapping.

Deburred the inside of the breech's bolt channel with a small half-round file and test fit.

Don't like the vertical end at the front of the sight. Not a good blend to the chamfered loading trough. Scratched a line on the side of the sight that carried the angle.

And back to the milling machine with a four-flute endmill. Set the sight at an angle that made the scratched line parallel to the vise jaws.

No measurements necessary. Cut until I reached that scratched line.


Deburred the razor sharp edges with a file and blued the milled surface.

Test fit number two.


Looked OK.

Reinstalled the breech.


Back to the QB77 next time.
