Saturday, June 21, 2008

A Scope Mount Experiment.

I traded for an Original Model 45 (Diana) rifle a while back. The rifle came without sights or scope, so I wanted to mount a spare 4x scope on it. Being both lazy and cheap, I didn't have the correct scope mounts on hand, but decided to make do with a pair of B-Square 3/8" airgun mounts bought at the local gun shop for $10.00. I also wanted to play with tying the two mounts together.

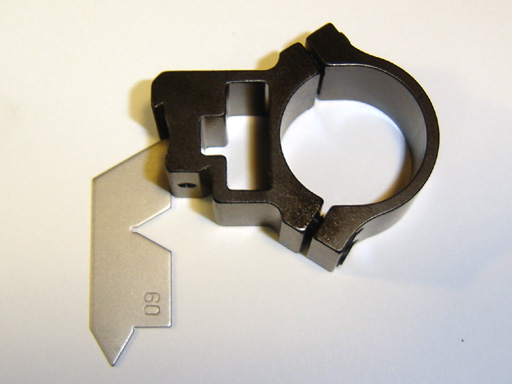
First I checked the dovetail angle of the scope mount.
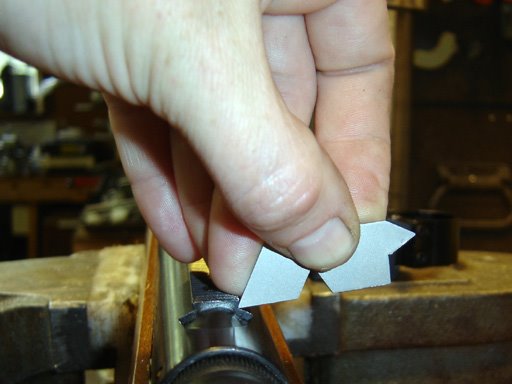
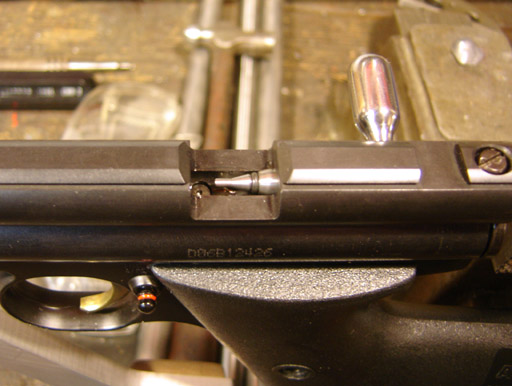
The scope mounting rail on the rifle seemed to be 60 degrees, or close enough...
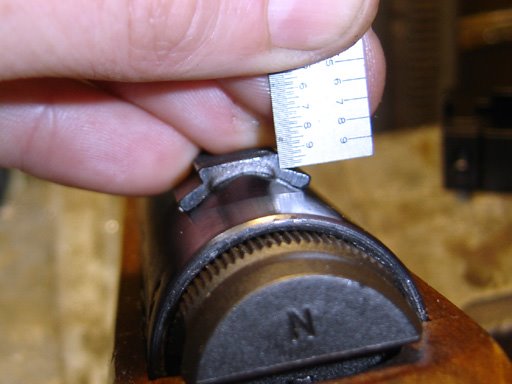
The height of the rail is just about .08"
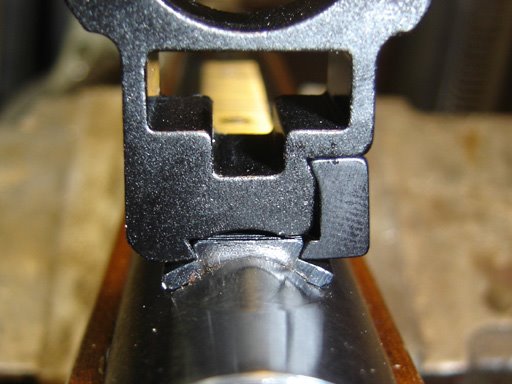
With the scope mount on, contact was only being made at the bottom corner of the dovetail.
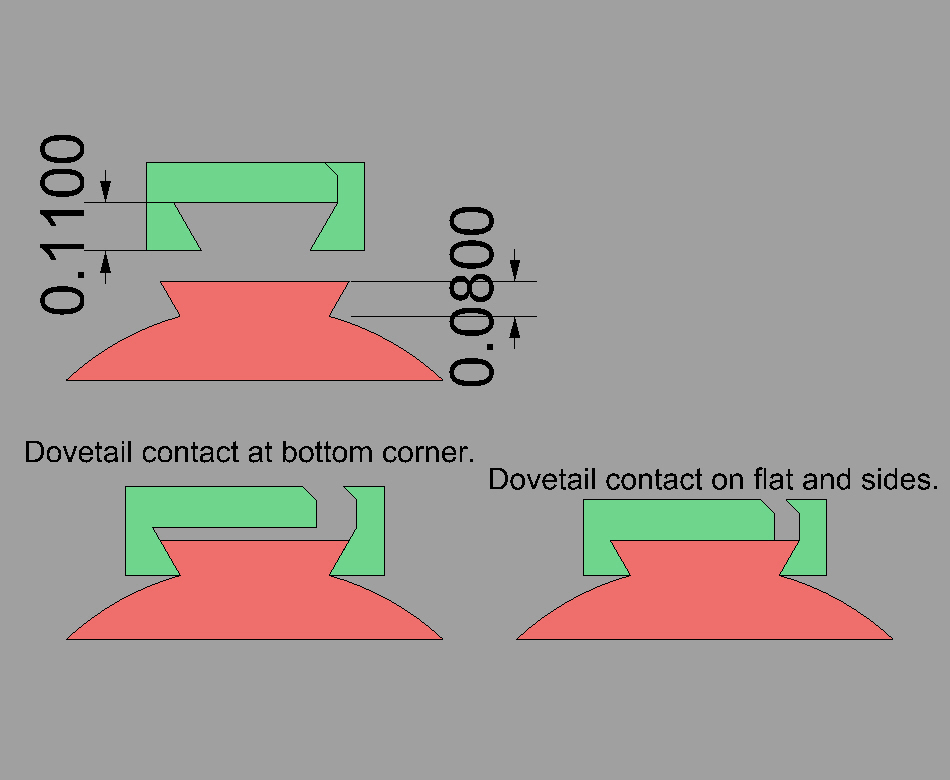
Generally, at least in the world of machine slides, you want better contact than just one plane. So I decided to cut about .03" from the bottom of the scope mount dovetail, which would allow the scope mount to contact the rail on the side and the top. This should both increase the forces on the rail, as well as keeping the scope mount perpendicular, rather than canting to the left or right.
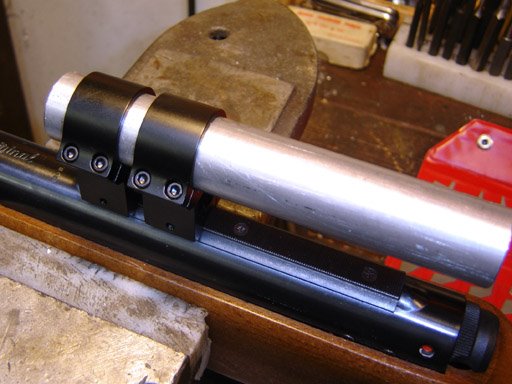
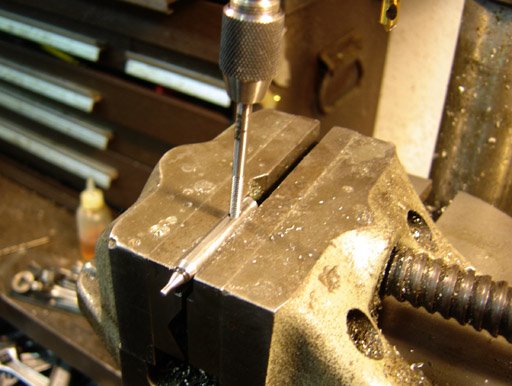
I had a 1" diameter bar of aluminum and clamped it in place of the scope. This allows keeping the two mounts in alignment.
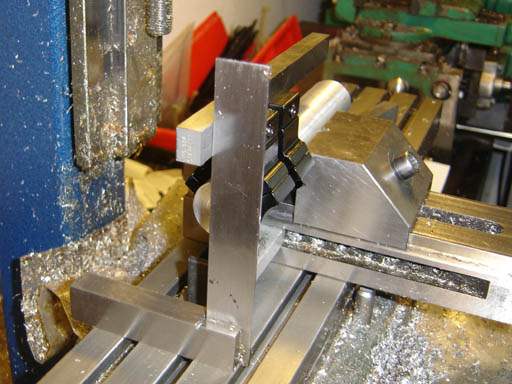
This was put in the vise and using a square and a parallel, I got it pretty close to perpendicular.
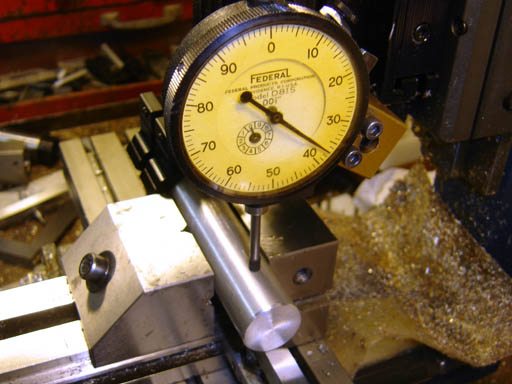
Then using a dial indicator I made sure it was level to the machine travel.
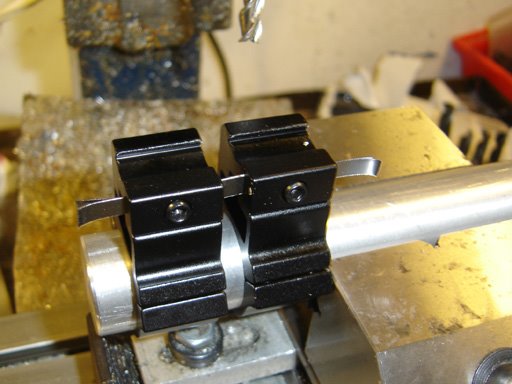
I inserted some shims (.01") to keep a load similar to that of the clamping forces on the dovetail clamps.
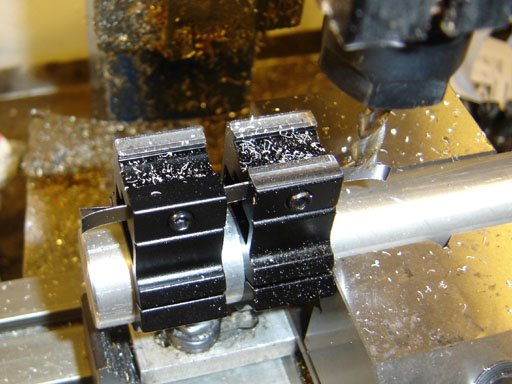
This was interesting. I took off .005" and one of the clamps didn't get touched.
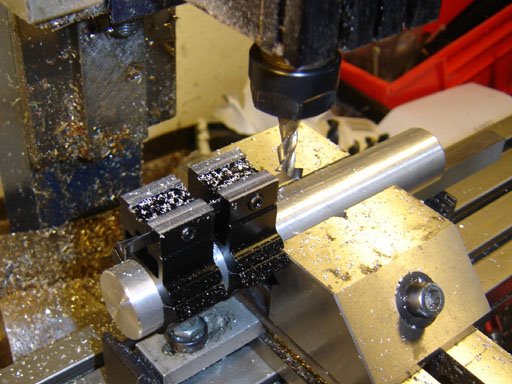
I continued machining down to .03" depth of cut.
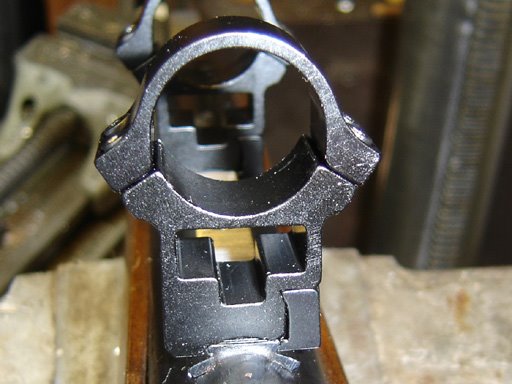
The mounts now are solid against the top of the scope rail.
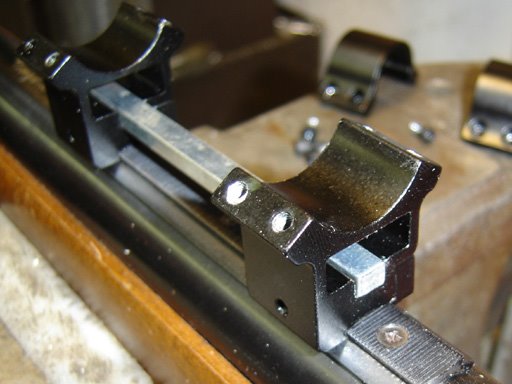
I had some key stock that was a nice fit in the "see through" groove in these mounts.
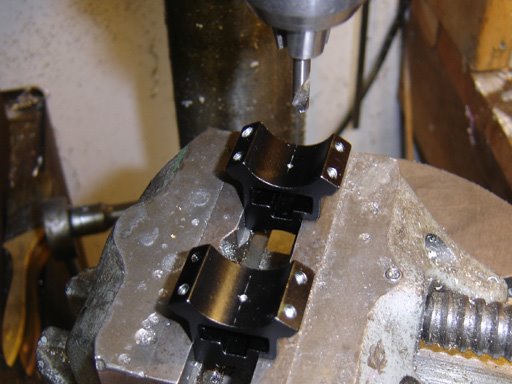
I spotted for holes on the center line. At this point you are likely yelling "Stop Nick!". Bonus points for figuring out where I'm about to go wrong.
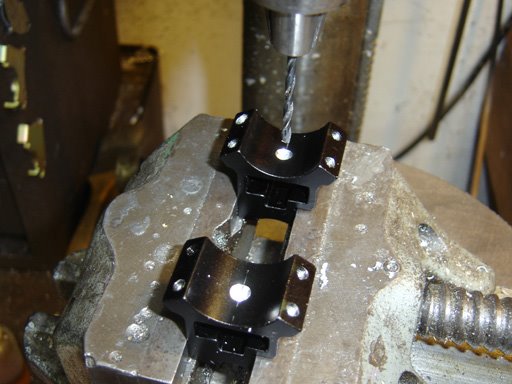
Drilling through for a #6 tapped hole.

Drilling a clearance hole through the mount.
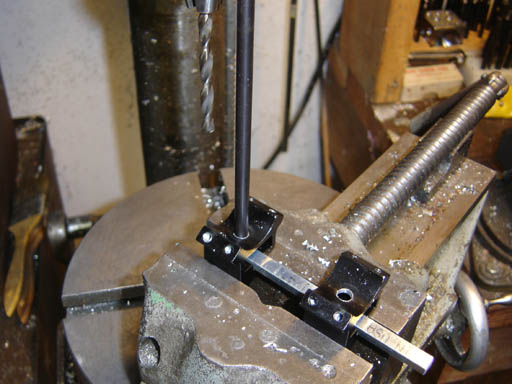
Using the transfer punch to locate where to drill on the key stock.
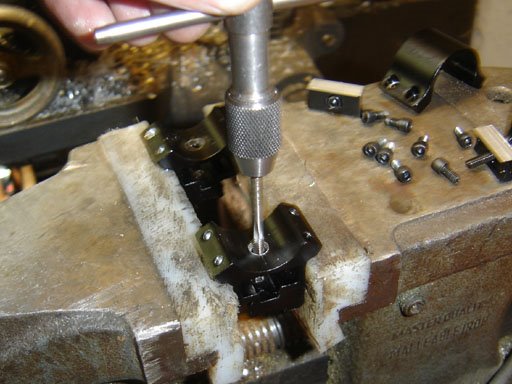
Tapping the mount.
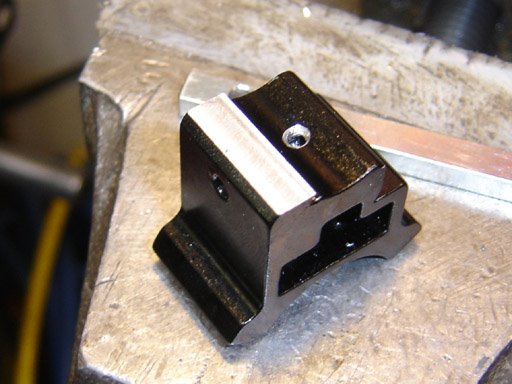
At this point I let loose with a stream of salty and impure language. Yes, I forgot about the clamp screw, which goes right through the middle...
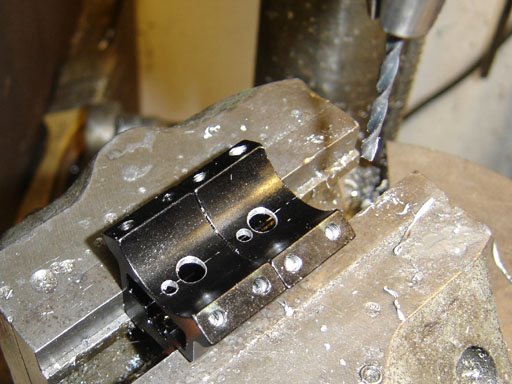
So I relocated the holes for clamping the key stock...and redrilled the holes offset in the key stock.
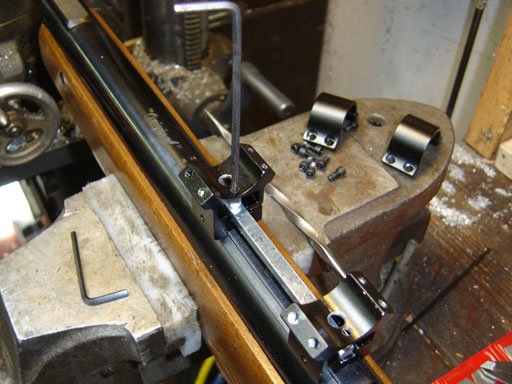
Screwing the key stock to the scope mounts.
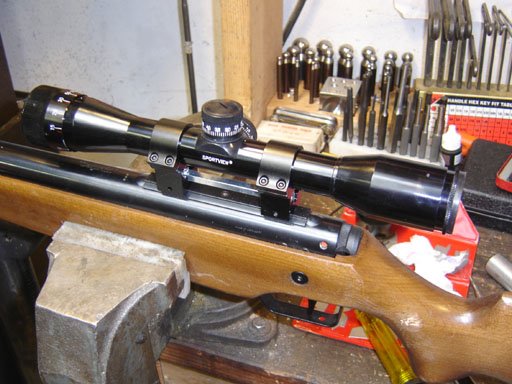
The mounted scope. I still need a "scope stop" as this springer has quite a bit of recoil. That will be the next project.

Note that I was not concerned with any windage offset on the mount due to the widths being different, nor was I concerned with "droop". As it turned out I had more than enough adjustment in the scope to get it shooting dead on. Windage could be corrected by taking a dovetail cutter and taking a bit off of the fixed side of the scope mount dovetail, and "droop" well, there are a number of ways to deal with that, such as reboring the rings, recutting the dovetail, or making a sub-scope rail that had the proper angle...but best to not think about such complexities...
Thursday, June 19, 2008

Thursday Pointless Ramble

Well, I had hoped to have an update on the Winchester 353/Diana 5 pistol, but it's been a series of problems getting a new piston seal made that performs well. I've made 3 seals so far and none have worked as well as the old worn out and broken seal. So I've shelved the project for a little while to ruminate on it. I suspect the tube is worn larger at the breech end...

I also had hoped to put up a posting about my latest purchase on Gunbroker, a Predom Lucznik KL 141, but the rifle turned out to be a total basket case. Externally it didn't look bad, except that the barrel was (as Derrick suspected) somewhat bent. That could certainly have been fixed, but upon inspection it turned out that the piston (not the seal, the whole piston!) was missing. To the sellers credit he offered a full refund, but I told him not to worry about it. Caveat emptor, and Murphy's rules, etc...if you don't know what to look for it's not that obvious. So I may someday get around to making a new piston for it...but not today.

So I have no neat projects to post about today. Next up is getting a scope mounted on my Original (Diana) 45 rifle. I bought some scope mounts at the local gunshop today and will modify them somewhat. The breech seal is loose on it as well, so that'll be fixed as well. I think the key with this hobby is to not get too stuck on any one project, but to accept failure from time to time and move on. I keep learning, failure or success.

Oh, and here's the Korean airgun forum, too bad I don't know enough Hangul to even register to look at the pics...

Tuesday, June 17, 2008

The 1377 Project: Valve and Port Tinkering

So I started looking for ways to make the air flow...

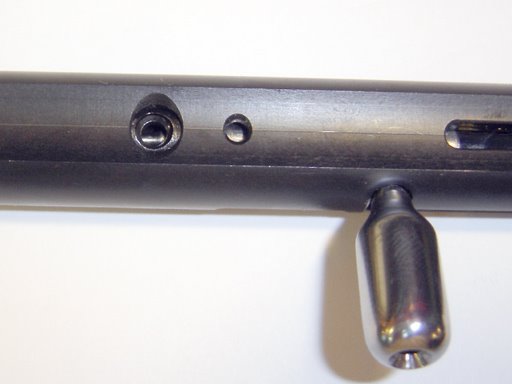
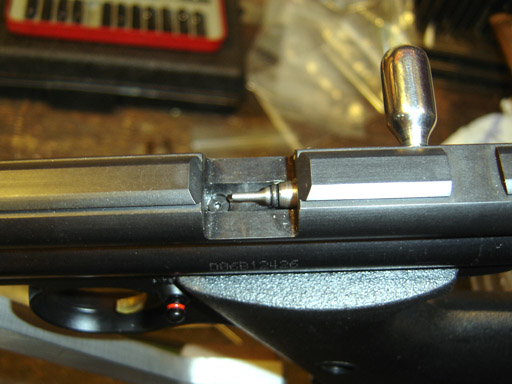
I could see too much of the bolt tip through the barrel port.

So I turned it down even more.

Now there is less restriction.

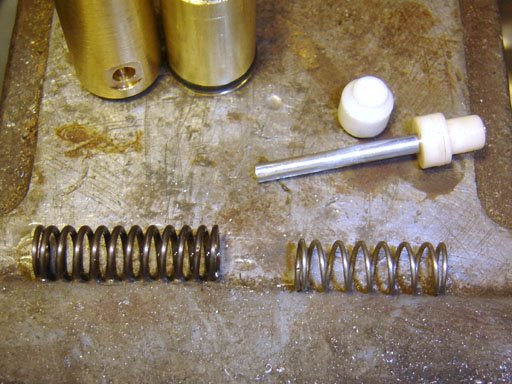
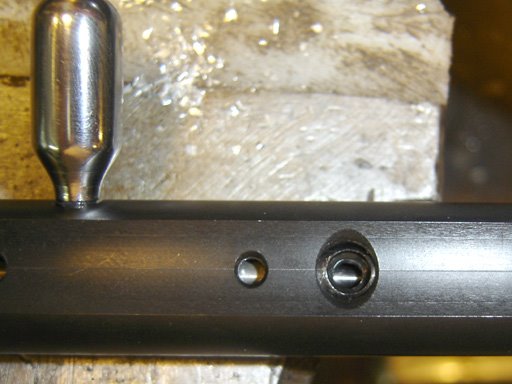
I replaced the stock valve spring(L) with a much lighter spring(R). The only down side is that the gun must be cocked, thus taking the hammer off of the valve stem, in order to start pumping air in.

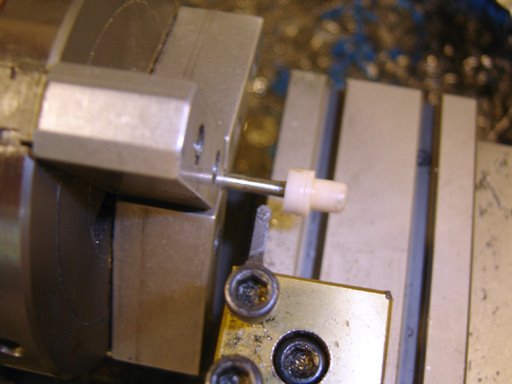
I turned down the diameter of the valve stem just a tiny bit as well, where the air flows around it into the valve.

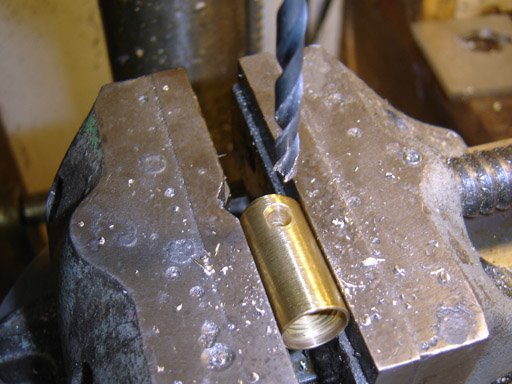
I also drilled out the valve port a smidgen bigger.

I put it back together. Velocity with 10 pumps was 733 on average, a slight improvement from 726 fps. The gun also dumped all the air with each shot, which makes it more consistent. I felt I could achieve more though.

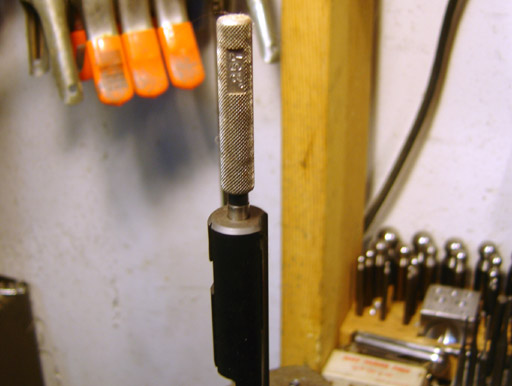
So I drilled out the transfer port steel tube to .157" (#22), from the stock .144" This increases the area of the port by .041 sq/in. Every little bit helps. This is, in theory, the smallest orifice that air must flow through in the system now.

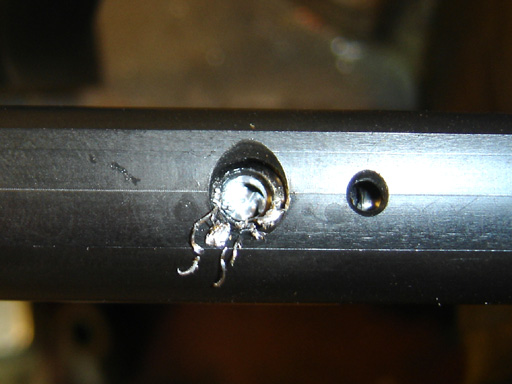
I also drilled out the barrel port. I jammed a couple of pellets in just at the port so as to reduce the burr left by the drill. Pushing them out removed the burr.

So, now it averaged 739 fps at 10 pumps (CPL's) with some shots finally breaking into the 740's and the velocity spread was 736-742, which is very consistent. At 5 pumps I got 572 fps. on average, which is no improvement. This makes sense as the flow at lower pressures probably didn't change as much as at high pressures, over the time it took for the pellet to leave the barrel. While I don't have much interest in making an ultra-maxi-steroid-pcp pumper, I did try 12 pumps and 15 pumps just to see...at 12 pumps I got 780 fps. and at 15 I got 838 fps., with air left over in the valve.

Sunday, June 15, 2008

The 1377 Project: A New Bolt

Well, I keep chipping away at my 1377 carbine conversion. This time I decided to make a new bolt. There were two reasons: One, the original bolt supplied with the Crosman steel breech is a bit loose. Two, I wanted to improve the airflow from the transfer port to the end of the pellet.

The bore of the Crosman steel breech is .257"

The supplied bolt is .248" diameter. That's a lot of slop.

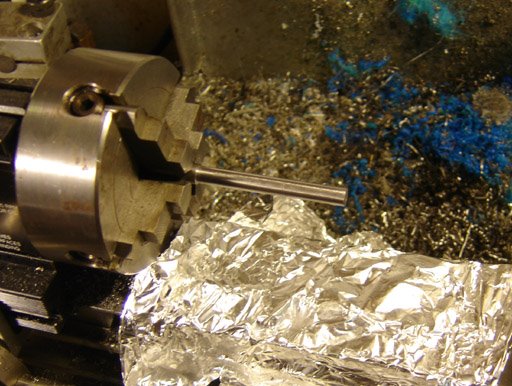
I turned down a piece of 3/8" free machining steel to .256"

As always, protect the ways of the lathe when polishing or sanding...

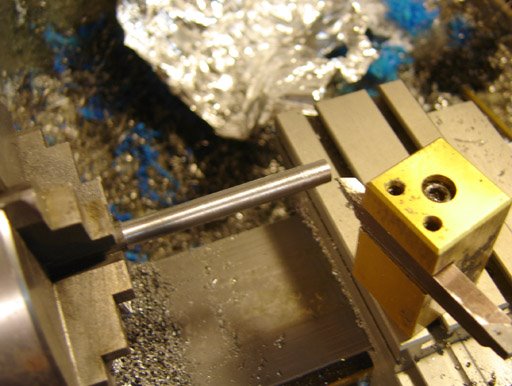
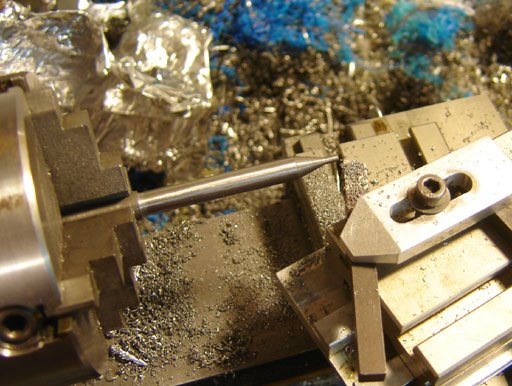
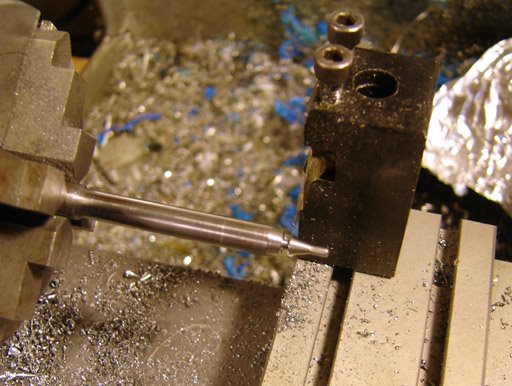
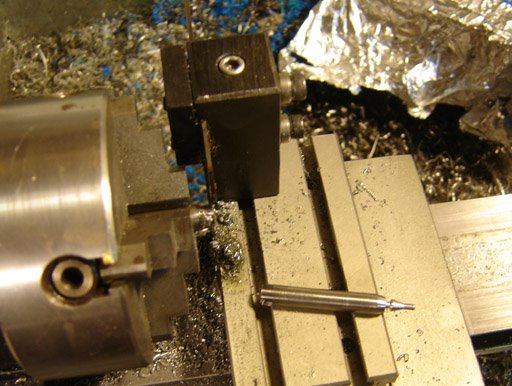
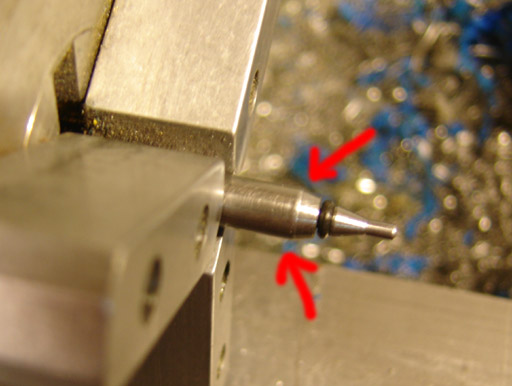
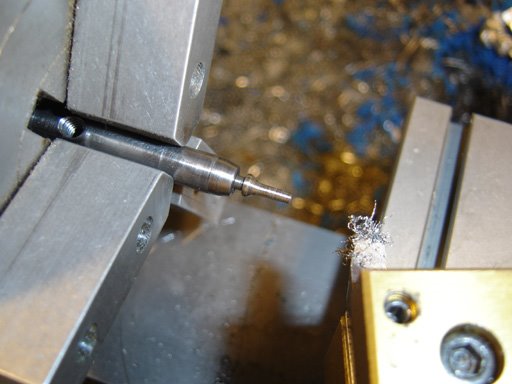
Turning an extended nose/probe and the 60 degree cone that seats in the barrel.

Carving away the o-ring groove. This was a case of measure, cut, measure, cut...

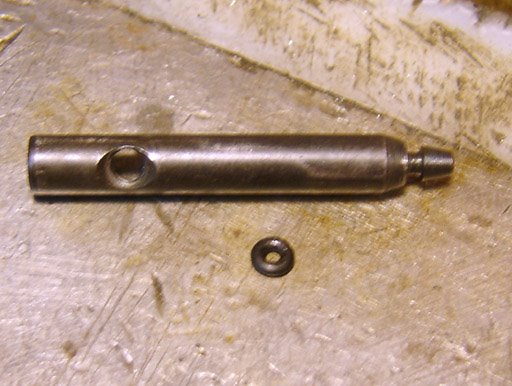
The bolt cut off to length.

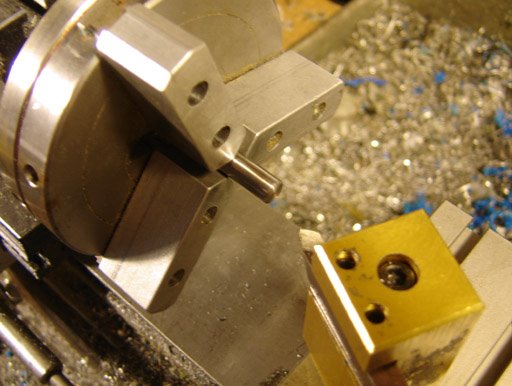
Facing and chamfering the end of the bolt.

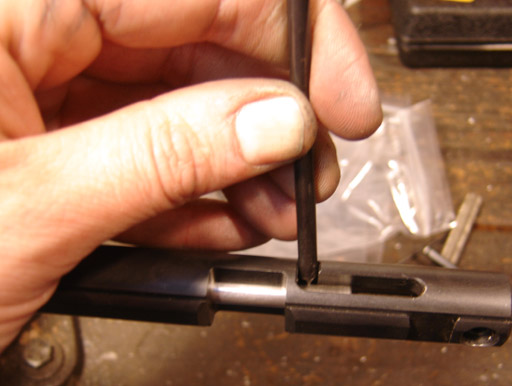
Using a transfer punch to determine where the bolt handle will mount.

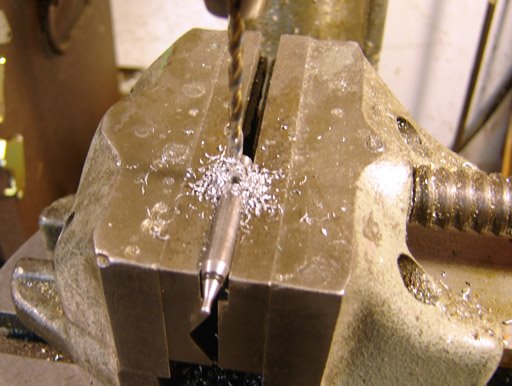
Drilling for a #8-32 tapped hole.

Tapping #8-32

I mounted the bolt and found that the bolt was hanging up a bit, which can be seen as a slight raised ridge. So I turned down that end for about .1" to the original .248" diameter.

The finished bolt, all mounted. Velocity, after shooting a bit, averaged at 575 fps. for 5 pumps, and 726 fps. for 10 pumps with Crosman Premier Light pellets. That's a negligible increase over the previous improvement (568 fps. at 5, and 724 fps. at 10) gained when I made the adjustable piston.

The most interesting development, and something I hadn't noticed before, was that the valve was not dumping all the air I was pumping in. I could take a second shot after pumping ten times and get 254 fps. with the CPL's. I made sure that I exhausted all air in the valve by dry firing between each shot for the new averages. This makes the original velocities measured after the piston mod a bit suspect, as they likely had a boost of remaining air in the valve, and may have been slower had all the air been exhausted.

So the next installment will cover a bunch of modifications to the valve and porting...