Saturday, January 14, 2012

Benjamin Sterling HR-81 Tear Down Part 1

Started to tear down the Sterling the other night.  Technically, this is a Benjamin Sterling as it was made in Racine, WI.  This gun is a .20 cal.  And .20 cals are typically Sheridans, so shouldn't it be a Sheridan Sterling?   I probably ask too many stupid questions.


Started by removing the two forward stock screws.  Note, these are SAE fasteners--not metric as on the original British made Sterlings.


Removed the rearmost screw in the trigger guard and action lifted out of the stock.


Popped off the circlip on the rear sight elevation pivot.


Unscrewed the right side bolt and the sight and elevation spring came off from the base.


Two small screws and a recoil pin hold the sight base to the upper tube.


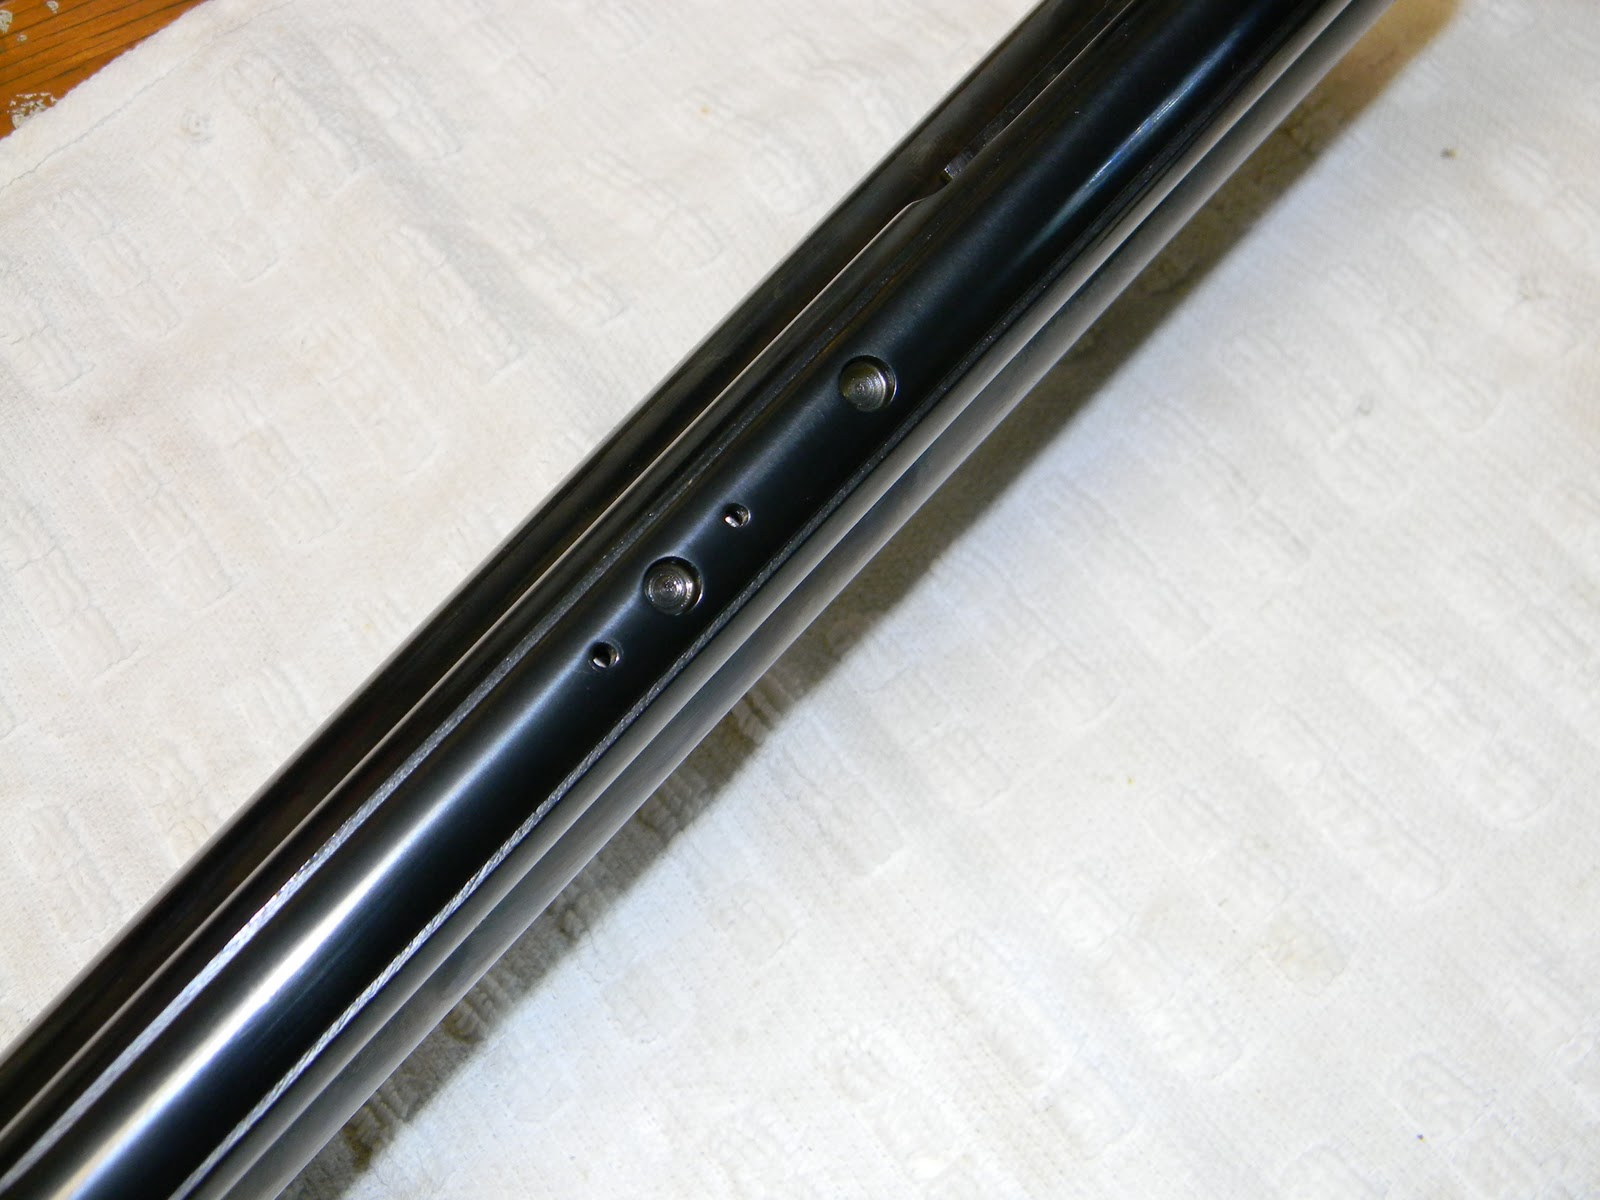
Just a pic of the holes in the tube.


As I had no idea how much preload was on the mainspring (--though I swear that several old sources reported that the preload was absolutely minimal) I threw it into the mainspring compressor.  The brass drift is in the through hole in the end cap to act as a handle.  


End cap was unscrewed and the spring pre-load backed off.


That's a good 3+ inches of pre-load on the spring.  I sure wouldn't call that "minimal".  I think we should add this gun to the list of "should use a spring compressor for disassembly/reassembly."


Thirteen and a half inches of spring.  Shades of the Feinwerkbau 124.


This is quite possibly the longest factory spring guide I've ever seen.  The steel guide is roll-pinned into the threaded end cap.  Does anyone know if the British version has a threaded end cap or was this a tongue-in-cheek warning shot at the old Beeman "Tap the Cap" ad campaign?


There's another end cap on the upper tube.  Double threaded end caps.  It's like they're hitting Beeman with both barrels.


Threaded the mounting bolt into the bottom of the cap...


and unscrewed it from the tube.


Like so.


Couldn't get the pivot's lock bolt to move with a regular screwdriver.  The small ratchet handle in the Chapman kit provided enough leverage.


After its removal, the main pivot bolt is unscrewed from the right side.


With the pivot bolt removed, the cocking lever can be pulled out enough to disengage from the piston.


Interesting.  The compression tube is bolted to the breech block.  


Pressed out the sear pivot with a brass drift.


The sear is now free to drop down enough to allow the piston to pass.


Piston didn't want to come out.  Really tight.


Awesome.  My brand new, old stock gun has a smashed piston.


Double ring seals with a center bumper. 


It's cracked, too, just for good measure.


I'll assume that's why it didn't want to come out of the tube.  I can probably salvage this a couple ways.  But the pertinent question is why? 

More soon.

Monday, January 9, 2012

Slavia 618 Re-tune

Yes, it’s me. Sorry for the lack of postings lately but life has a way of getting busy when you have two jobs and two kids. Good thing Derrick is so prolific!
Back in September some friends came over to shoot airguns with their kids. The Slavia 618 (pt.1, pt.2) is a great size for a child but a few pellets into being shot it just refused to work. So I put it on the rework pile. I finally had a chance to take it apart. I expected there was a problem with the home made seal, but what I found was another issue.
01091201
The guts.

01091202
I think I can chalk this up to inexperience on my part. I clearly was  a little heavy handed with the lube. The piston was gummed up in the cylinder and there was altogether too much heavy airgun grease.

01091203
I also decided it would be a good idea to smooth the piston where it makes contact with the bore.

01091204
Polished up on the beartex wheel.

01091205
I used moly sparingly on the contact surfaces and seal.

01091206
Derrick’s favorite, Slick Honey, is perfect for low power airguns. I put a thin smear on most of the other surfaces.

01091207
I was able to find my fancy spring end block insertion tool. Not bad considering I last worked on this in 2008.

01091208
Just a twist to get it to catch.

01091209
I replaced the heavy, slightly too large trigger spring with a much lighter spring. Not sure if it make a difference.

Back together and it’s back to a functioning state. I’ll probably find that most of the first airguns I worked on have too much lube…live and learn.

Sunday, January 8, 2012

New Muzzle Brake on the FWB 124--Final

A little scotchbrite on the brake gave it a good enough finish for now.  I was going to blue it, but after looking at the various airguns, I decided to install it on the old two-tone FWB 124 as is.  If it ends up finding a permanent home here, I'll run it down to Akron Plating and let them give it a coat of hard chrome to better match the compression tube.   


It's hard to take a decent pic of rifles that are over 40" long and have them show up well on the blog.


The brake matches the hard chrome fairly well.  I've given it a coat of wax to prevent corrosion.


The trim size works well with the slenderness of the stock.


The setscrews are dead flush when tightened.

Think I may be overhauling the Sterling next time around.  I've got several other project guns here including both a Rochester and old Benjamin pumper in many pieces.  Also, just picked up an unfinished walnut stock inlet for a Crosman 160.  There's lots of possibilities.  Nick should be back with a project soon.

Check back.