Saturday, May 24, 2008

Resurrecting A Diana Model 6M Pistol, Part 8

I think I've finished up the Diana 6M for now. I still need to modify the grips to fit my hand better, but likely I'll work on that later next month. It's hard to take pics of that process anyway.

I took the grip frame over to my friend's shop and sandblasted it. I did several coats of auto primer, sanding in between, then about 8 coats of black semi-gloss Rustoleum.
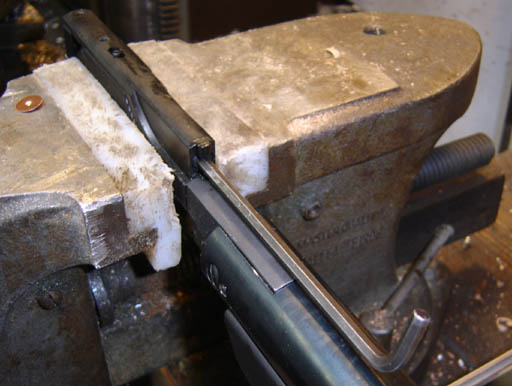
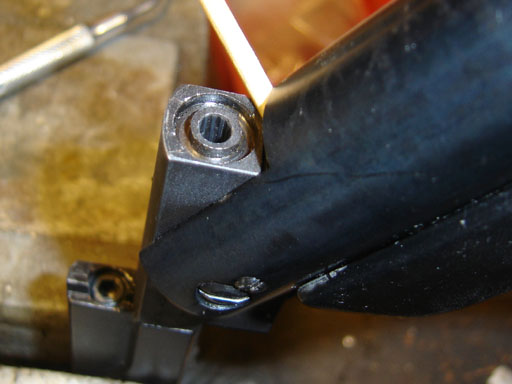
Removing the shroud spring screw.
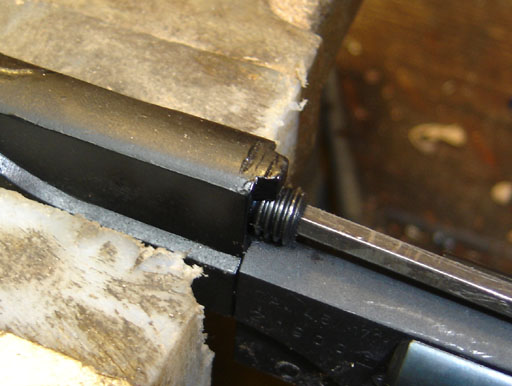
Backing it out slowly.
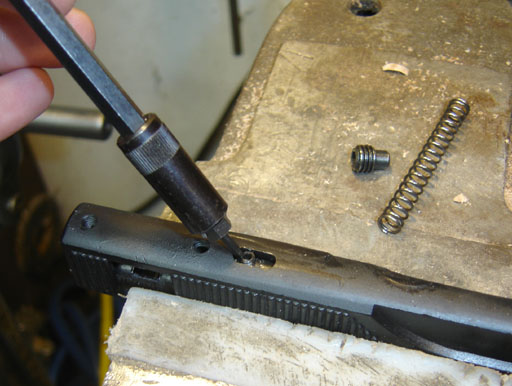
The retention and pivot screw.
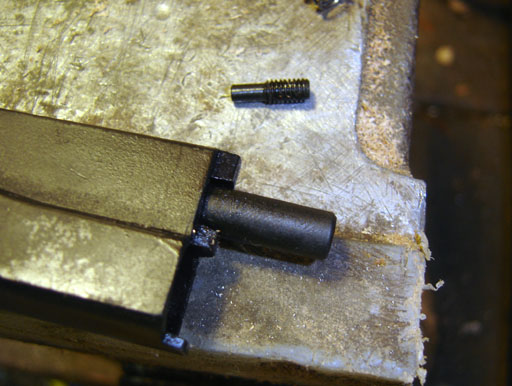
Removed and the plug is slipped out.
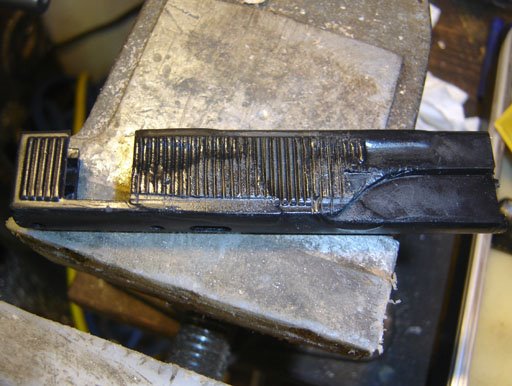
I had played with it a bit earlier (compare it to the original condition at the end of this post) and shot it with gloss black, but it was just too rough given all the work I'd done.
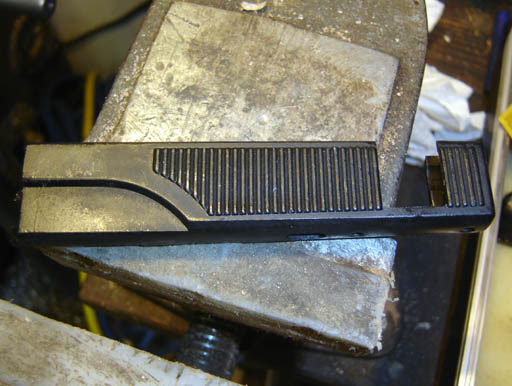
This is the other side, which is how it should look.
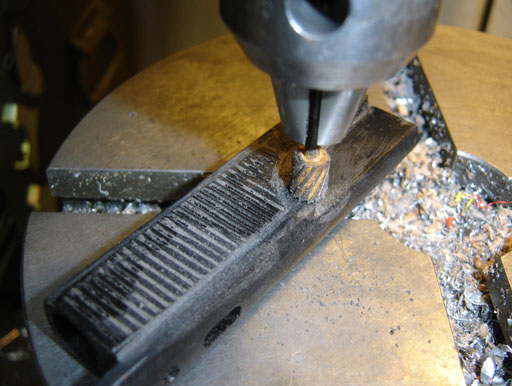
I locked my drill press spindle and chucked up a rotary file. This allowed some controlled routing of the curves. I had debated making an entirely new shroud from aluminum, but just didn't feel it was worth the effort.

This is my "poor man" checking file, which is a thread repair file. Very handy for picking up checkering and repairing it!
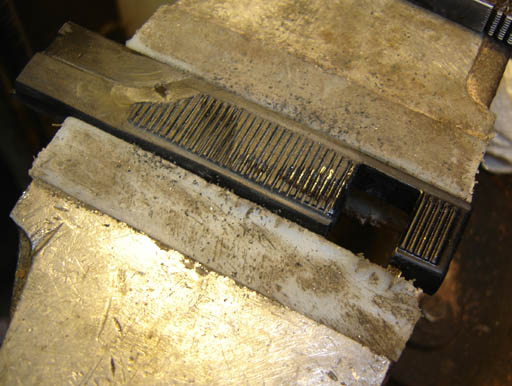
This established the spacing and cut down to depth.
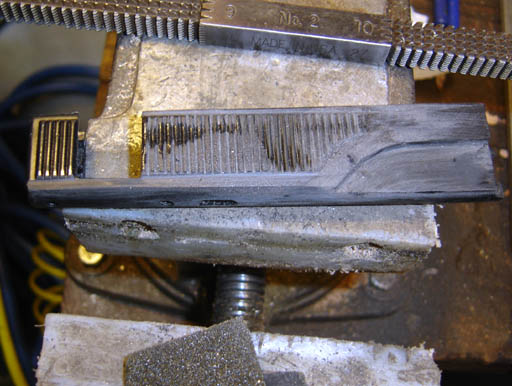
I further refined the grooves with a triangular file, and sanded the shroud all over. I also used a little plastic model putty where there were some air bubbles from the toasting it received.
Just as with the grip frame, it got several coats of primer, then semi-gloss black.
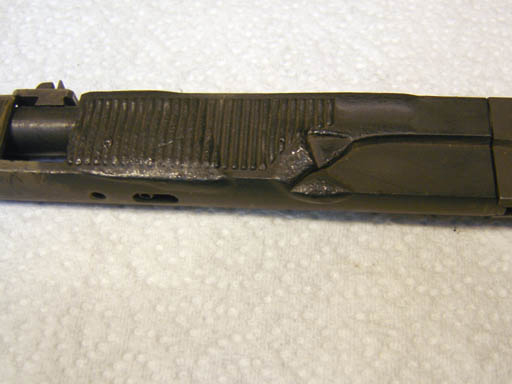
This is a reminder of how it looked when I received the pistol.
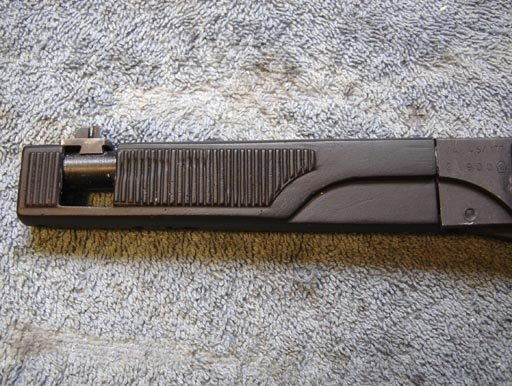
And this is how it looks now. Still not perfect, but from a few feet away you hardly notice the difference.
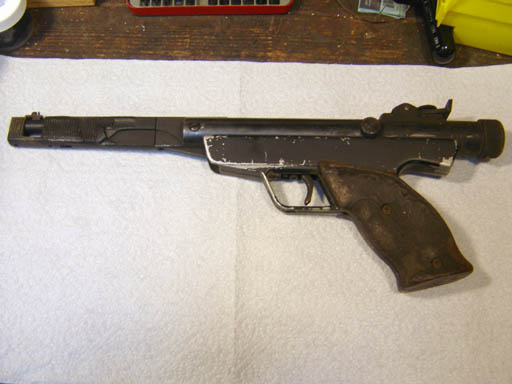
Again, this is how it looked when I received it.
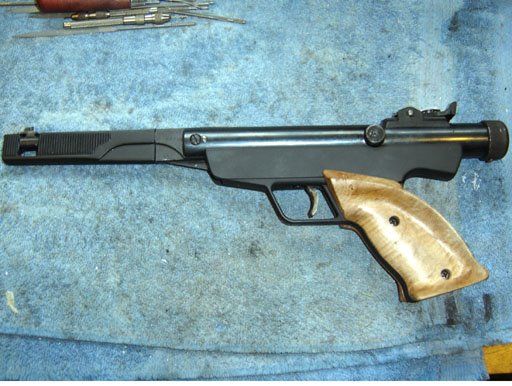
I think it looks much better, and as a bonus, it actually will propel a pellet out the barrel!

I forgot to mention that I had measured the velocity with the chronograph after rebuilding the action, and I get about 435 fps with the somewhat heavy Crosman premier lights and wadcutters, which is in line with what the velocity should be (450 mentioned in Airgun Digest).

I took 5 quick shots yesterday and scored a 41 out of 50, which is slightly better than my typical scores with one of the Daisy 717 pistols. I should shoot even better as I get used to it.

The overall cost was $99.30 for the pistol with shipping, plus $35.00 for the seals and some lube, $5.00 for the wood I made the grips from and a few more dollars for spray paint, sandpaper and such. So for under $150.00 I now have a pistol that would go in perfect condition for between, oh, $150 and $250. So maybe it wasn't entirely worth it financially, but I sure learned a heck of a lot about the Giss piston system, and other airgun-smithing techniques. We all have to start somewhere!
Wednesday, May 21, 2008

Resurrecting A Diana Model 6M Pistol, Part 7

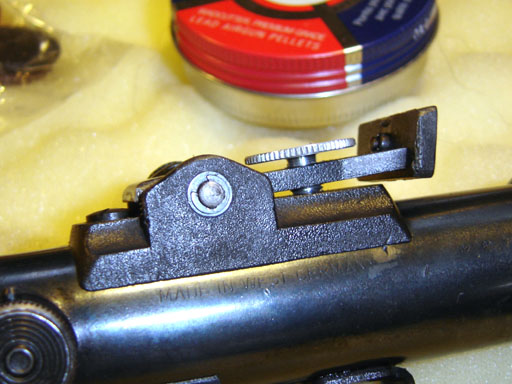
Just a few more items until the pistol is done. As I reported in the first installment, the sight elevation screw/knob broke.

The two pieces.

I drilled and countersunk the knob for a #2 flat head screw.

I superglued the two pieces together.

And then drilled and tapped the screw for a #2 thread.

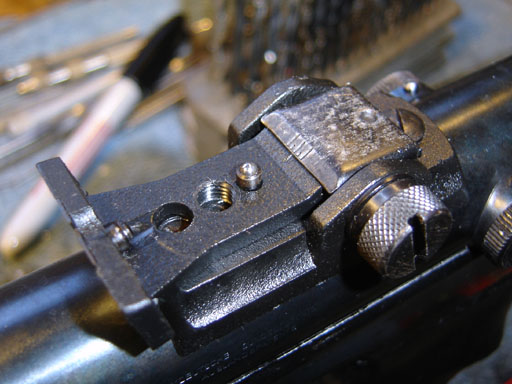
I reassembled the sight.

I schmeared a bit of JB weld into the hole and the countersink, and screwed a #2 flat head screw in, to hold it all together. When it was dry I screwed it into the sight assembly.

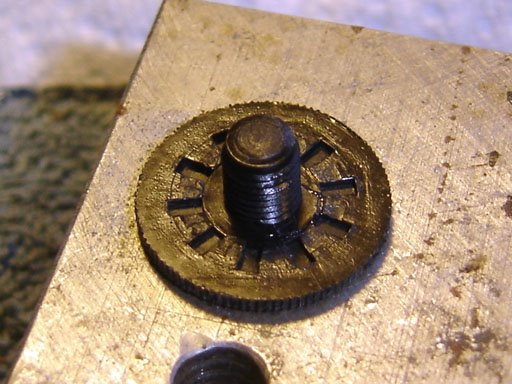
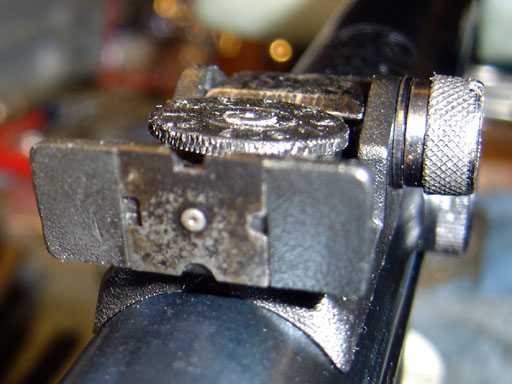
Up close it looked a bit rough, and wasn't good enough for what I wanted. Notice the neat 4 way rear sight notch.

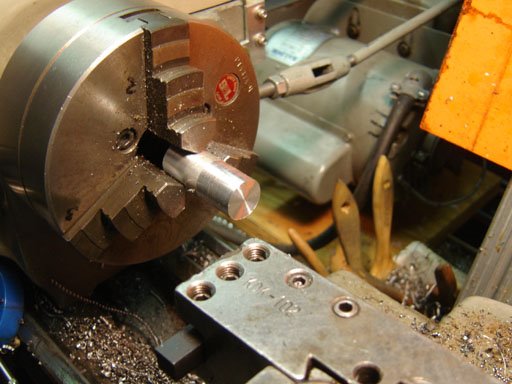
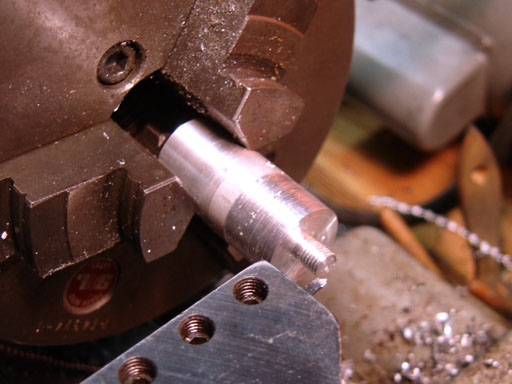
So I turned some aluminum stock to the knob OD.

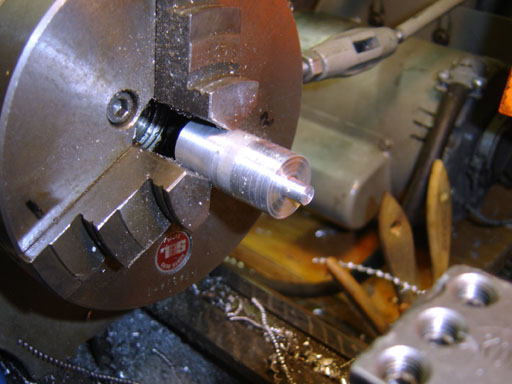
And turned down the end for the screw.

The screw diameter was about .222" and a left hand metric .75mm thread. The Jet 920 lathe does metric threading, but not left hand. The South Bend does left hand threads but not metric. To get either lathe to do both would take a lot of time and/or money (although I sense I'll have to do so in the future...) So I figured that a .75mm thread is 33.86 threads per inch. That's pretty close to 32 threads to the inch, .0017" of error per turn of the screw. For the short amount of thread engagement it should work fine.

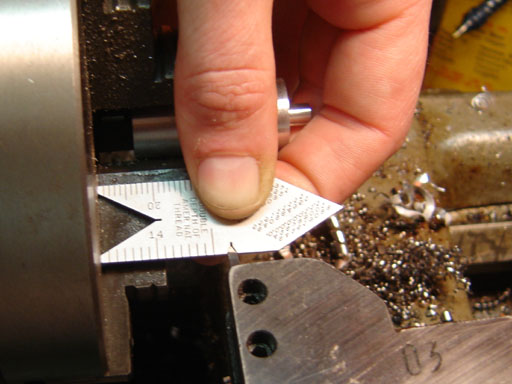
I aligned the threading toolbit with a "fishtail" threading gage.

And turned the left hand 32 tpi thread in a few passes.

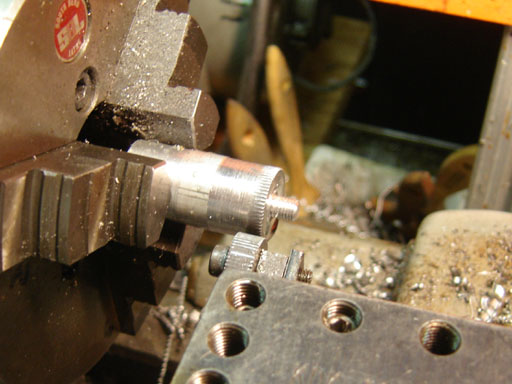
I loaded up my "made from scrap and a screw" straight knurling tool and knurled the edge.

I used the parting tool to make a thread relief groove against the knob, so I could screw it all the way in, then parted off the knob.

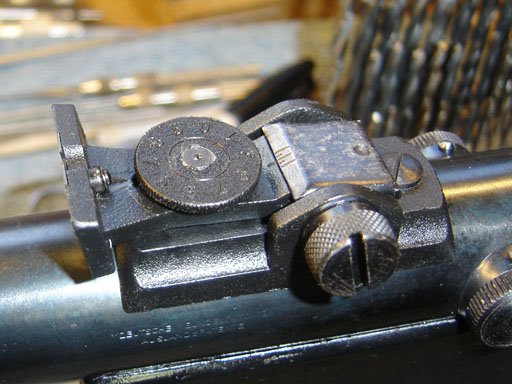
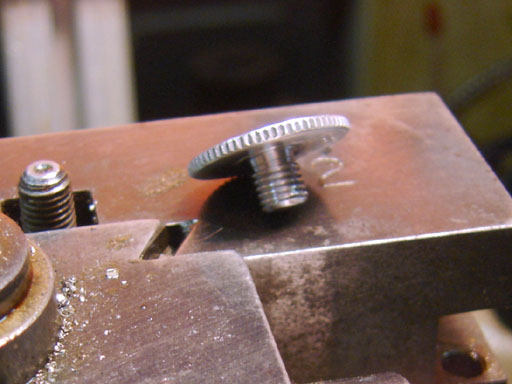
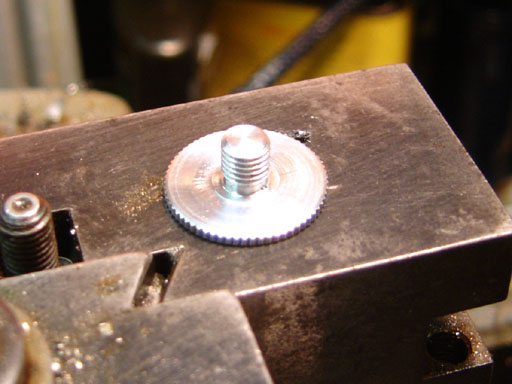
Not bad.

It screws in, a little tight but the sight body is plastic (sorry, it's "synthetic", which means "too cheap to make the damn part out of metal") and the screw thread will reform the to the screw.

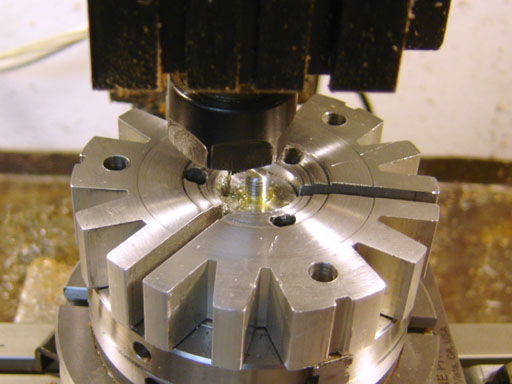
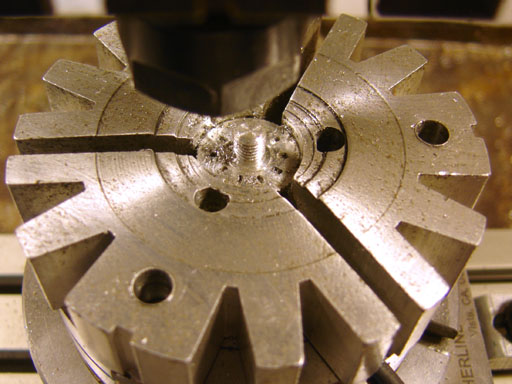
I then mounted the manual rotary table to the mill and used an end mill to make the detent notches in the underside.

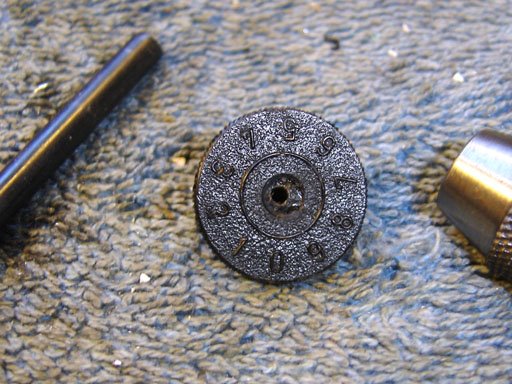
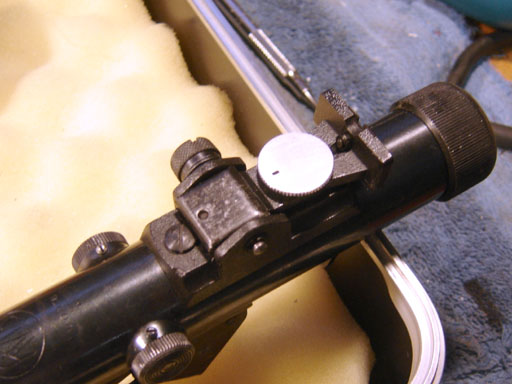
All done, if you squint, you can see that I messed up the spacing a bit on some of the detents, largely because it's the first time I used the Sherline manual rotary table with it's weird decimal angle knob. I also managed to get the depth wrong on one and milled all the way through.

If I hadn't said I milled all the way through by accident you'd think I was a design genius, on par with Movado, to make such a modern looking and understated index mark. I don't see the utility of putting numbered index marks on the top of the knob, as you just get it zeroed in at 10M and forget it...

Monday, May 19, 2008

Resurrecting A Diana Model 6M Pistol, Part 6

Some test firing revealed that the breach was not well sealed, a spray of oil (I put a drop on top of the breech to test) when I fired. Although the seal looked good, it clearly needed to be shimmed out a bit.

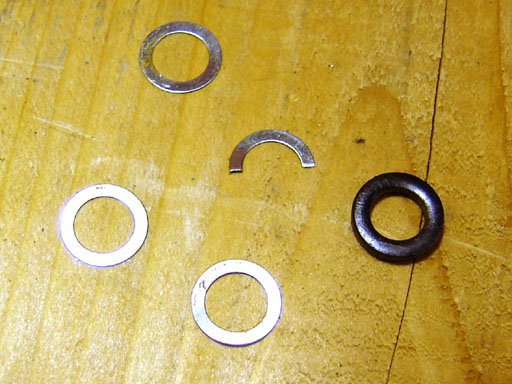
I removed the seal and found a bunch of shims already in place.

I'm not sure if the half round one was intentional, or just a broken shim. I decided to omit it.

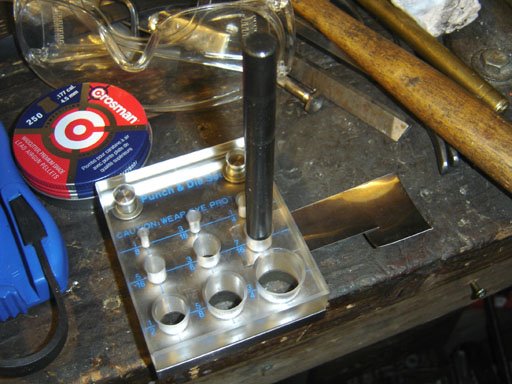
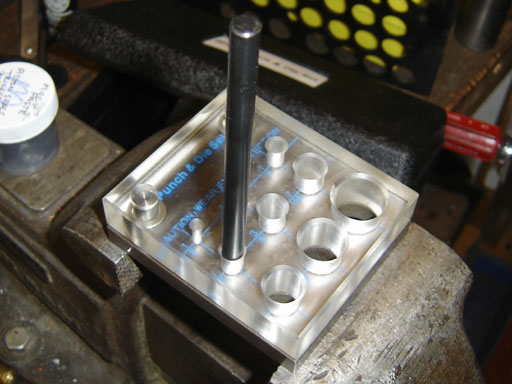
I linked to this technique earlier, and was excited to try it. First you insert the shim stock in the die, and mark the center of the OD with a transfer punch.

Then you (making sure that the shim stock doesn't shift!) punch the OD of the washer out.

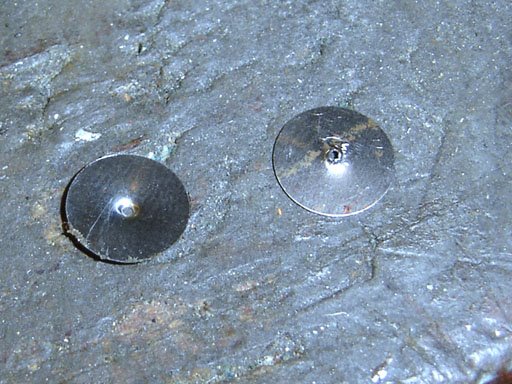
Two blanks.

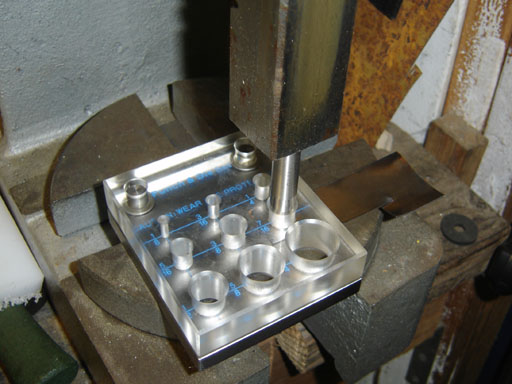
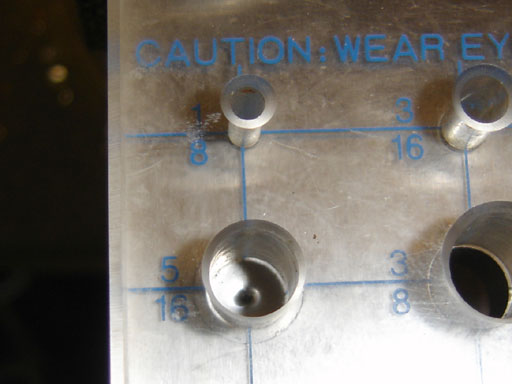
Then you insert the blank into the die again, for punching the ID.

You use a transfer punch to align the blank with the die.

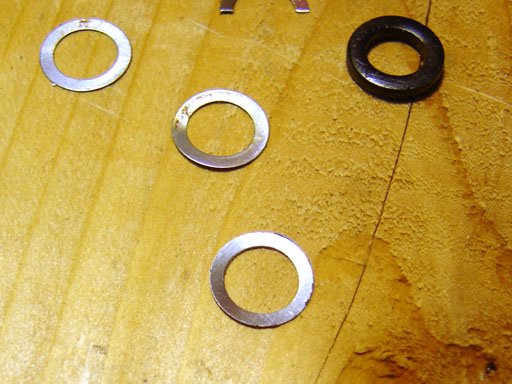
The front washer is the one I made. I made two .005" thick washers which, when added to the existing shim stack, allowed the pistol to lock up solidly, and eliminated any "blow by" in the breech.

Sunday, May 18, 2008

Sunday (Hy-)Score

Just a short break from the Diana 6 saga...
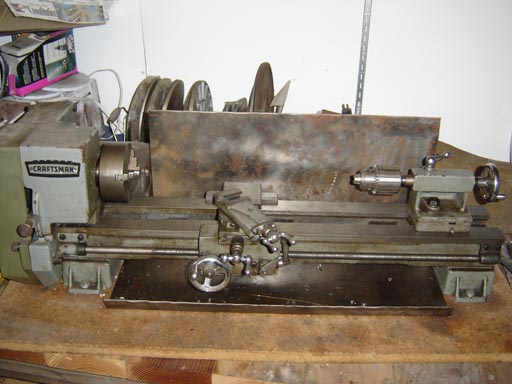
Those of you who know me would not be surprised to learn that I have a surplus of metal lathes. So I hit upon the bright idea of posting two of my spares (sitting neglected in the pump house) on the airgun forum for trade only. This morning a wonderful gentleman named Mike showed up with some airguns to trade.

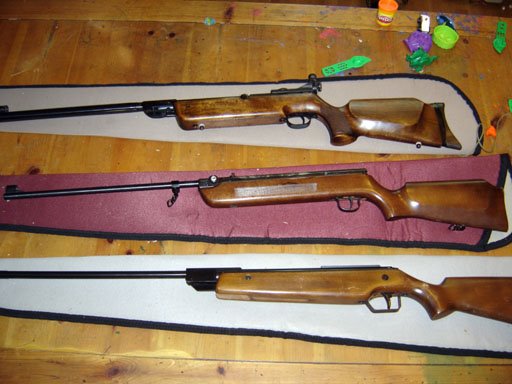
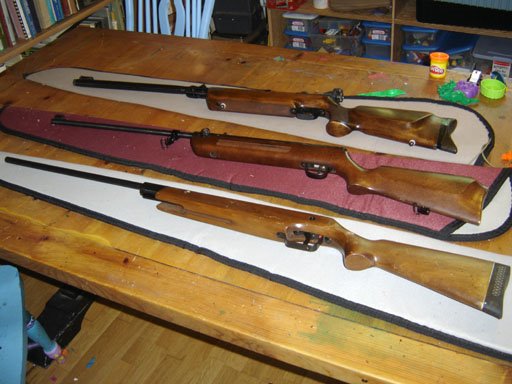
Top to Bottom: Hy-Score Mod. SM 810 (Diana 65), Hy-Score .22 sidelever, no model number... and Original Mod 45 (Diana 45). Hy-Score was an airgun company that both produced airguns and imported and rebranded European airguns.

Three new airguns...

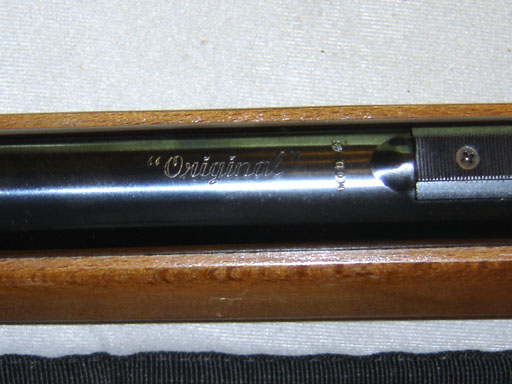
It's "Original". This was because Diana lost the rights to their name after WW2, only recently gaining back the trademark.

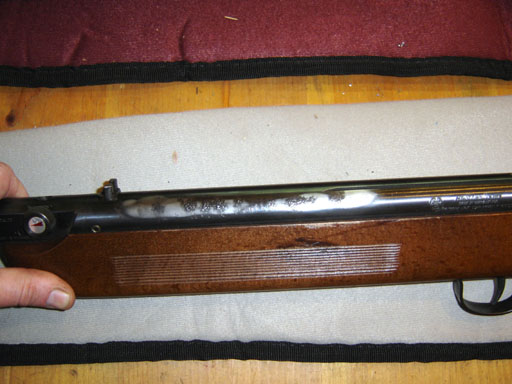
The sidelever Hy-Score is in typical condition for me to fall in love with it. Some rust and bluing gone.

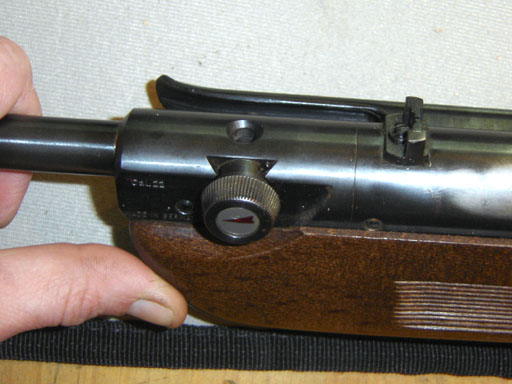
It's a sidelever, with a tap loading system. Something new for me. And it's my first .22 cal. spring piston air rifle.

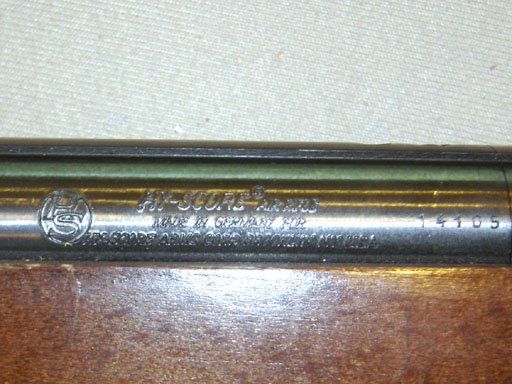
"Hy-Score Air Rifle" No model number or other identification. The blue book wasn't much help. Mike said he thought it might have been made by Hammerli, but it says "Made in Germany" and Hammerli is a Swiss company. Hmmm...the blue book says that some Hy-Scores were made by "Hammerli of Germany" so that probably all makes sense somehow...
EDIT:
I did a little internet sleuthing and found this picture. It says "Hammerli model 400 Puma .22"
The only difference is in the front sight as far as I can tell. I also found a forum post that says:
"I've got a very early Model 400 (Puma) in .22 in my collection. Very well built with rather an odd loading tap. A round knob (with direction arrow) "
Sounds exactly like the loading tap on mine. So mystery solved for now, although there is little information about the rifle generally...

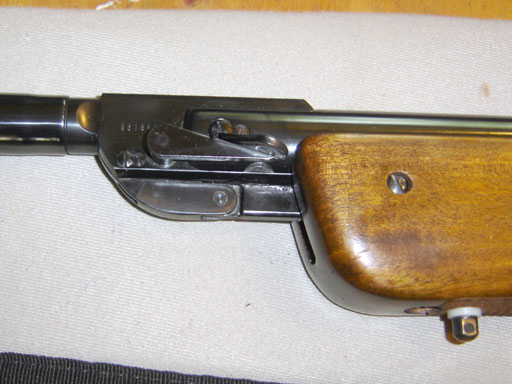
The Hy Score Mod SM 810 (Diana Model 65) locking lever.

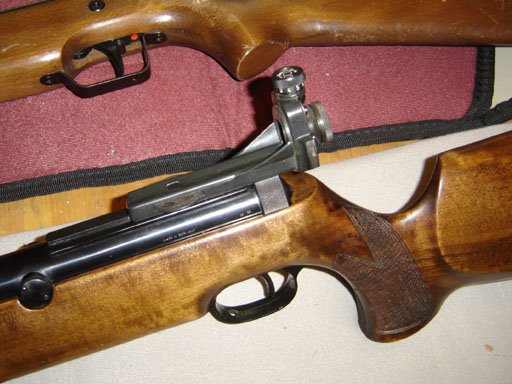
The aperture sight...notice the round protuberance on the side of the tube...yes, it's a Giss system recoiless rifle.

This is the 6" Atlas I traded for the three air rifles. I gave mike quite a bit of tooling and such I had collected over the years for it.

I still have a 10" Atlas, currently disassembled and a bit worn but well tooled and quite functional, available...