
Here's the one left behind.

Double click on any of the pics to blow them up. You'll find that the finish is pretty trashed when you get up close and personal. Looks like someone repainted parts of it with a brush--except on the cylinder--where the paint is just gone.

The valve seal is different between our two guns. This one seals around the neck of the 12g CO2 cartridge rather than on the front of the cartridge as is the norm these days. I replaced the old trashed o-ring in mine with a #009 o-ring in under a minute with a dental pick. I like the ease of access to the o-ring on the gun.
Attempting to decipher the various EVP's from Crosman, I think this valve is a Series 1. Nick probably has a a Series 2--as his was missing the #45-52 end seal and (maybe) the #45-51 seal retaining collar. A Series 3 should also be out there that uses the common 38T type seal and a thread in collar.

Took the grips off and separated the halves of the frame. The hammer spring #45-24 popped out of location before I saw which slot it was in. This forward-most location is where Crosman pictures the spring in the various EVP's.

Just a blurry pic to remind me of the pawl index spring orientation.

A few more Kodak moments as reminders.

Nothing new here, nothing to see.

Finish has really seen better days. Probably better years. I think this gun is from around 1972.

Valve just pulls straight out the front of the cylinder.

Used a silver Sharpie to mark the front of the plate--Crosman part # 6-10. It could be a week or more before I get back to reassemble this gun and it'll save me from having to think about it.

Removed the o-ring (Crosman part #140-058) from the end of the valve. This #005 o-ring seals the end of the valve inside the back end of the pellet cylinder. However, I'm going to attempt to replace this seal with a P8 metric o-ring that is very slightly larger in OD to obtain a better working seal in this location.

Valve unscrews.

Nothing unusual.

Removed the pellet retaining spring (this part was missing on Nick's gun) Some repair shops use a large o-ring as a substitute for the spring.

Enough with the disassembly. The gist of the entire post is thus: It's time to fix the finish. The brass wire wheel is a go.

Done. Took about 10 minutes.

Buffed out the scratch marks with some rouge.

Rustoleum Appliance Epoxy spray paint. Long drying time, but worth it for the superb durability and the cheap price. It's about $5 a can around these here parts. You gotta talk like a cowboy when you're working on an SA6. Says so right in the manual.
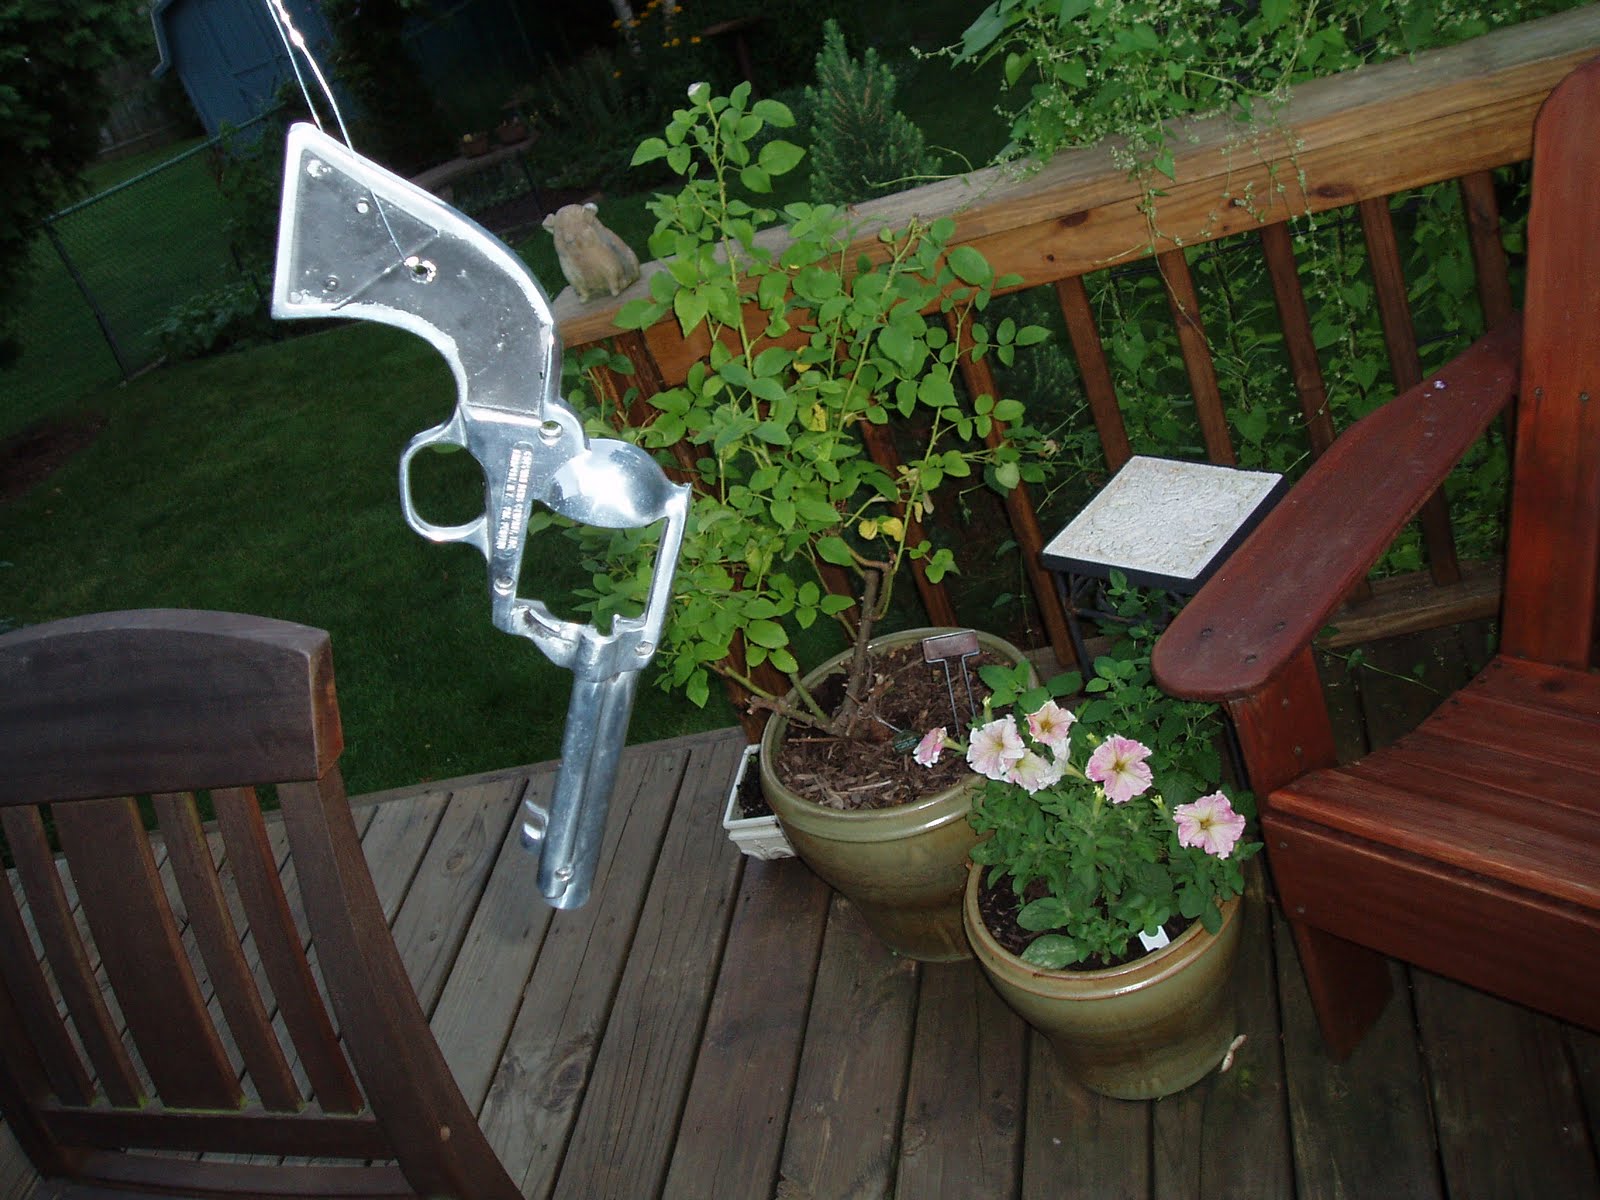
Hanging by a wire and ready for paint. The current plan is to refinish the gun and tweak a couple things to tighten group size as well as attempt to get the gun to hit closer to point of aim. Check back again in a few days.


