
I cut the end cap down in length, faced off the end and set up the compound cross slide. Just eyeballed an angle and cut a taper. The taper is purely aesthetic.

High speed and a very light cut on the final pass left a decent finish.

Need a quick work holder for the cap. Spotted and through drilled a scrap rectangle of steel.

Used the drill press to align and start the tap. Tapped 3/8"-24.

Finished by hand.

With hole deburred, I present the "work holder mark-1". Yep, release the confetti.

Uh huh, this goes with that.

I'm getting to the point where I probably need a real mill (and another 200 square feet). This set up is only slightly less worse than holding the cylinder directly in the jaws of the vise. Seriously, don't ever do a milling set up like this. I switched to a smaller diameter end mill and took many, many fine passes. Eventually, I switched the setup and side milled the final cut.

Out of the mark-1 holder and into the 3-jaw. A fine skim cut on the side to clean up and better define the edge lines.

Sanded the flats to 320 grit on the granite surface plate.

This set up isn't as bad as the previous. An angle vise would be a better choice, but I don't have one. So... I cut and faced a piece of 0.250" drill rod then chucked it into the drill press. Brought the spindle down and used the flat end of the drill rod as an alignment guide.

Spotted and drilled with a 11/32"

Really took some measurement, eyeballing and some guesswork as to how deep to make the hole. I stopped when the voices in my head said to. That's either intuition on insanity. Seeing as how much time I spend working on old airguns, I lean toward the latter.

Followed with a "modified to drill flat bottomed holes" drill bit.

Again, used the drill press as a tapping guide and started the 1/8"-NPT tap.

The first cut with the tap barely left threads in the hole. NPT is a tapered thread and the taps cut the first 4 or 5 threads undersize. As I was only getting about 6 threads in the hole, it was necessary to shorten a spare tap, then enlarge the threads repeatedly until the taper matched the B&A adapter. There's probably a few easier ways to do this, but if the tapped hole ends up oversized, the thread fit will be poor and the gas seal compromised.

Gradually ground the tap down, measured the smallest end thread, tapped, ground more down, measured, tapped...

Still going. Eventually, the bottom of the tap measured 0.3899"--the smallest thread size on the B&A adapter.

A rough idea as to how much I had to shorten the tap. The ground tap is now an exact match to my adapter.

Attached the cap to the paintball tank and opened the valve. The NPT thread held pressure. I'll add a rubber seal at the bottom of the hole as a backup.

Drilled to provide the CO2 passage from the tank to the gun. This was nerve wracking. I didn't know with certainty that the through hole would be centered in the off-angle NPT threading.

Sometimes even I get lucky. The hole was almost completely centered. You can see the the chatter marks from the flat bottomed drill bit. An even higher turning speed may have helped. Note the cleaned up surfaces.

Another view. Deburred all the holes.

Buffed and ready for blue.

Punched another seal.

Final assembly.

Screwed together.


Here's the B&A adapter. It's configured for paintball tank to 1/8"-NPT.

Turning the brass dial releases the gas from the tank.
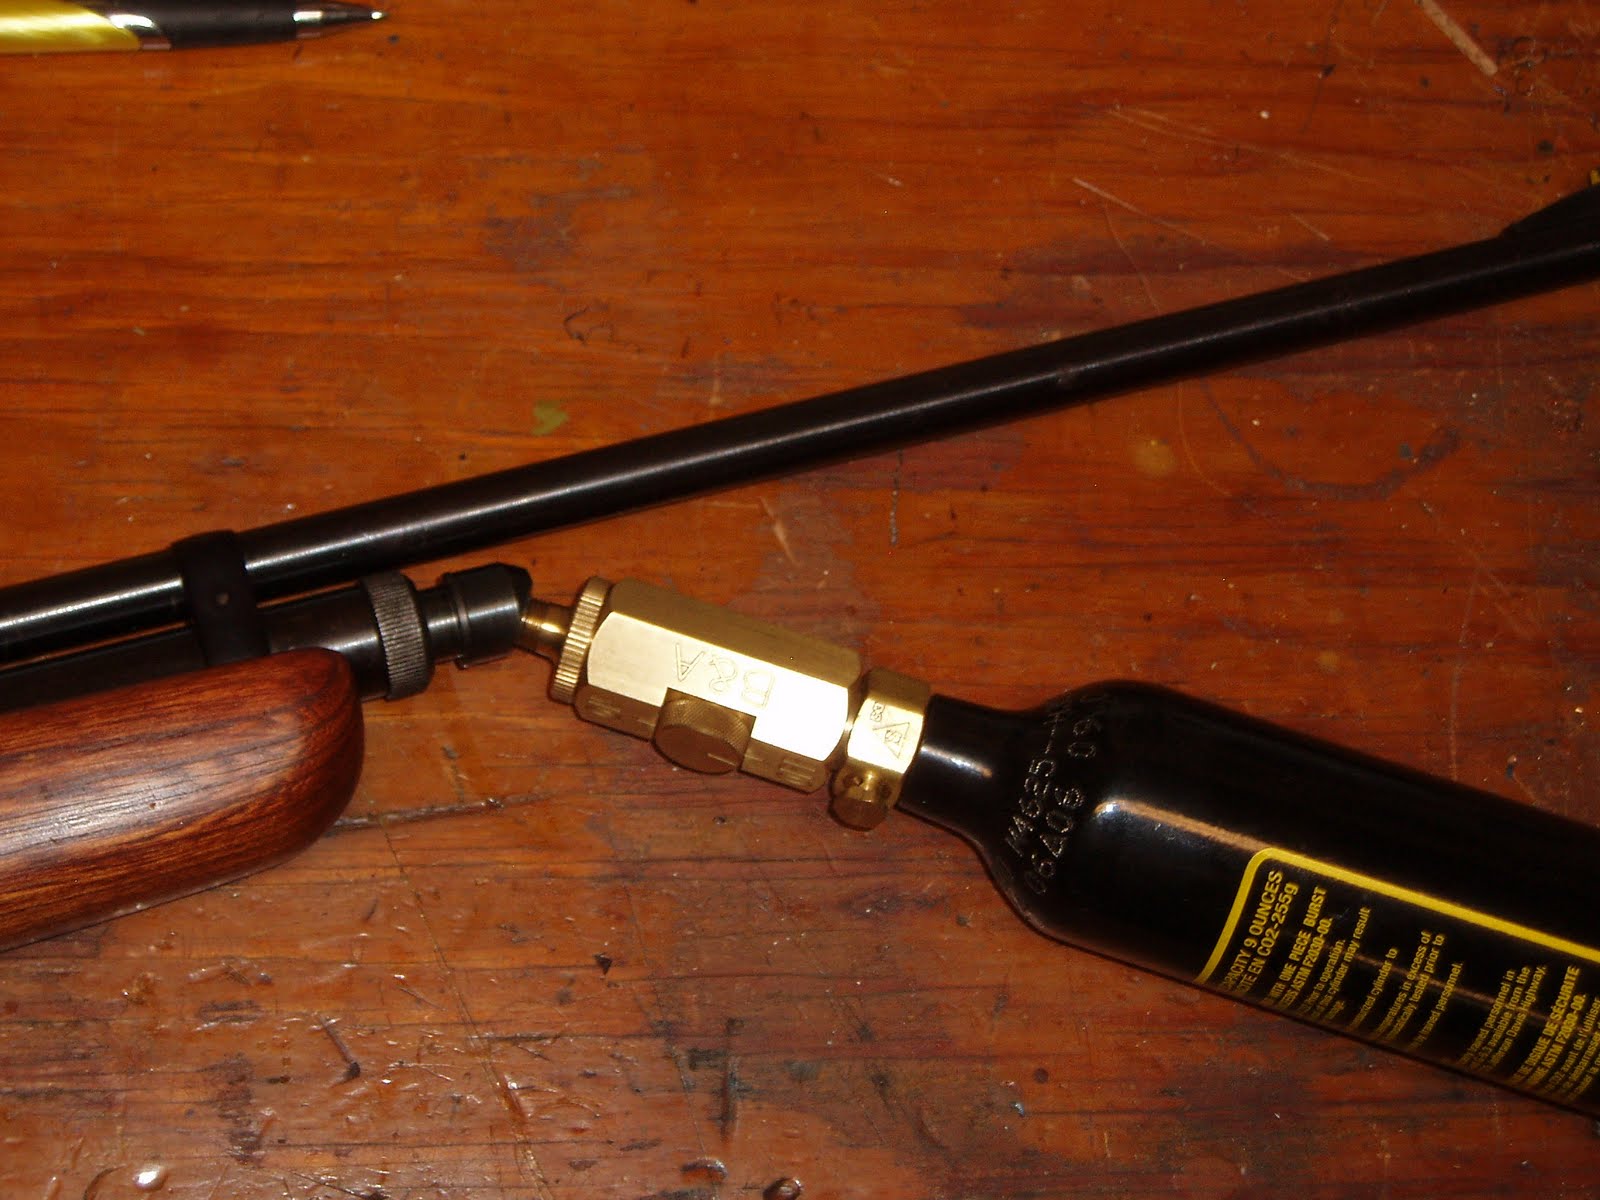
Here's the adapter in use. Incredibly, the whole thing actually works! Gas flows into the gun and as the adapter is unscrewed from the bulk fill cap, the check valve closes, sealing the gas inside the 160. I may add a vent hole in the side of the NPT in the cap. I think it'll let the check valve close a bit faster. If I do, I'll update the post with a few pics.
Update 8/2/2010:

I thought that disconnecting the adapter was wasting too much CO2. The cap went back into the holding block and I eyeballed a 1/16" vent hole.

The hole is drilled through the side of the cap and through the 1/8"NPT adapter threads. Vent hole, bleed hole, blow off...whatever you want to call it. It relieves the pressure to close the check valve faster, disconnect the paintball tank easier and keep more CO2 in the gun's reservoir.

Hole location.

Angled the vent hole. The hole is just above the face seal so it vents just as one begins to disconnect the paintball tank.


