
Anyway, I need a filler for the heel and bottom of the grip. Back to the original board the grips came from.

Either grip will work for this.

Elected to trace the right side grip. Didn't really matter which one I chose, but I liked the way the grain looked.

Cut it out on the scroll.

Fine tuned the frame location and traced.

Cut it out. Had to open it up a bit here and there to get the angles to match up with the right grip panel.

Test fitting

Gonna permanently affix the spacer to the right grip panel. Thought about gluing the spacer to the left panel, too, but that would entail slotting the pin holes for the trigger pivot. Was concerned with having the grip immobile on the frame like it is now. Afraid the slot would let the grip shift slightly while sighting. If, however, a gap opens between the left panel and the spacer in the future, I'll go that route.


Just some mulling before the affixing time.


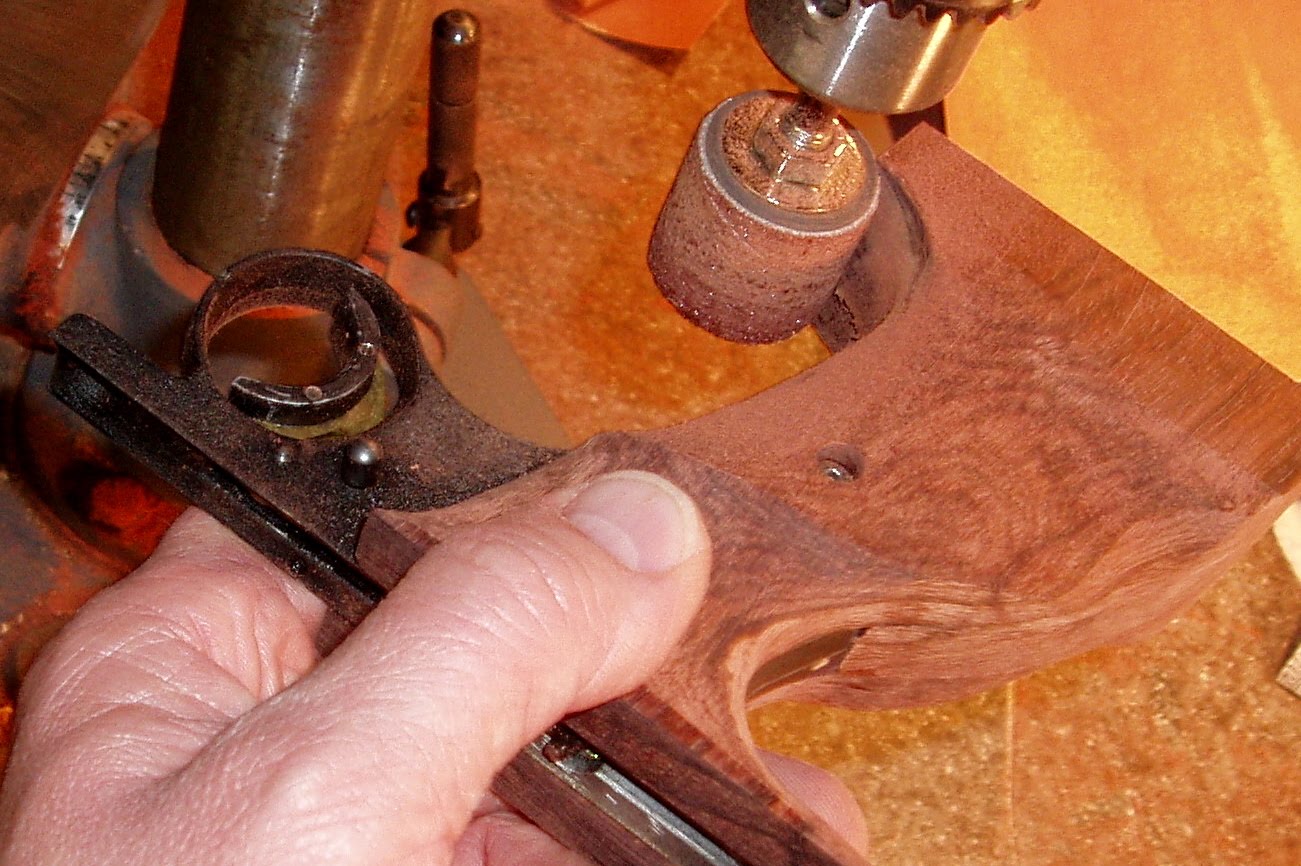
A bit of clean up for the difficult to reach spots.

Gorilla Glue. Woodworking wisdom--of which I have none--says to wipe rosewood with acetone or a similar solvent to remove the natural oil from the surfaces to be glued.

I wet the wood, let it dry--then wet it again and glued it up. I don't think it'll ever come apart at the glue joint. I probably could've used another clamp or two.
More test fitting. Yay! The glue didn't foam up against the frame and stick it all together.

A couple views.


Looks like I can't procrastinate sanding anymore. I screwed the grips to the frame.

Removed the grip frame from the gun and sanded the bottom surfaces flat.

That's three half-inch thick boards.

Evening up the backstrap and heel.

Killed the flash to show the contours. The sides are almost mirror image.
Some up front tweaking.

Various angles

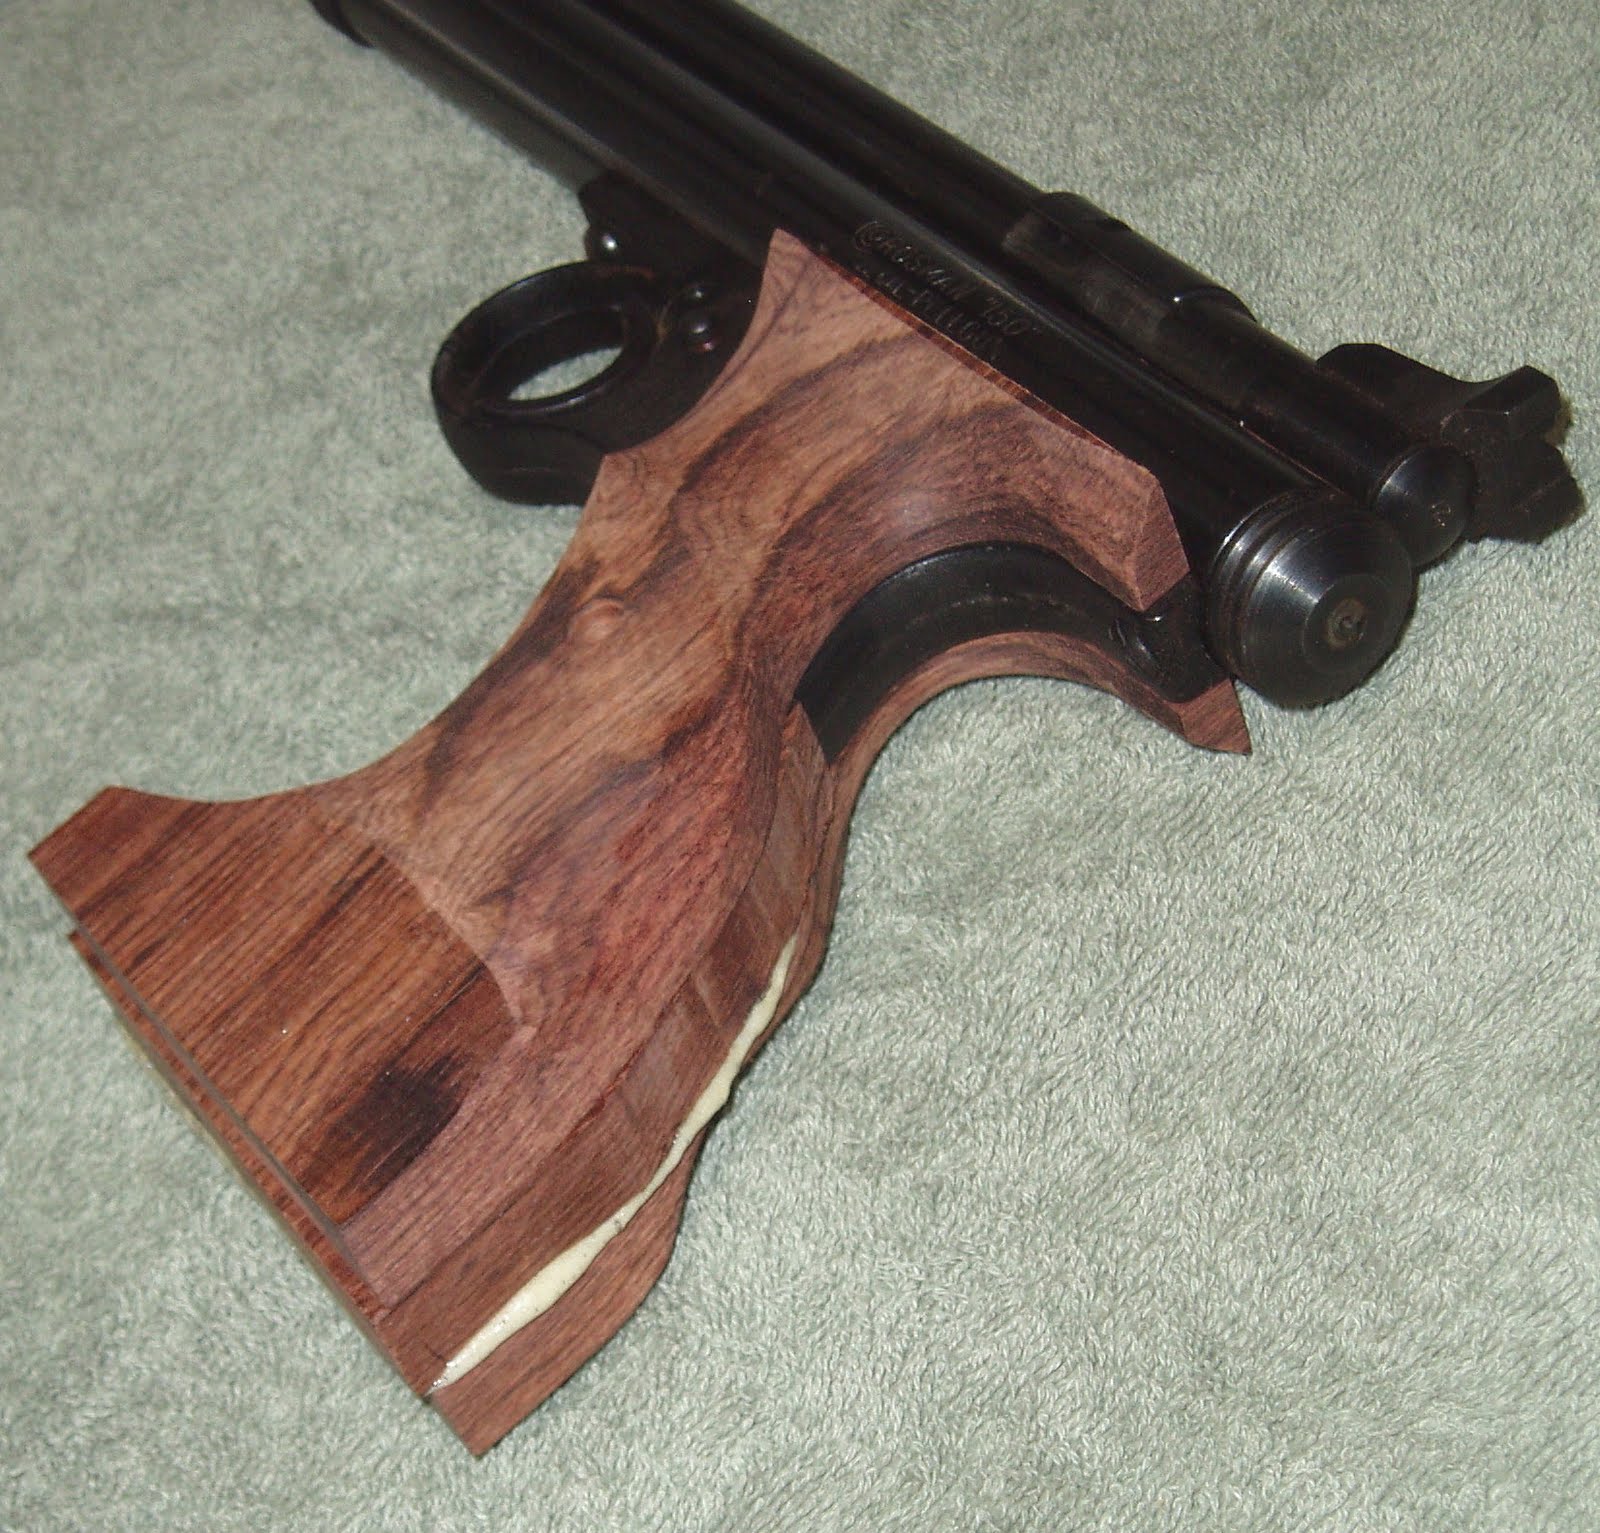
It already feels more hand-filling and substantial compared to the original.


It's starting to look like finished product. Needs a bit more shaping--especially at the bottom--and then finish sanding.
More soon.
