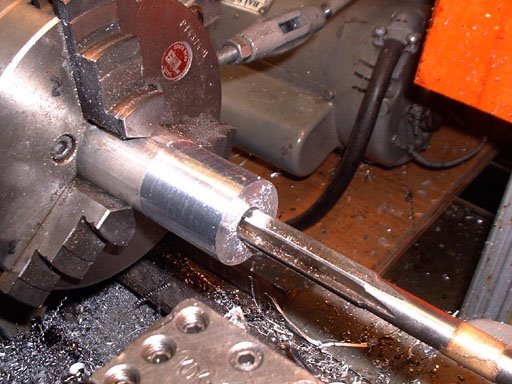
Drilled and reamed 1/2"
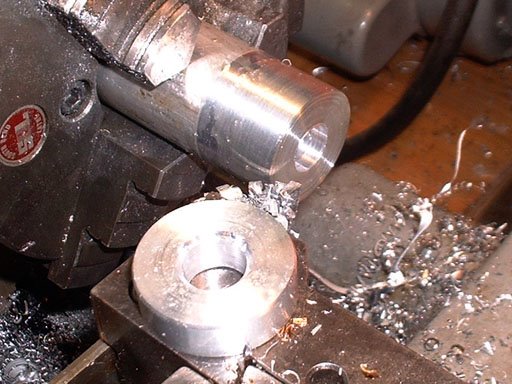
Parted off a hub.
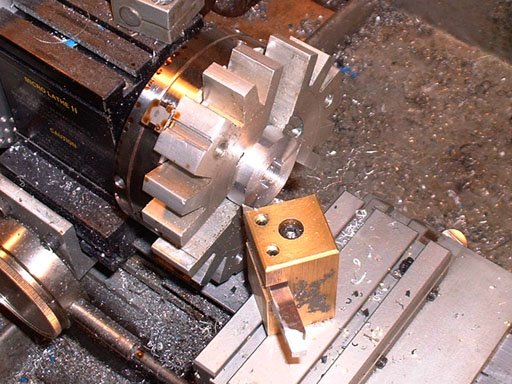
Faced the other side.
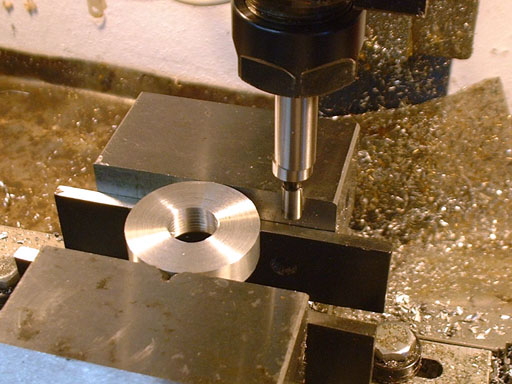
Finding the centerline by using the vise jaw as a reference.
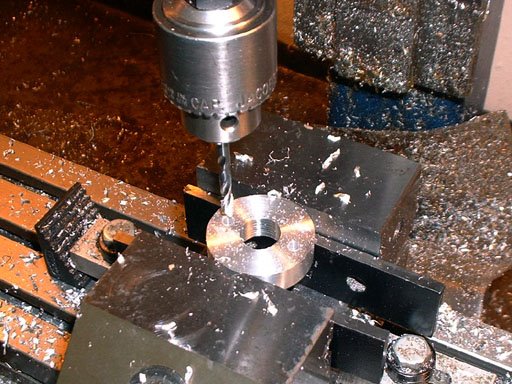
Drilling some mounting holes.
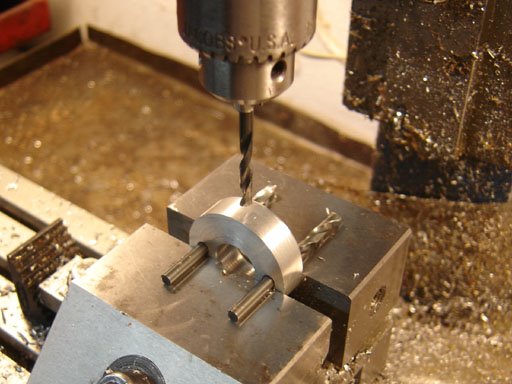
Using two drill bits to align so that it can be drilled for a perpendicular setscrew.
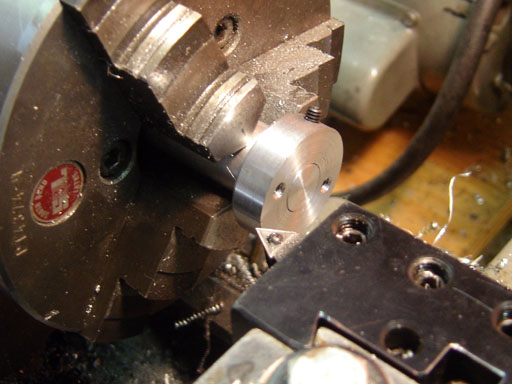
Mounted to the sliding rod and faced flat.
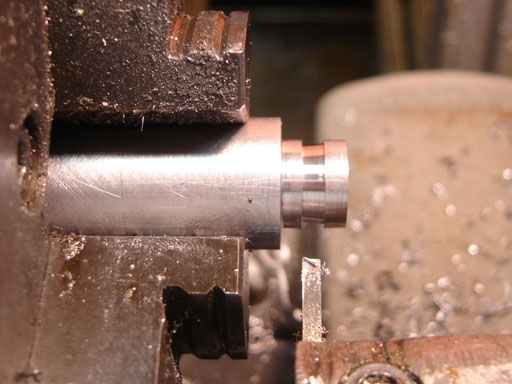
A groove for the setscrew was made on the rod. I made it slightly angled so the setscrew would push it against the shoulder of the rod.
No comments:
Post a Comment