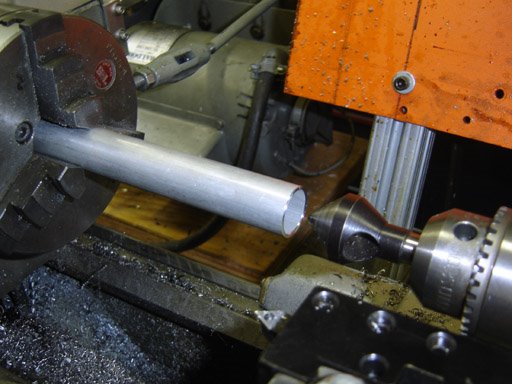
I carefully faced off the tube and used this big countersink to debur. I really need to find a steady rest for the South Bend.
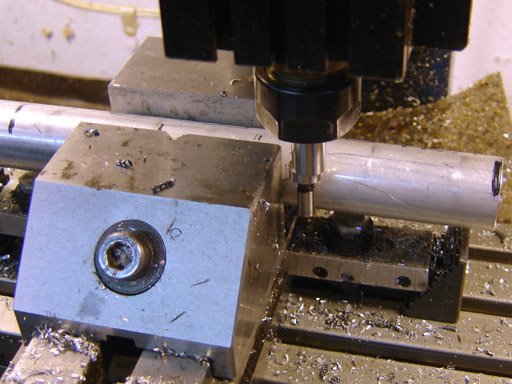
Picking up the side, so I can put the spindle on center.

Picking up the end.
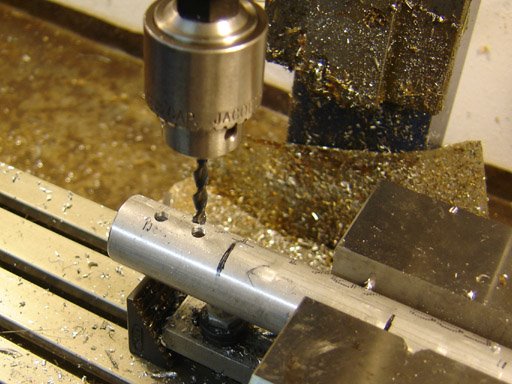
Drilling the mounting holes.
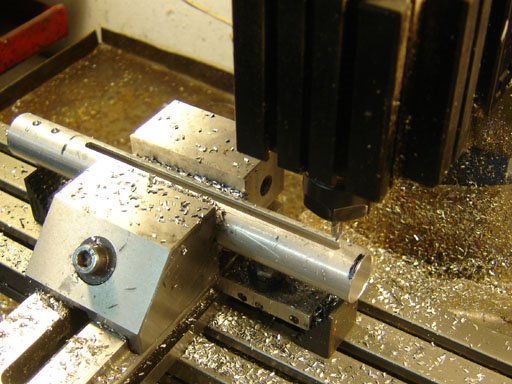
Slotting the tube.
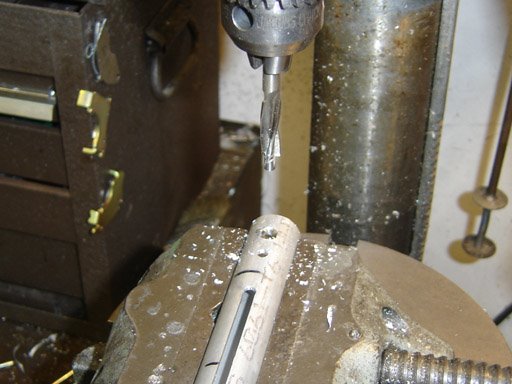
I used a #8 counterbore in the drill press to put a flat spot on the tube for the allen screws.
It was quicker to do this than swap tools over at the mill.
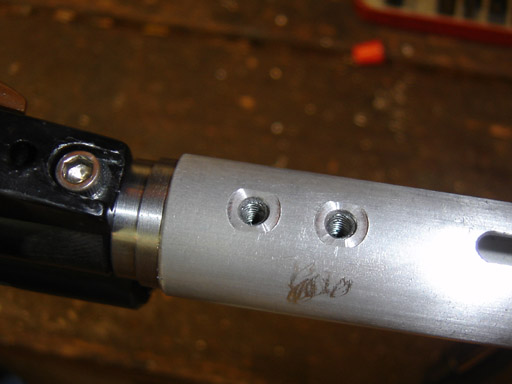
Look at that! The holes line up.
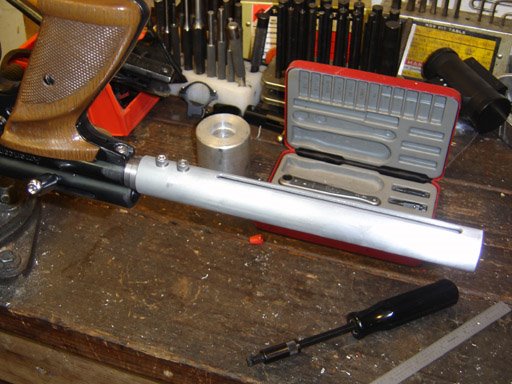
Another part done.
2 comments:
Looking good Nick! I'm looking forward to seeing the finished project. Great work so far!
Thanks Chris, and thanks for adding me to your link list!
Post a Comment