
Here's the one left behind.

Double click on any of the pics to blow them up. You'll find that the finish is pretty trashed when you get up close and personal. Looks like someone repainted parts of it with a brush--except on the cylinder--where the paint is just gone.

The valve seal is different between our two guns. This one seals around the neck of the 12g CO2 cartridge rather than on the front of the cartridge as is the norm these days. I replaced the old trashed o-ring in mine with a #009 o-ring in under a minute with a dental pick. I like the ease of access to the o-ring on the gun.
Attempting to decipher the various EVP's from Crosman, I think this valve is a Series 1. Nick probably has a a Series 2--as his was missing the #45-52 end seal and (maybe) the #45-51 seal retaining collar. A Series 3 should also be out there that uses the common 38T type seal and a thread in collar.

Took the grips off and separated the halves of the frame. The hammer spring #45-24 popped out of location before I saw which slot it was in. This forward-most location is where Crosman pictures the spring in the various EVP's.

Just a blurry pic to remind me of the pawl index spring orientation.

A few more Kodak moments as reminders.

Nothing new here, nothing to see.

Finish has really seen better days. Probably better years. I think this gun is from around 1972.

Valve just pulls straight out the front of the cylinder.

Used a silver Sharpie to mark the front of the plate--Crosman part # 6-10. It could be a week or more before I get back to reassemble this gun and it'll save me from having to think about it.

Removed the o-ring (Crosman part #140-058) from the end of the valve. This #005 o-ring seals the end of the valve inside the back end of the pellet cylinder. However, I'm going to attempt to replace this seal with a P8 metric o-ring that is very slightly larger in OD to obtain a better working seal in this location.

Valve unscrews.

Nothing unusual.

Removed the pellet retaining spring (this part was missing on Nick's gun) Some repair shops use a large o-ring as a substitute for the spring.

Enough with the disassembly. The gist of the entire post is thus: It's time to fix the finish. The brass wire wheel is a go.

Done. Took about 10 minutes.

Buffed out the scratch marks with some rouge.

Rustoleum Appliance Epoxy spray paint. Long drying time, but worth it for the superb durability and the cheap price. It's about $5 a can around these here parts. You gotta talk like a cowboy when you're working on an SA6. Says so right in the manual.
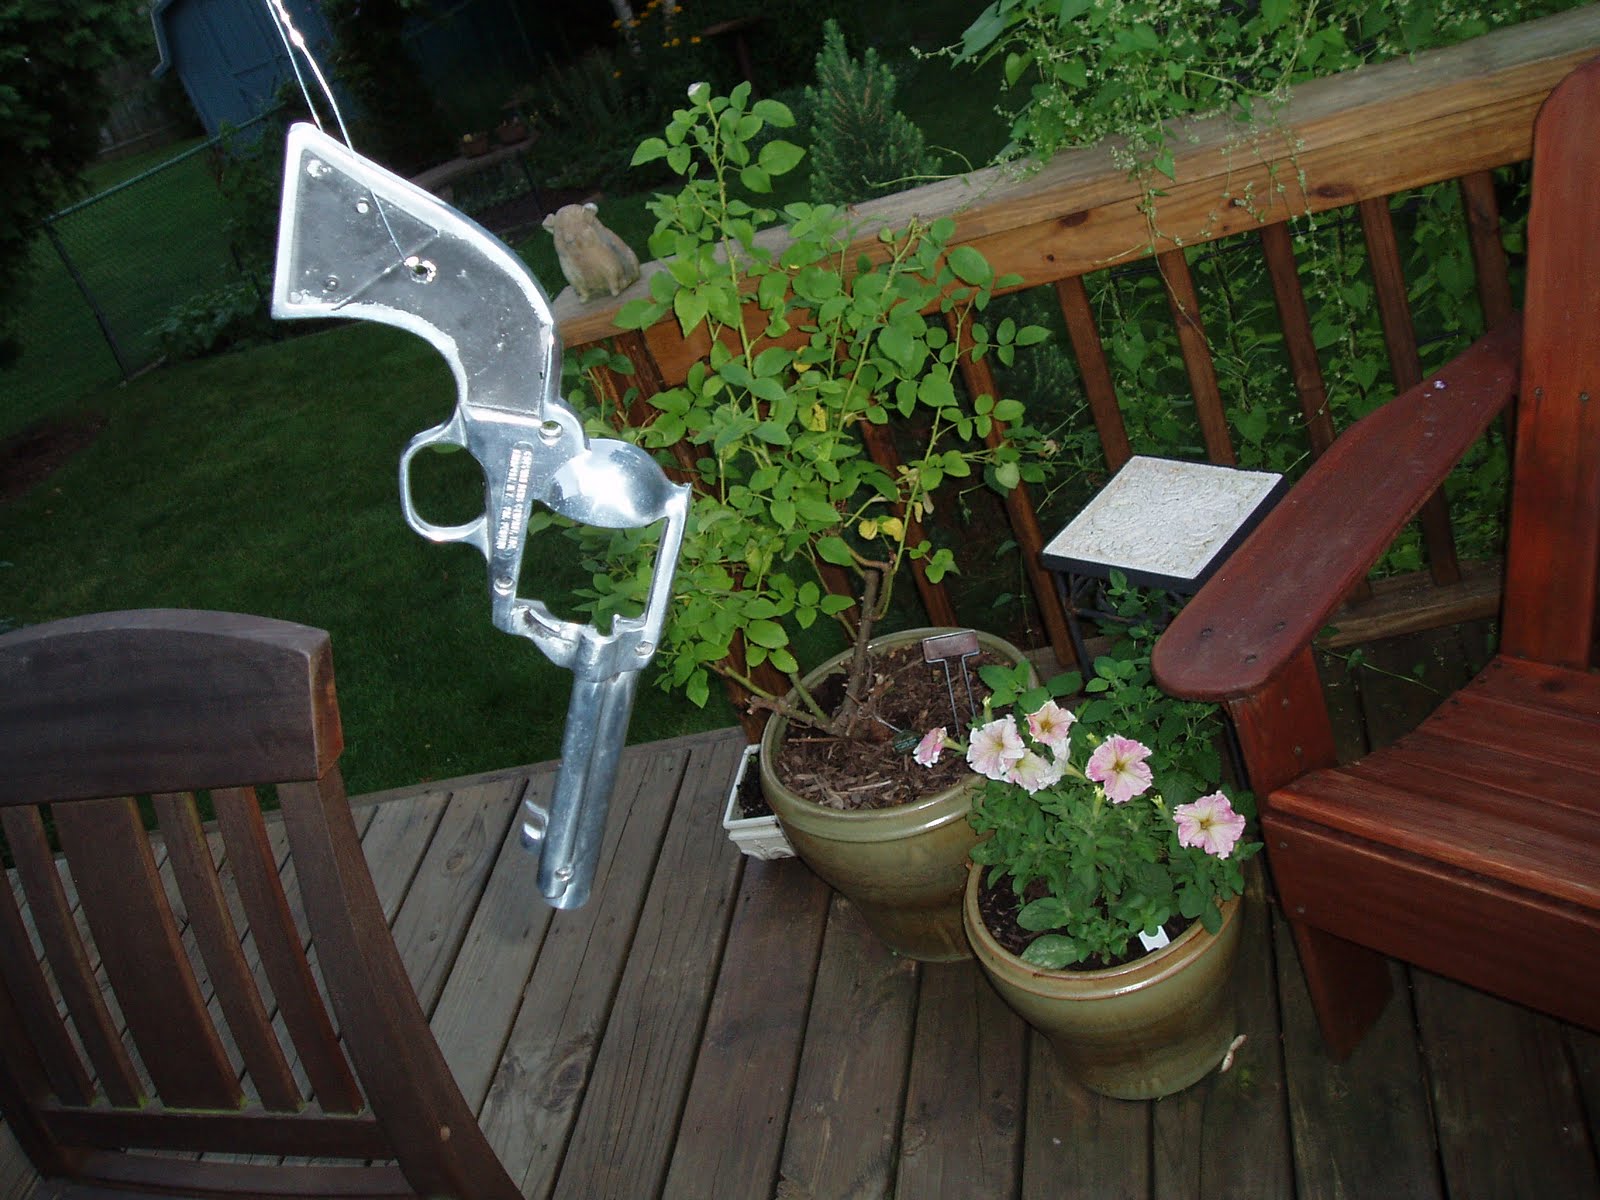
Hanging by a wire and ready for paint. The current plan is to refinish the gun and tweak a couple things to tighten group size as well as attempt to get the gun to hit closer to point of aim. Check back again in a few days.

12 comments:
Man,
watch that black overspray! I have had to replace more stuff than I'd like to admit. Cars, floor tiles, PATIO FURNITURE, wallpaper, etc, etc...
Just when you think you've masked the surrounding area off decently, black spray always seems to defy!
KA
Man,
watch that black overspray! I have had to replace more stuff than I'd like to admit. Cars, floor tiles, PATIO FURNITURE, wallpaper, etc, etc...
Just when you think you've masked the surrounding area off decently, black spray always seems to defy!
KA
Speaking of which, what color spray is that? I'm assuming black, but I think they make an appliance spray in stainless color. That would look sweet.
- Orin
Orin,
It's black. Someday.
Derrick .38
I was a might impressed with the shine on that finish after your gunsmithery.
But dagnabbit, my delight turned to horror right down to my spurs when I saw the spray paint can cowerin' there.
Perhaps there are practical considerations a simple cow poke like me can't rightly ponder, but seems like she looked mighty fine just as she was a sittin'. I reckon everyone's got their opinion to be fair.
I propose a shoot out between you and Nick at high noon with your SA6s.
Where do you buy your O-rings from? The local hardware specaility shop o ring numbers don't match up with your numbers for size?? RR
I but Viton o-rings from MSC (I order from them for my other businesses). Polyurethane is better though, if you just want one or two you can get them from Mac1. Harware o-rings are usually buna and don't hold up as well.
Nick
What brand and type of pellets do you use for the Crosman SA6? Also, how come some SA6s have dark gray stag grips while others have the white and brown stag grips (like the Hahn 45)?
Hi
Im a guy living in CANADA
that are EXTREMELY interested
in purchasing :
1x Hahn 45
1x CROSMAN SA6
In fact I search for theses since severals months !!!
please someone could help me in this quest ?
I have some money aside for this project in my paypal account.
Email me directly at : Cognoscenti@hotmail.ca
currently waiting some help !!! :)
Hello!
I was looking for information on air seals of vintage BB gun systems when I came across your site via. an image search.
The reason for the search was so that I could gather a little information on how I might be able to fix my Hahn "45" B.B. Single Action Revolver (Circa 1958). I recently discovered it in a local antique mall and as luck would have it, just happened to have $10 on me. (Current excellent goes for $250 :)
Once home I put it back together. It had been disassembled within the trigger group. I'm thinking this was the reason for the low price. Anyway, once together I decided to test it. Since it was so old I figured I'd play it safe and place it in a vice for test firing. The gun failed to pierce the CO2 on the first shot, but an adjustment on the trigger spring was enough to solve that little problem.
The second shot reminded me why I always remember to play it safe when dealing with old devices and gasses under pressure. As soon as the hammer dropped it hit the pin sending the sharpened tip into the cartridge thus puncturing the seal.
Releasing all the gas seemingly at once!
But then again..., that WAS a bit to be expected.
The search was so I could get a better idea of how these systems worked in general and ended up at a site giving me exactly what I wanted. I love the 21st century!
My dad had this old Crosman .22 pellet in the late 50's early 60's and when the seals went bad he just shelved it until I found it again sometime in the late 70's early 80's, but not knowing a thing about it and before the real internet, I put it on a shelf as well. So just the other day it got in my way putting other things away and I decided to see if I could find anything out about it. Sure enough an image search found one like it an SA 6 and then your blog gave me a quick education and hopefully soon it will be functional. Crosman has manuals on line too, I just wish I could find better looking examples. The only difference I can see on my piece is that it does not say Single Action 6. The .22 cal stamp is in its place instead of under the Crosman stamp as on yours. Anyway Thanks for the great detail in your blog it looks like it will be a fun little revolver to shoot.
Post a Comment