With the leather pump cup out of the way...
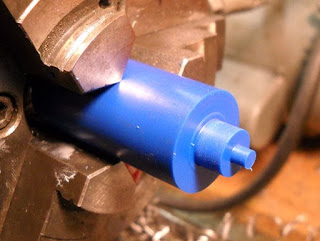
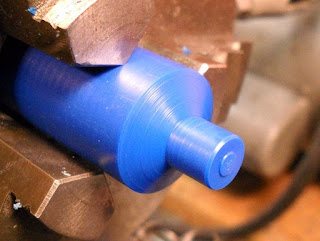
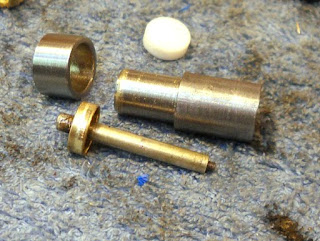
I turned up a piloted punch from mild steel.
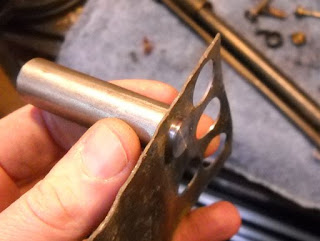
It has a 1/2" pilot and a 5/8" main section. That way I can punch the hole in the lead seal first, then use this to punch a concentric seal. Much easier than the old way I did it.
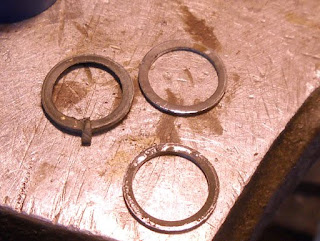
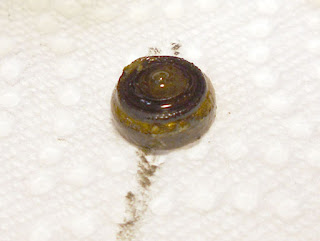
New lead seals and the old one.
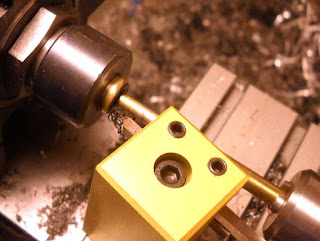
To remove the old rubber from the exhaust valve I decided that a boring bar would be much easier than my old method of digging it out with an Xacto knife.
Much easier...see the tiny bit.
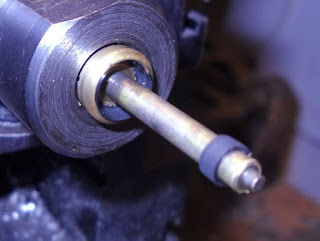
Once I bored a ring out it was easy to remove the rest of the rubber.
Now to de-crimpify it (technical term).
I used the same tooling I'd made last time, but made one end a gentler taper.
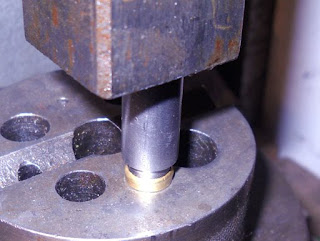
I carefully expanded the sides out.
Then pushed it through that ring.
All ready to put the rubber seal in.
I put a seal in and then turned it flat on the lathe.
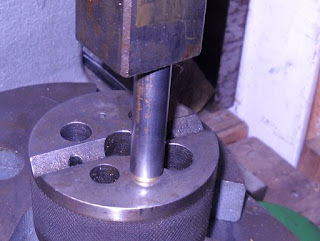
And recrimped, but very lightly so as not to distort the rubber.
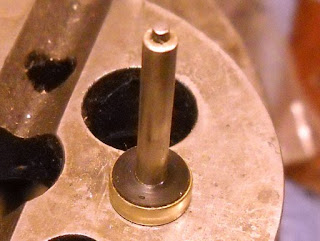
Looks good.
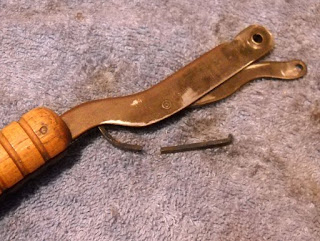
I was a bit dismayed to discover that the link spring was broken.
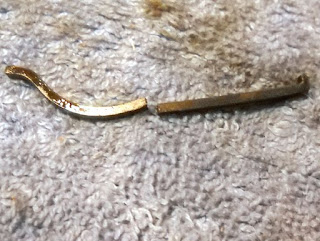
I'll deal with it later, the pistol will work without it. And I'd like to see if the resealing works.
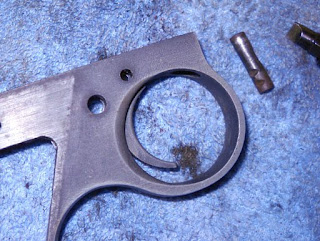
I found that you have to insert the trigger and then manouver it back and up to fit the safety pin over the trigger, then push it forward...
In insert the trigger pin.
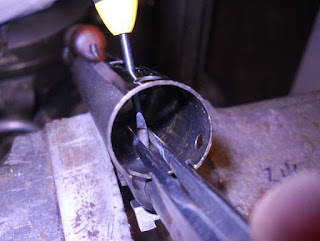
The last bit was getting the bolt guide screw back in after assembling the valve (exactly the same as any of the Benjamin rifles). I had to hold it in position with some tweezers and screw it back into the bolt.
The rest of the pistol goes together easily in reverse of disassembly. It held air overnight and at 10 pumps gives me about 320 fps w/14.3 gr. Crosman pellets. Interestingly the manual I have says it can be pumped 12 times...which gave about 380 fps. I'm going to move on to another gun but I'll definitely be making a replacement spring when I get up the nerve.
Friday, January 8, 2010
Benjamin 312 Leather Seal Shenanigans
This is a boring and pointless post that only serves to show how much I have to learn about fixing airguns...
I decided to get clever and make the forming dies for the pump cup with a hole...
and a pilot...
Seems like a good idea as the hole will be perfectly centered.
Left to dry in the vise...
All torn up in the center. Did it twice and got the same result.
Decided that maybe the lack of a chamfer on the male die was the issue so I added one.
Still torn around the hole.
And again...
So I left only the merest hint of a pilot.
Tired of this yet?
Finally! But it's too damn short. I started using a female die with no center hole at all.
And shaving the leather thinner. I need to get some already thinner leather.
Too thin.
Last chance...I soaked this leather longer than the last and shaved it thinner but not as thin as the last time. It's long enough if a bit ragged.
I won't be spoiling the surprise to say that yes, this one works. And I didn't even show the 10 other failed attempts.
So what I learned is that the smaller the cup diameter the more the leather stresses. And that I need even more of a variety of leather thicknesses. BTW, here's a great post from the Classic Camp Stove forum on making small leather pump cups.
Did I mention this cup is available for less than $7.00 from JG Airguns? But what would be the fun in that?
Monday, January 4, 2010
Benjamin Model 132 Pistol Disassembly, Part 3
Almost done...
Removing the breech cap screws.
The breech cap and hammer spring come out.
I removed the "bolt button" from the bolt.
The hammer slid out as well.
The face of the hammer.
Getting the bolt out requires removing the "bolt guide screw".
A small screwdriver through the tube does the job.
When removing the bolt, as with every other Benjamin or Sheridan, don't space out and allow the spring or (only in the case of the Benjamins) ball bearing to spring up and out into the wild. Notice how shiny the ball is? That's because it's new. Good thing I have a supply of bearing balls on hand.
Notice there's no seal on the bolt.
I used my home made valve tool to remove the outlet valve lock screw.
And my home made valve puller to remove the rest of the valve unit.
The lead seal is in good shape, notice the alignment tab on both the seal and the outlet valve. There's another lead seal still stuck in the tube that I'll leave in place, it's swaged in there and likely will seal fine. if not then I'll tear it out and install a new one. But I'm nowhere near there yet...
I ground the tip of some music wire to fit in the inlet valve hole.
And carefully inserted it into the inlet valve hole.
Which pushed out the inlet valve. I have yet to have one just come out easily...
Typical seal extrusion...I'll be making a teflon replacement.
Back to the pump plunger. It looked to be in good shape but it turned out to be torn...
I managed to put enough torque on it to remove the pump rod screw.
Thus ends the disassembly. According to the drawing in Fletcher's book there should be a washer between the pump expander and the leather cup. But who knows whether they always used those.
Now it needs a new inlet seal, a new pump cup, a lead seal (although I could likely reuse that one), reseal the exhaust valve (I forgot to take pics but it was hard and grooved...) then clean and reassemble. I'm almost done with all of that although fabricating the pump cup is giving me fits. But that's a story for another time.
Subscribe to:
Posts (Atom)