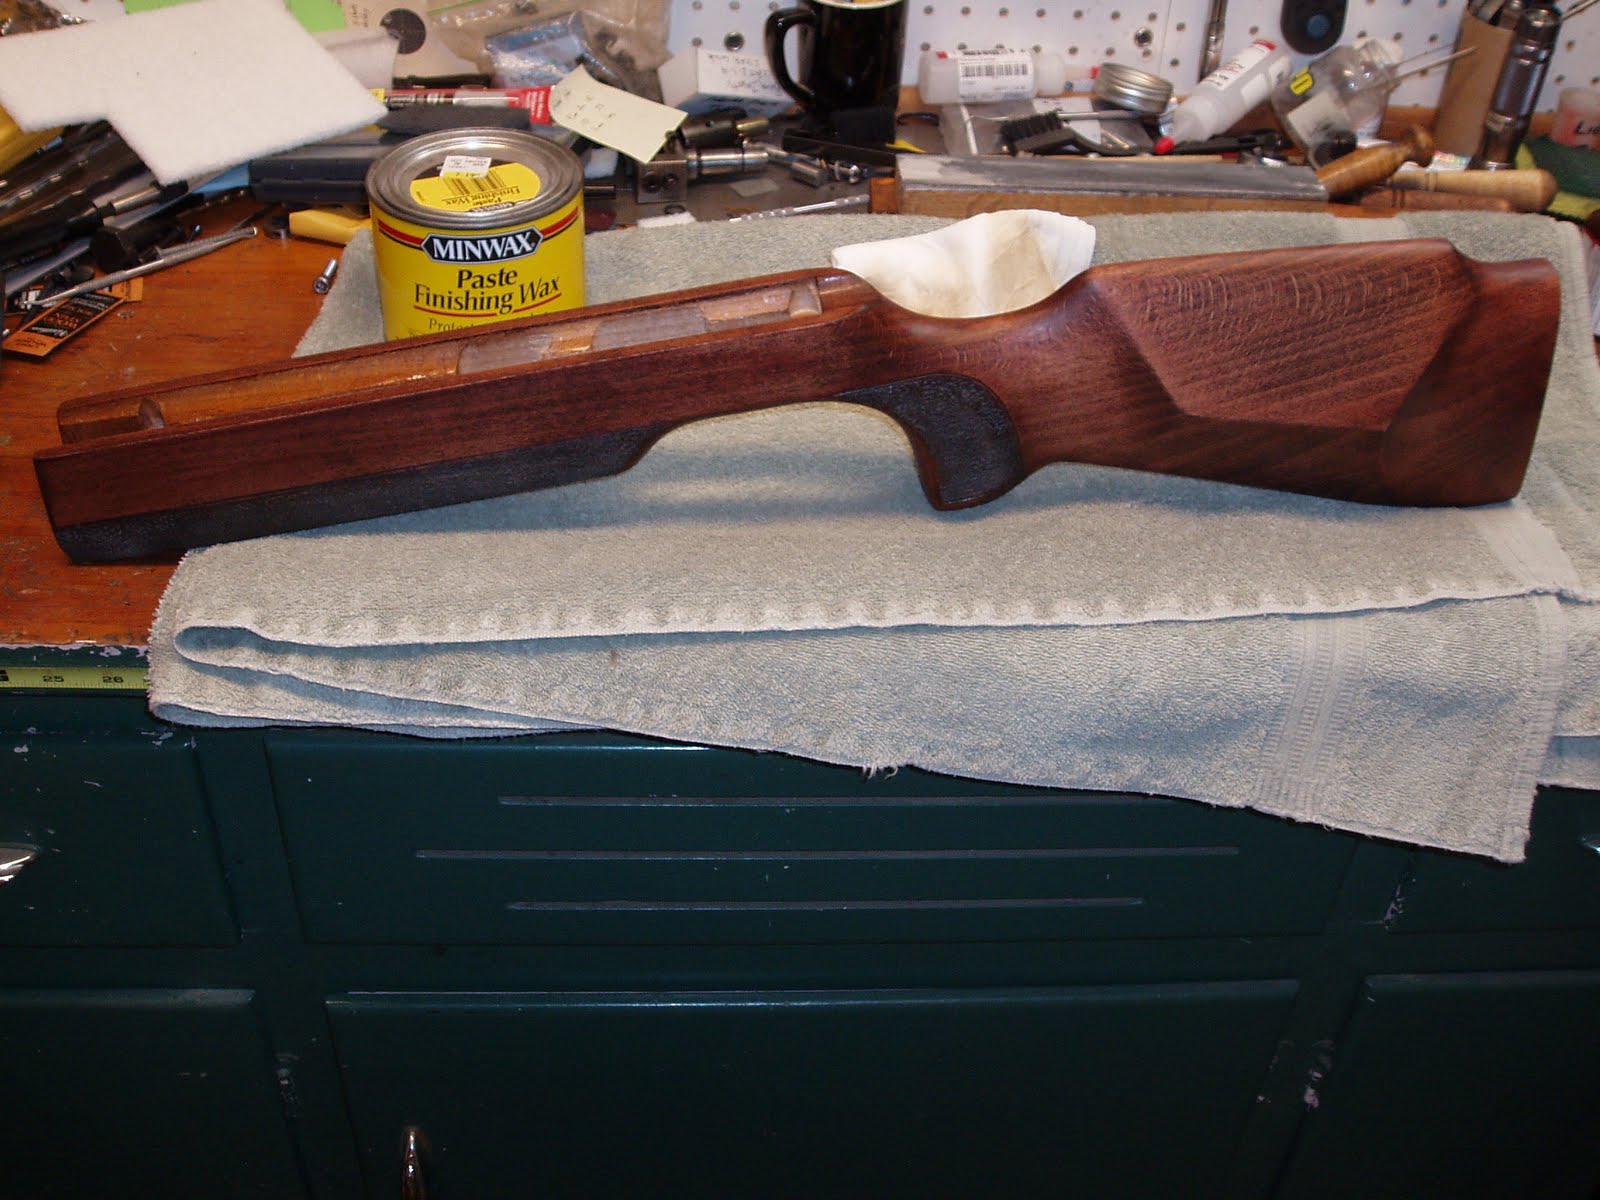
Well, I'm finally finishing up the stock on the Haenel 303-Super. The stain took over three days to dry as the humidity was so high. I gave it five days just to be safe. Settled on using Tru-Oil to protect the stained finish since I had some on hand and because it drys quickly--which allowed me to build up 2 or 3 coats per day. Seems weird to put a finish on the finish, but that's how it works.

First coat.


About 2 coats in.

Another "Darth Vader" glove pic for SL. Nitrile glove jealousy is an ugly chapeau my friend.

This is somewhere around 7 or 8 coats. I lost count. It all just blends together as a few days of rubbing oil into the stock and waiting for each successive coat to dry. Yeah, wow. The life I live.

Flip side. It's finally starting to look like something.

Probably somewhere around 9 or 10 coats, I dampened a piece of synthetic steel wool with Behlen Wool Lube and scuffed the surface.

Just very lightly knocked the Tru-Oil sheen back to a matte.

I wet a rag with the wool lube and some rottenstone. Polished the stock until it had a high gloss and was quite smooth.
Then, just to cover all the bases, it got a coat of paste wax.

Buffed, then set the stock aside after taking a few measurements for that screw cup.

Found a scrap of 0.500" drill rod on the bench.

Faced both ends.

Through drilled with a 15/64" bit.
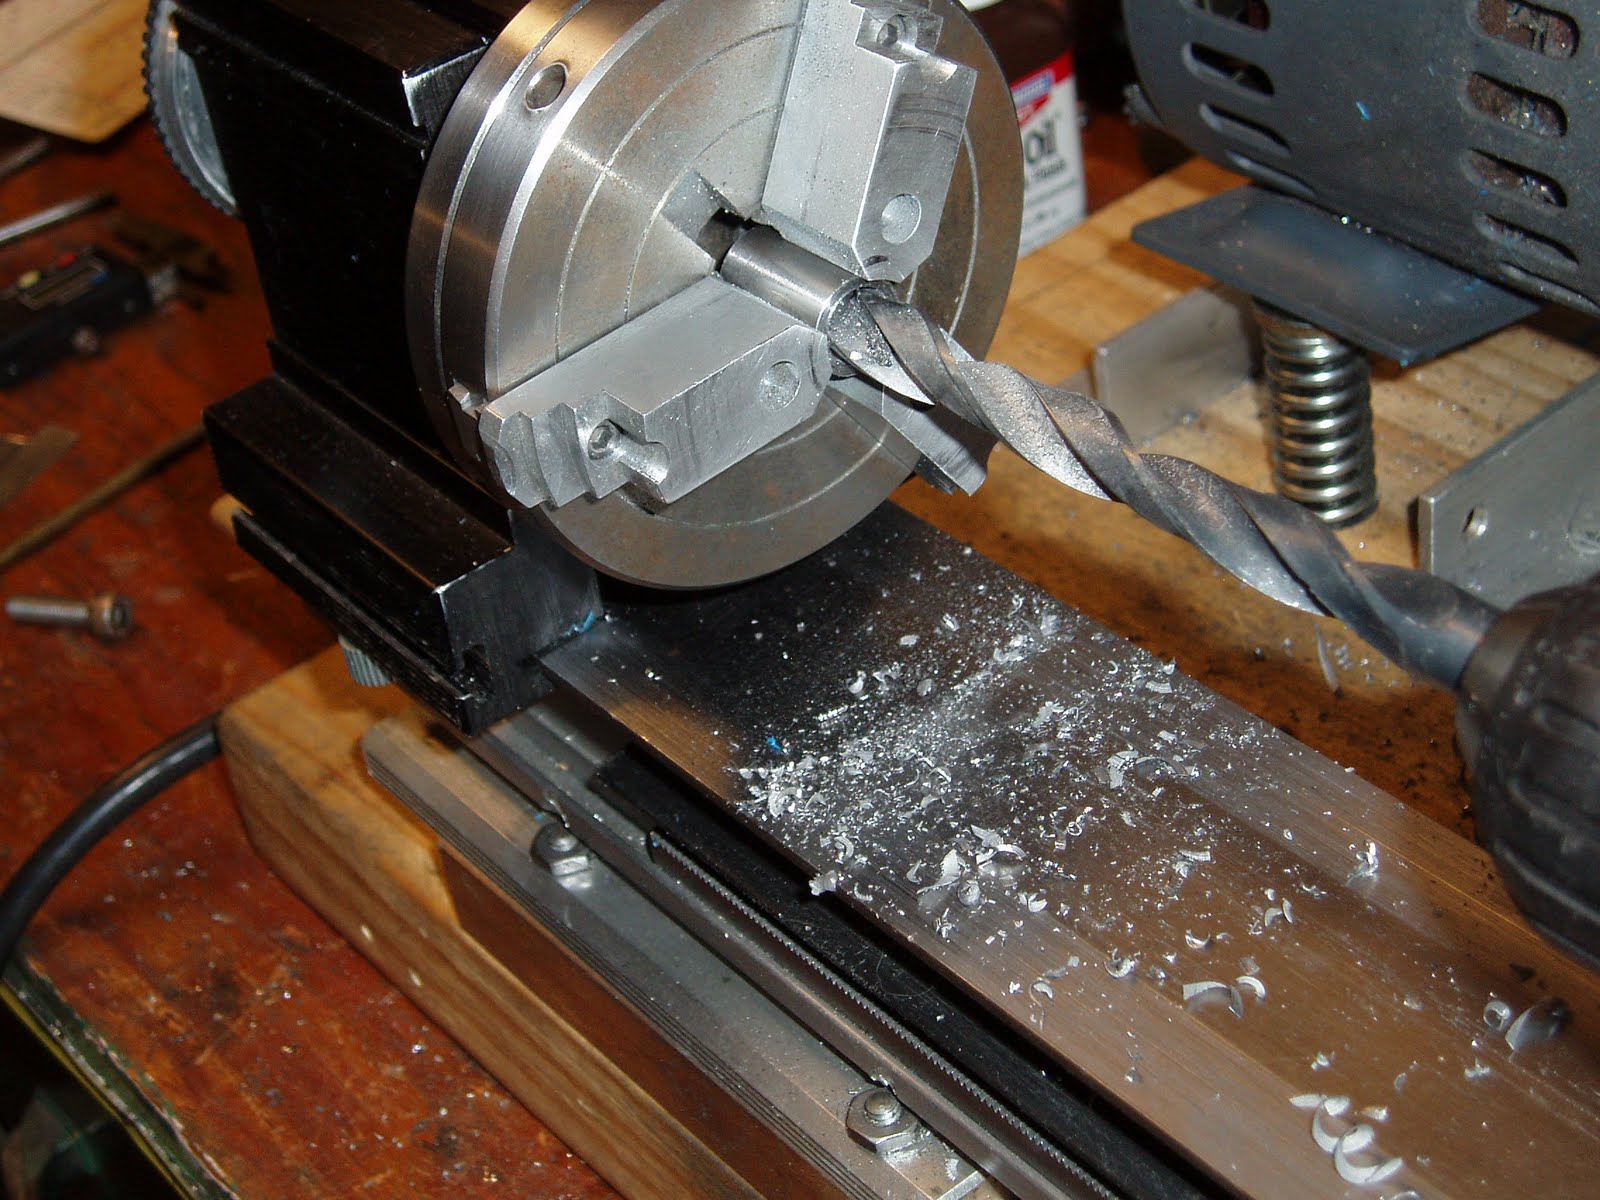
Followed with a 25/64" to begin the counter bore for the M6 bolt head.

Need to flatten the bottom of the hole.

Used a #9 center cutting end mill.

The end mill was just slightly smaller than the head of the fastener, so I switched to a small boring bar and finished the cut.

The edge looks rusty--it's not. It's a reflection in a freshly polished edge.

Counter bored to 0.235" deep. Not shown: Shaved it down to length--0.422" OAL--to match the depth of the hole I'd made with the forstner bit.

Final test fit (and still in the white) with a stainless M6 cap screw. Incredibly, with over sixty 6mm bolts here, I didn't have a single carbon steel bolt in the correct length or head type.

Blued with the Birchwood Casey PermaBlue Paste. I'm getting better--darker--results with the paste than with the liquid blue. Seems to hold up better, too, but that's subjective.

Just a quick look back at the original factory finish. From this...


...to this. This is a tough stock to photograph. The finish is so glossy, it just reflects all the light. It's also a bit darker than the pictures capture.

Around this point, I treated the stippled areas to a third coat of ebony stain. My wife doesn't like the high gloss contrasting with the matte stippled areas. I thought about adding two coats of Tru-Oil over the stippling, but that seems counter productive to grip. At least she agrees that it looks better now than the factory finish.

Managed to not lose the lines of the cheek piece.

If anything, the gloss makes the lines more defined.

Forend is very smooth.

Action installed.

Here's that screw cup with a blued M6 cap screw--bought it at the hardware store for 85 cents.

Another view.

Doubt the white line spacer will stay. Seems to cheapen the look to my eye. I should ask my wife.

Final.
I'll overhaul the gun in the near future. Due to it's age, I know it needs some love (and probably a new spring).
Many projects in the que: Bought some rosewood to make grips for the Crosman 150, still need to rebuild the QB-77, SA6 needs a tear down, same with the BSF S20 pistol... So check back in a couple days if you're into that kind of thing.


