Showing posts with label Morgan. Show all posts

Friday, July 5, 2019

A Very Special Morgan Adjustable Recoil Pad

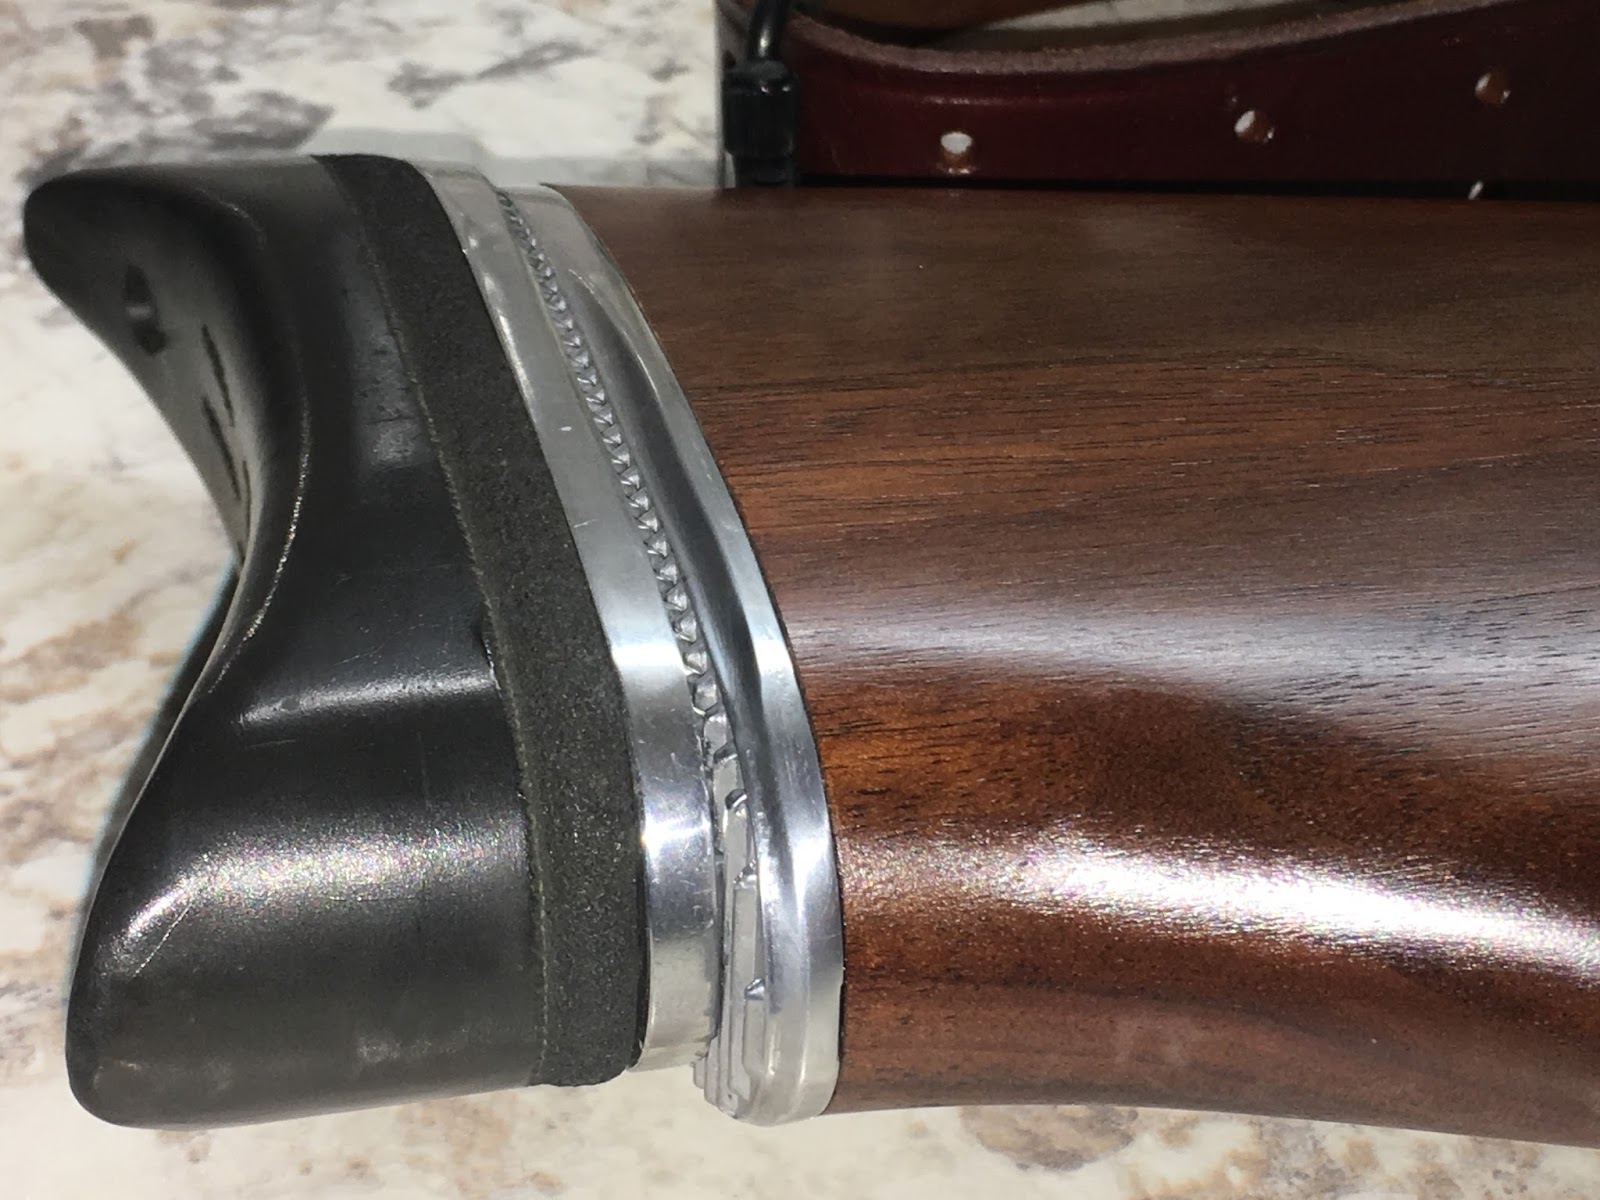
If you've followed this blog for any length of time, you know of our affinity for Morgan adjustable recoil pads.  A few weeks ago, I came across an eBay listing for a model I'd never seen before.  The shoulder "pad" (and I use that term very loosely here) is solid, shiny, beautiful diecast aluminum.  It's clearly a very early model--possibly made for small bore precision rifle shooting. 

I contacted Dave Brush, the current owner of Morgan Recoil.  He's the nephew of the company's founder, the late Bill Morgan.  Dave was not aware of this all aluminum model and could find no record of it in the company archives.


The casting is marked W. J. MORGAN.    Some additional markings below that were worn away long ago.  My best guess would be "Youngstown, OH", based on other Morgan rubber recoil pads I've had over the years.   The inside of all the castings are marked "ALCOA". 


The "base plate" on this unknown model is identical to the base plates on the first generation rubber Morgan recoil pads.  "First generation" sounds so old, but it just refers to the interlocking grooves between the base plate and center plate used to hold the pad's vertical adjustment   The manufacturing molds were damaged several years ago and Morgan updated the plate design.  They're not cross-compatible. 


There's a missing hard foam spacer that should go between the shoulder "pad" and the center plate.  The upper and lower screws will then allow you to toe, or tilt, the pad up or down a few degrees.


I purchased a current foam spacer from Morgan but it didn't fit quite right.   Ended up making my own from a piece of 1/4" thick closed cell foam.   The one I made is pictured here.


Glued it to the aluminum with a quick setting two-part epoxy.


Attached to the center plate and ready to go.


Bolted right up to the base plate already on the .20 cal Benjamin Sterling.


I'll keep looking around for additional info.  It'd be interesting to know when this was produced.  Morgan's website notes that the company was started before WWII, so it could be pretty early.     Maybe some old gun magazine advertisements would shed some light.


Thanks for checking in.


Monday, May 28, 2018

More Morgan recoil pads

Despite the lack of posts, there are often many airgun projects going on.  They don't get blogged because they're something covered previously.

Nick recently set me up with several Morgan adjustable recoil pads.  We've both blogged about how to install them before, both the aluminum and plastic style bases. It takes a bit of time and can seem daunting at first--especially if one is fitting the aluminum model.  Over the last three weeks, I've installed three of the plastic base models averaging about 90 minutes each.   90+% of the fitting was done with a 4x36 belt sander from Harbor Freight.


Anyway, here are the results.


Beeman (Weihrauch) R1 Laser.  


Another Weihrauch.  A 97K model. 


 And finally, a generation 1 Benjamin Marauder.


The vertical adjustability allows for a more comfortable (and quicker) position behind the scope. 


More soon.

Sunday, April 2, 2017

Adjustable QB Recoil Pad Part Two -- and Sterling Misc.

Reminder:  The Toys that Shoot Airgun Show in Findlay, Ohio is next Saturday, April 8th. 


Finished up the pad spacer.  There was no crash and burn, but the UHMW plastic didn't work out as well as I'd hoped. Anyway, here's how it went.


Rough cut the spacer to shape with the scroll saw. 


Then went to the belt sander to finish.  There was a bit of additional shaping with a sanding drum in a drill press, but the plastic sized down pretty easily.


Which got it to here.  Note the fine scratches.  


Finer grades of wet/dry paper had virtually no success removing the scratches.  ScotchBrite pads also didn't faze the scratches.  I even tried flame polishing with a torch--that had some minor improvement.  About here, I jumped on Google and found out just how difficult it is to achieve a good finish quality on Ultra High Molecular Weight (UHMW) plastic.


Installed, before the last finishing attempt.  It works perfectly, so there's the upside.


As a last ditch effort, I installed a fresh cotton buff on the grinder and used a plastic buffing compound.  It did work, but took substantial pressure to get the compound to cut.  More likely what was happening was the surface was simply melting from the friction.  This resulted in tolerance loss in areas affecting the fit.   There's still some trace of the scratches, but it's definitely better. 


Some varnish lifting at the edge of the stock.  This was present before I fit the new spacer.  The old white spacer hid this pretty well.  The stock will probably be refinished in the future. Guess it's more of a base hit than a home run.  I may revisit this again and make the spacer out of aluminum.


A few weeks ago, I noted that I had a Morgan adjustable recoil pad that was almost on size to fit my Sterling HR-81.  We've covered fitting Morgan plates before, so I didn't take any pics of the minor fitting process.  Here's a couple images I quickly took of the result.


Thanks for checking in.  More soon.

Saturday, February 20, 2010

Fitting the old Morgan Butt Pad to the QB77

Still working on the QB77.

The butt plate is serial numbered to the gun. It's not well-fitted to the stock.

Off you go.

Remember this guy? All that work and it didn't fit anything at the time.

Clearly, this was reason enough to buy the QB.

Note the gap at the top of the stock.

Seems that the original plate didn't fit so well due to the stock not being flat. The wood is rounded over all around the end as well. I was going to re-cut the end with a chop saw, but it's too much trouble to set up for a single cut.

A couple seconds on the sander...

then to the granite plate.

In just a couple minutes the end of the buttstock was truly flat.
A quick eyeball showed that the upper mounting hole on the Morgan plate was good to go, but the lower hole in the stock wasn't in the right spot. Needed to drill a new hole in the stock, but the old hole was uncomfortably close. Elected to fill the stock hole with a small wooden dowel. Didn't have one that fit, so I trimmed one to size on the Taig lathe.

Used a toothpick to get the Gorilla Glue to the bottom of the hole.

Tapped the dowel into place and set it aside for the night to dry.

The next morning, I trimmed the dowel flush with a razor knife.

Mounted the plate to the buttstock with the upper screw and used a transfer punch to spot the new hole location.


Drilled with a 1/8" bit.

And mounted the second wood screw.

Removed the plate and coated the stock side with layout fluid, then found my grandfather's scratch awl.

Scribed around the stock...

leaving a fine line.

Ground the plate to the line on the grinder. Dressed the grinder wheel to keep the aluminum from building up. An old grinding wheel works great as a dressing tool.

It's about 99% fitted. Just needs some edge finishing to remove the scratches.

Aluminum blocks in the vise to protect the aluminum plate. I used a steel block wrapped in successively finer emery cloth to sand out the scratches. The rigid steel sanding block kept the edges sharp.

After taking the sides to 400 grit, I polished it with triple-aught (000) steel wool.

Gave it a quick buff.

Sanded the gun side of the plate one last time to ensure it was flat and leave a clean edge.

Then a final polish with Mother's Mag.

Installed. Not shown: Coated the end grain of the stock with two coats of walnut colored Watco Danish Oil. It's an almost exact match to the stock. This helps seal the stock as well as help camouflage any extremely small gaps between the stock and the plate.

Something I didn't mention--The angles of the stock must carry through whenever fitting a plate or rubber buttpad . I did most of that by angling the platen on the grinder then with a file by hand after it was close.

The fit is pretty good. No gaps at the wood and the lines flow well. I know it's an inexpensive gun, but it doesn't have to look like one.

Pad installed


Gun fits me much better now. Shoulder it and the rear sight comes right to my eye. I suppose I'll have to refinish the stock now. Well, maybe not right now as it's still 24 degrees outside. But soon. Maybe I'll do a full tear down and smooth things out inside next.