Saturday, August 24, 2024

Barrel Sleeve for the Marksman 56-FTS Part 4 Final

Picking right up from the last blog post...

Straightened the sleeve again at work, then it was back to my basement lair for the rest of the milling.


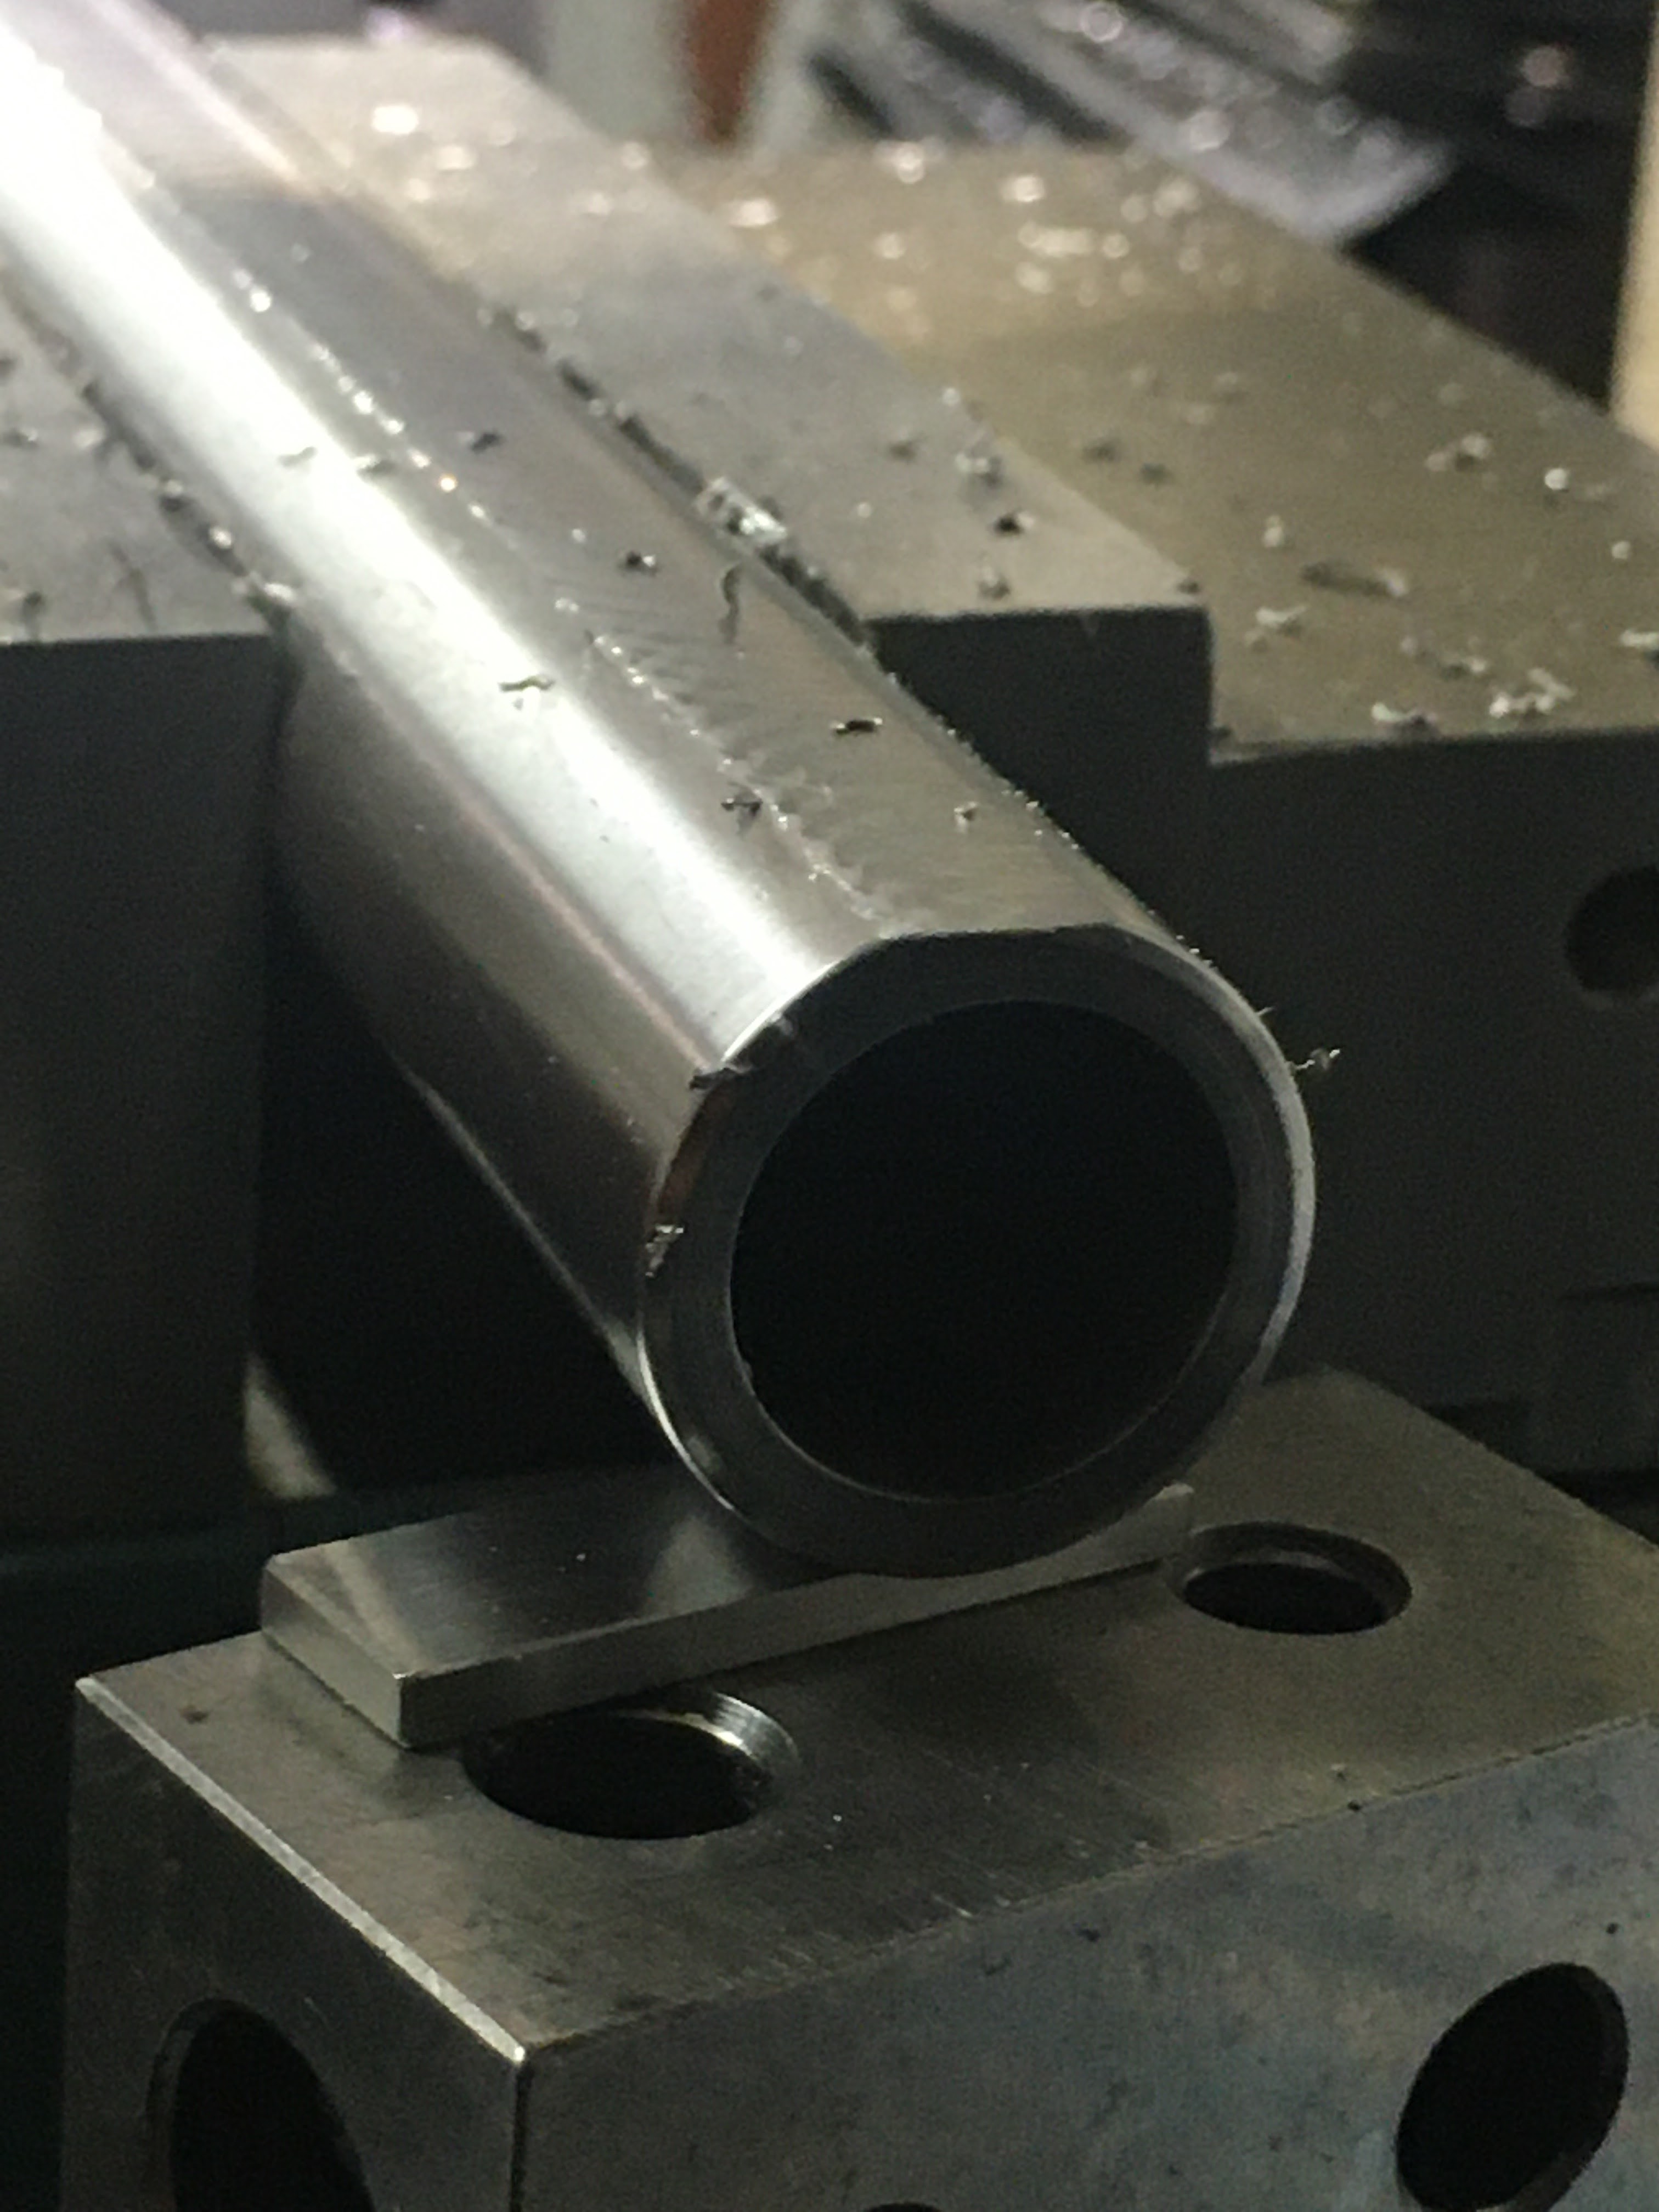
Have to line up the vises for this next cut.  I want a .250" radius along the top of the sleeve.  Like the long flats previously milled, this is strictly for cosmetics.   Trying to make something look nice for a change.  OK, so the vises get lined up on the x-axis as well as to each other.  This is often more difficult than it sounds.  Only the fixed jaws of the vises are used for the alignment.  It's a lot of back and forth until it's right.  And "right" is very much relative to how accurate each piece of the puzzle is.   I was able to line the two vise jaws up to just under 0.001" along roughly 14 linear inches.


Still not done indicating.  As before, I got the sleeve to the exact same height at each end. I'm doing this  because the groove (like those two previously cut flats) won't look even and/or straight unless this is aligned. 


Most of machining is like this--all the time is spent setting things up.   Used a 1/2" ball mill for the groove.


Some chatter.  Probably need to sharpen the ball mill.  Should've done a few things differently.  Likely would've cut cleaner had I not just plunged and cut both sides at once.   Offsetting each side .005" or .010" would've been smarter on my part. It'll be OK, the cut is even and doesn't run off centerline.


I though the sleeve was just a bit too plain.  Since I didn't have a plan, no one will know that the drilled holes along the top were spur of the moment.  

When machining, if you can make holes or slots in a straight line and evenly spaced, you'll always look like you have your act together--even when winging it.  


Some M4 x 0.7mm set screws to hold the sleeve in place.


Using the same locations from the Crow Mag muzzle weight because there are matching dimples machined into the Marksman 56 barrel...


Magic marker layout.


Spotted and drilled the first hole.


Used a spring-loaded tap follower to guide the M4 tap.


The internal spring puts downward pressure against the tap as the threads are cut.


After some deburring, I did a quick test fit on the rifle, and as expected, the long unsupported rear of the sleeve would vibrate against the barrel with a metallic thunk.

Not shown, back to the vise and added a fourth set screw at the rear of the shroud as well as a M5 x 0.8mm threaded hole for the sling stud.


And two additional (unthreaded) holes between the forward mounting holes.  Just for future options.  


Back to the shop.


My favorite media blasting cabinet.   It's usually loaded with a very fine-grained glass/sand.


Minutes later.


A little more time was spent blasting the groove to remove and blend the chatter marks.


Leaving traces of the milling marks on the sides.  


Rear set screw and sling stud holes.


Didn't touch the sleeve with bare hands after the bead blasting.  I think (hope) this makes the bluing easier.


First pass with an "ultra-fine" Scotch-Brite pad.  Added bluing to the pad several times.  This blended the color.


Then several follow-up coats--wiping it dry between each coat.


Finally, that sling stud.  After a couple test fits, shortened the thread to the same length as the sleeve wall thickness.


Loctite 680 bushing retaining compound.  


Set screws ground to length.


Let the bluing dry overnight, then gave it a few coats of paste wax.  


And here we are.


Looks original to the rifle.  The matte finish is a good match to the scope and stippling.  With the sleeve, the rifle now comes in at about 10 pounds. First impression was that it shoots well offhand.  Going to spend some time with it and see how it shakes out.  If you follow the blog, you know I like the options and modularity from various accessories.  


Not sure what's on deck, but the project list on the workbench is pretty long.


Tuesday, August 20, 2024

Barrel Sleeve for the Marksman 56-FTS Part 3

The plan to do the milling on the barrel sleeve at work fell through.  Our milling machines were set up and in the middle of operations for customers.  So, Plan B, Version 1.0 it is.  The milling gets done at home.   


As the sleeve is 16" long, the 4" milling vise was going to need some assistance.


Dug out a second milling vise and did a rough alignment.


To mill flats on a round tube, vises don't have to be precisely aligned with the X-axis of the milling table.  Each vise DOES need to be lined up with each other to hold without bending and distorting the tube.


With the vise table bolts loose, I moderately clamped the tube in each vise.  Let the vises float on the mill table and essentially self-align, then clamped the vises down.


The first set up problem was to get the barrel sleeve high enough above the vise jaws to make the cuts, but low enough to clamp securely. The problem was immediately evident.  My two vises don't match in jaw height.  Right side vise jaws are about 1/4" higher.  I propped the work up on each end with a 1-2-3 block as a workaround.  


One side looks good, the other, not quite high enough.


Gage blocks make really good precision shims.


Ended up with about .200" or so (per side).  As a future project, I really should make a taller set of vise jaws for the low guy.   


When the high point was the same--within a few tenths--the vises were snugged up and the height double checked.  Want it the same at each end of the table.  This gets the work parallel to the machine even though the vises are different heights.


Four flute 3/4" end mill.   First pass of about 0.030" looked pretty good.  Kept track of the depth of cut on the first side with both the quill's digital readout as well as measuring wall thickness.


The tube OD is 0.875" and the ID is 0.635. That .240" difference is then divided by two leaving 0.120" of wall thickness.  I'd like to end up somewhere around .040--.050" at the thinnest wall.   About 0.070" off of each side.


Several passes.


"Regular" OD micrometers won't measure an accurate wall thickness on a tube.  This is a ball micrometer.  The fixed jaw has a radius that fits into the curved ID of the tube and contacts the lowest point.


After taking about 0.070", I was ready to flip the sleeve over and cut the second flat when I had another problem.   Holding a straight edge against the flat showed the bow.  The tube had warped approximately 0.011" from the milling cut.  I don't want to cut side two with it out this much.  Called it a night.  

Took a look at my tube specifications.  This DOM (Drawn Over Mandrel) tube is cold-worked.  Cold (compared to Hot) working steel leaves stress layers in the steel.  Milling or grinding though these layers often causes the steel to twist and warp slightly as it stress relieves.  High precision parts are typically made from hot rolled or normalized steel that has been processed to remove/eliminate the stress and prevent or minimize this problem.  I just remember that removing a fairly large surface area can cause the piece to move. 


At work the following day, did some quick inspection.


At the hydraulic press, set on two points and lined up on the high spot.  


Since I know it's exactly 0.011" out of flat, I set a 0-1" indicator under the part and offset my zero by 0.011".  


With an aluminum block under the ram to protect the work, I gingerly pressed the tube. The tube has to be bent beyond the .011" as it springs back if not pressed far enough.   Press, watch the indicator.   Let it spring back, check the indicator.  Did it move?  Press a bit further this time--while you watch the indicator--then let it spring back.  Rinse, repeat...


After about 5 minutes, it was within 0.0005"


Back home to the milling machine.


Side two was machined until the wall thickness was identical to the first side.


Yep, it warped again.  Damn near the same amount.  I'll take back to work and repeat the straightening before setting up on center for the groove.

More in a couple days.  Thanks for checking in.