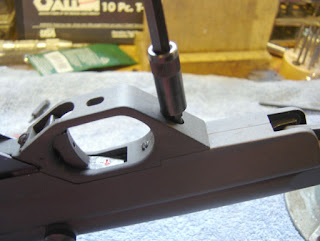
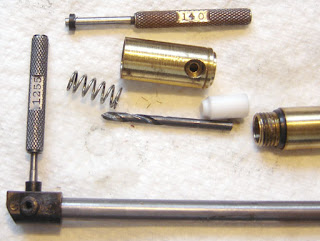
Friday, October 3, 2008

Resealing a Diana Model 10, Part 2

And on it goes...

The trigger.

I pushed the pin out, removed it and put the pin back in so I wouldn't lose track of the orientation of the spring.

The cocking link pin was knurled just as on the 6M.

I punched it out.
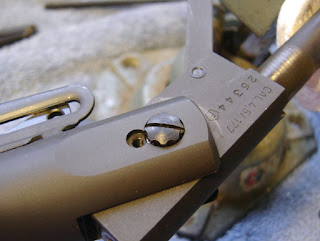
The pivot lock screw was removed, then the pivot screw.

There's a washer in there as well.

Heavy washer on the left side.

Thin washer on the right.

I removed this trigger component as well...

And the heavy spring.

At this point the sear clears the piston, so I played it safe and left the rest of the trigger group intact.

This piston cocking shoe would not slide out the front. So I just left it disengaged from the piston. I'm not sure if it's supposed to be able to come out this way, or if the entire trigger group needs to be removed and this inserted from the other end. But it doesn't matter.
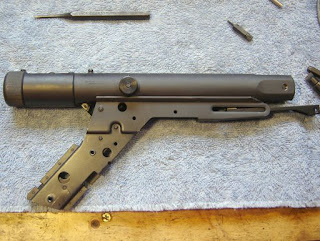
Everything ready for piston removal...

Thursday, October 2, 2008

Resealing a Diana Model 10, Part 1

As I said earlier, an exceedingly kind reader sold me a Diana Model 10 pistol.

As received, in the box, with manual, test target, pellet tin and screwdrivers. The only problem is that the seals are bad. So I ordered a set from Jim Maccari.

Just a beautiful pistol. The Diana 6M I resurrected shares some of the features, but lacks the styling, as well as the quality.

Grips removed.

The underside.

The barrel weight removed.

Using a ball end allen wrench to remove the spring setscrew.

Removing the shroud retaining screw.

The front sight.

The sight screws were removed, and I drifted it out.

The elevation screw on the rear sight was removed, which exposed the two mounting screws.

Removing the trigger guard screw.

The triggerguard lifts out, but there's a spring...

The spring stayed in place on the guard.

The housing around the trigger is pushed up and off.

The housing.

Still more to do...

Tuesday, September 30, 2008

Cleaning Up a Crosman 66, Part 2

Well, I didn't want to do a lot of work on the 66...

The transfer port is a somewhat restrictive .125" diameter, and the transfer port seal is .140"

So I drilled out the transfer port.

And the valve. I didn't bother smoothing, polishing, etc.

The cocking lever and spring goes in.

Then the rest of the trigger group.

I stuffed all the other bits in.

Then took it all apart as I forgot the plug that retains the shroud. It had fallen on the floor.

All back together. I put a cheap garage sale scope on it, as the rear sight is missing. The front bit of the handguard is missing as well. I checked out the velocities, with 7.9 gr. premiers it was shooting at 589 fps, 6 ft/lbs with 10 pumps, a bit slow from the advertised velocity of "up to" 645 fps. With 10.5 gr. premiers I got 521 fps, 6.33 ft/lbs, and with 15 pumps 567 fps, 7.5 ft/lbs.
Not that you're supposed to pump it up more than 10 times...

So now if one of my friends reveals that they are lacking a pellet gun, I have the perfect $6.00 gift to give them.

Monday, September 29, 2008

A Short Monday Ramble

Sorry for the lack of postings, things got a little busy here so airguns had to take a backseat to other work.
I hope to have the Crosman 66 reassembly up in a day or so. I have a long post or two from our Ohio correspondent as well, once I edit the pictures. A kind reader of the blog sold me a Diana model 10 pistol, which is beautiful but needs resealing. I'll get to work on it as soon as the seals arrive from Maccari.
So lots of stuff to come a little later in the week.

In other news the Crosman 167 is still holding gas a week after my homemade valve seal job, which is great news. The project taught me a lot about using razor blades for machining urethane rubber. I need to make some dedicated tooling and explore some ideas on that.