Thursday, April 1, 2010

Milling Scope Mount Grooves In The Crosman 180 Receiver

I decided it was time to try my hand at milling scope grooves into the receiver of the Crosman 180. Since the rifle is a beater it wouldn't hurt much if I screwed it up (and I had a backup plan).

I drew up the dovetails in CAD but being paranoid decided to test the dimensions in aluminum rod.

It's good I did as the dovetail was too deep for the mount. Notice the lack of clearance between the mount bottom and the receiver top. Every cheap cope mount is different, and there are no standards until you go with a Picatinny mount system.

So I tried less depth of cut.

Too little.

A tad more (ended up being about .050" groove width) and it looks good.

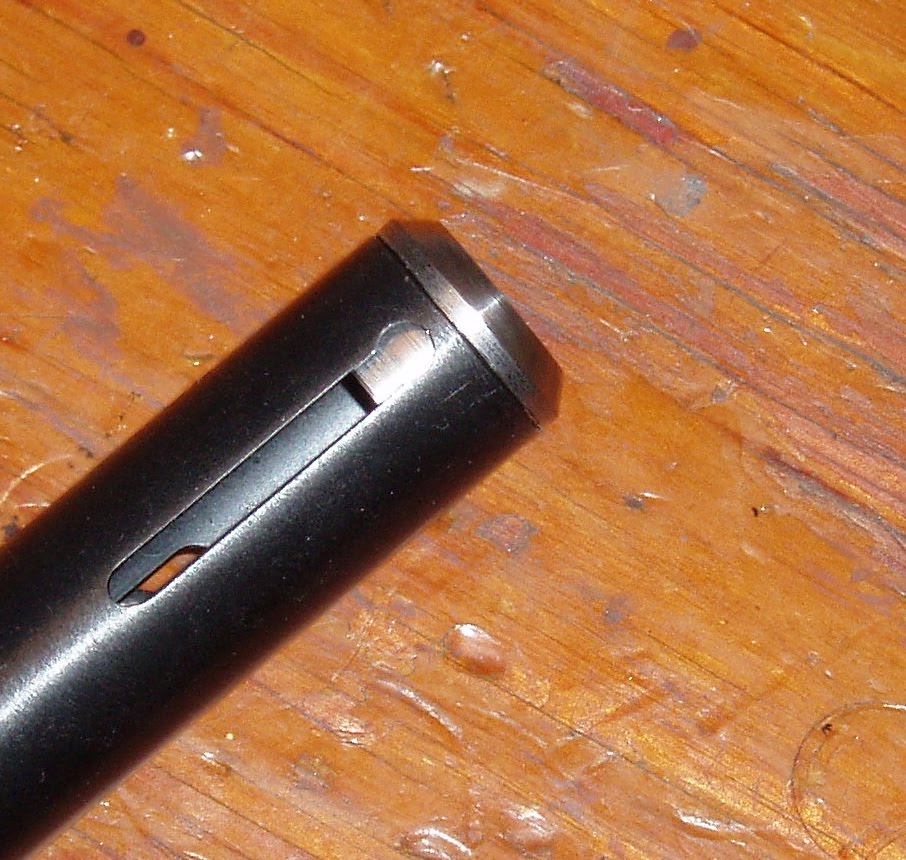
Then I had to figure out how to fixture the barrel/receiver on the mill. I decided to reference off of the loading cutout.

I finally hit on the method of using a dial depth gage to make sure the slot was horizontal. (a level would have been easier but nothing in my shop is level).

So I checked both sides, tweaked it, checked again until it was parallel to the mill table.

Starting the milling...

I used a lot of oil.

Worked like a charm!

It was a fine balance between depth of cut, position, etc.

The scope mounted right up. My only quibble is I had to make the rear mount more forward than I'd like so it would clear the bolt handle.

I think it looks good.


Just enough groove for the mounts to be solid and about .001" clearance between the mount and the receiver.

Wednesday, March 31, 2010

Butt Plate For the Crosman 180

This is a boring post, but the work had to be done...

Derrick sent me this butt plate. He has no idea what it's off of.

It had bosses on the underside.

Using my relatively inaccurate method of finding the centerline.

Existing holes plugged and the hole locations marked.

I drilled for the bosses with what turned out to be a very dull Forstner bit. Need to buy a good set of these at some point.

I decided to use #10-24 machine screws. Coarse pitch machine screws work fine in wood, especially dense hardwood.

I marked up the plate with a silver Sharpie and scribed the outline. I nibbled off most of the waste with the bandsaw.

Coarse sanding done. The plate was made of some sort of hellish smelling phenolic. I had to wear a dust mask and basically wanted to burn my clothes afterwards. The dust was that nasty.


I finished up with wet/dry silicon carbide which kept the dust under control. It isn't perfect but it continues the lines pretty well. I would have put more time into it but the material didn't make it fun.

The good stuff comes next...

Monday, March 29, 2010

A new Crosman 22XX--Bolt and Gas Tube End Cap

Onward upward or something to that effect.

A piece of 0.250" tool steel a bit longer than a Crosman .22 cal bolt.

Faced the ends.

Turned down to create an extended nose.

Shaped a ball-end with a file.

Cut the angle.

Mounted the bolt in a small machinist vise and secured it to the drill press table. Spotted then through drilled with a #29 bit--the tapping size for #8-32. Not shown: Tapped using the drill chuck for alignment.

Back to the Taig to add a rare earth magnet to the rear of the bolt. Same procedures as previously covered here. Once you have a bolt-hold open, you can't own a Crosman without. Loading is that much easier.

With the bolt completed, I moved on to the gas tube end cap. A small piece of 0.750" diameter steel rod was faced.

Didn't have much length of rod to hold on to, so I switched to the steel 4-jaw chuck. Cut the step to fit into the rear of the gas tube.

Cut right to the shoulder leaving a nice clean corner.

Spotted, the drilled successively larger to 5/16"--the diameter of the hammer spring. Didn't drill completely through--a bit more than halfway. Not shown: Used an end mill to produce a flat bottomed hole.

Then spotted again and through drilled with a #3 drill bit.

Followed by a 1/4-28 plug tap.

Finished with a tap wrench as the tap began slipping in the Jacobs chuck.

Thinned the head of the cap and added a taper.


Needs a couple #8-32 threaded holes.

Mounted the gas tube in a padded vise and centered on the hole using a drill bit as a hole size gauge. I forgot to write the size down. The bit just fits through the hole. This centered and aligned the work to the bit.

Put the cap into place and secured it with a bar clamp. Then spotted the hole.

And drilled through with a #29 bit.


Followed with a #8-32 plug tap.

Couldn't get enough leverage turning the chuck by hand so I removed the vise and switched to a tap wrench--leaving the tap started in the work.

More coming.

Sunday, March 28, 2010

Blogiversarry

Well it's been two years since we started the blog, with my post on fixing the Predom rear sight. I had initially planned to only post once a week or so but Derrick and I have written a post every two days on average. We hope you've found a odd tidbit or two of useful information. We'll keep messing with perfectly good airguns for no good reason until we work our way through the entire Blue Book of Airguns or our wives leave us.

If you're new to the blog you can see the index of all posts to get an idea what we've covered thus far. I recently added a Google search bar and a list of post labels in the sidebar.

We're always looking for beater airguns to work on, and any and all donations are useful to our project. We don't have sponsors (although we wish we did) and we don't work on airguns for a living (good thing!) so what you see is entirely from our meagre hobby budgets.

Here's a picture of a Benjamin Rocket 77 so you don't get bored.

More posts to come shortly!