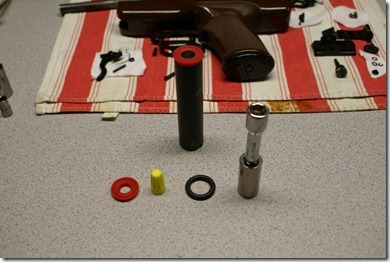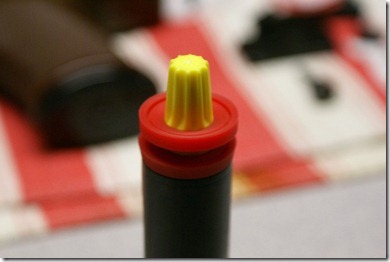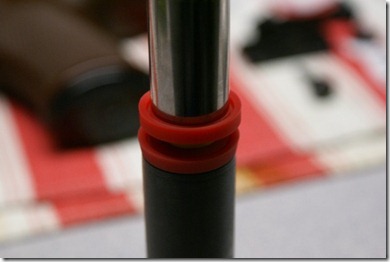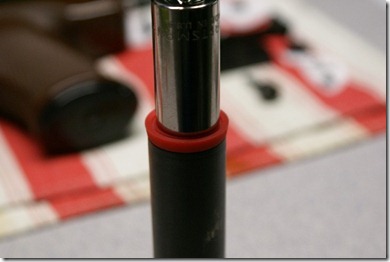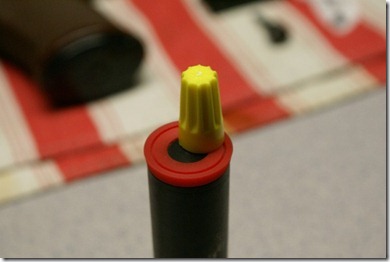
Here's the workbench as of last night: pocket knife scales on the left, a screwy Daisy 790, a rod to become a centering indicator, Gamo V3, Tau CO2 cap to possibly be converted to a bulk-fill, Stronglight chainrings that need milled to retrofit to a Campagnolo Victory crankset, aluminum angle to be milled to soft jaws for the vise... There's more, but this is enough for now.

The Gamo V3 is from blog reader Michael. It's a lead-ball (BB sized) repeater. It's got a strange, intermittent problem. The first shot dribbles out the barrel, then subsequent shots seem just fine. Haven't, as of yet, ascertained whether it's valve related (doesn't appear to be) or if it's in the hammer/striker assembly. I'll have to get back to this one in a while.

Since the Taig had the milling adapter set up, I squared up the vise jaws and scratched one project off.

Here's the Daisy 790. It works as is--thanks to a trigger from long-time Daisy repair guy Jim Coplen. Jim isn't online yet, so call him at 507-281-2314. He's in Minnesota, so don't call him at 3AM.

The Daisy 790 is the same gun as the Smith & Wesson 79G.

But mine has a really weird problem. There's an alignment issue that a past owner tried to correct. The loading trough has been drilled out to 5/16" and the bolt body ground away on the sides. The bolt fits off center to the left--and aligns correctly with the breech--but the oversize trough is a challenge with tiny .177 cal pellets. Not sure what I'm going to do with this one yet. Maybe just shoot it as is. Anyway, this was also moved to the back burner.

...Which brings me back to the IZH 61. The upgraded diopter sights are great, but after adding an anti-glare tube to the front sight, I wanted one for the rear sight as well. After looking at the rear sight unit, I think there's enough thread depth in the block for both an anti-glare tube and the aperture, too.

Started with a piece of 5/8" diameter aluminum rod.

Turned down an end to 8.95mm.

Technically speaking, hex dies aren't for cutting new thread--they're for "chasing" or cleaning up existing threads that are dirty or damaged. Round, adjustable dies are for cutting new threads--except I didn't have one on hand in M9 x 1mm. Since I was just cutting soft aluminum, I think the hex die will be fine. The die holder for the Taig lathe, however, is designed to hold 1" round dies. I had to get a bit creative to hold the hex and mounted up the milling adapter and used the milling vise as a holder.

This set up held the die perpendicular to the round stock. I was able to position the die then start the thread by hand turning the lathe jaws.

After cutting the thread, I spotted with a center drill and through drilled.
More very soon.
