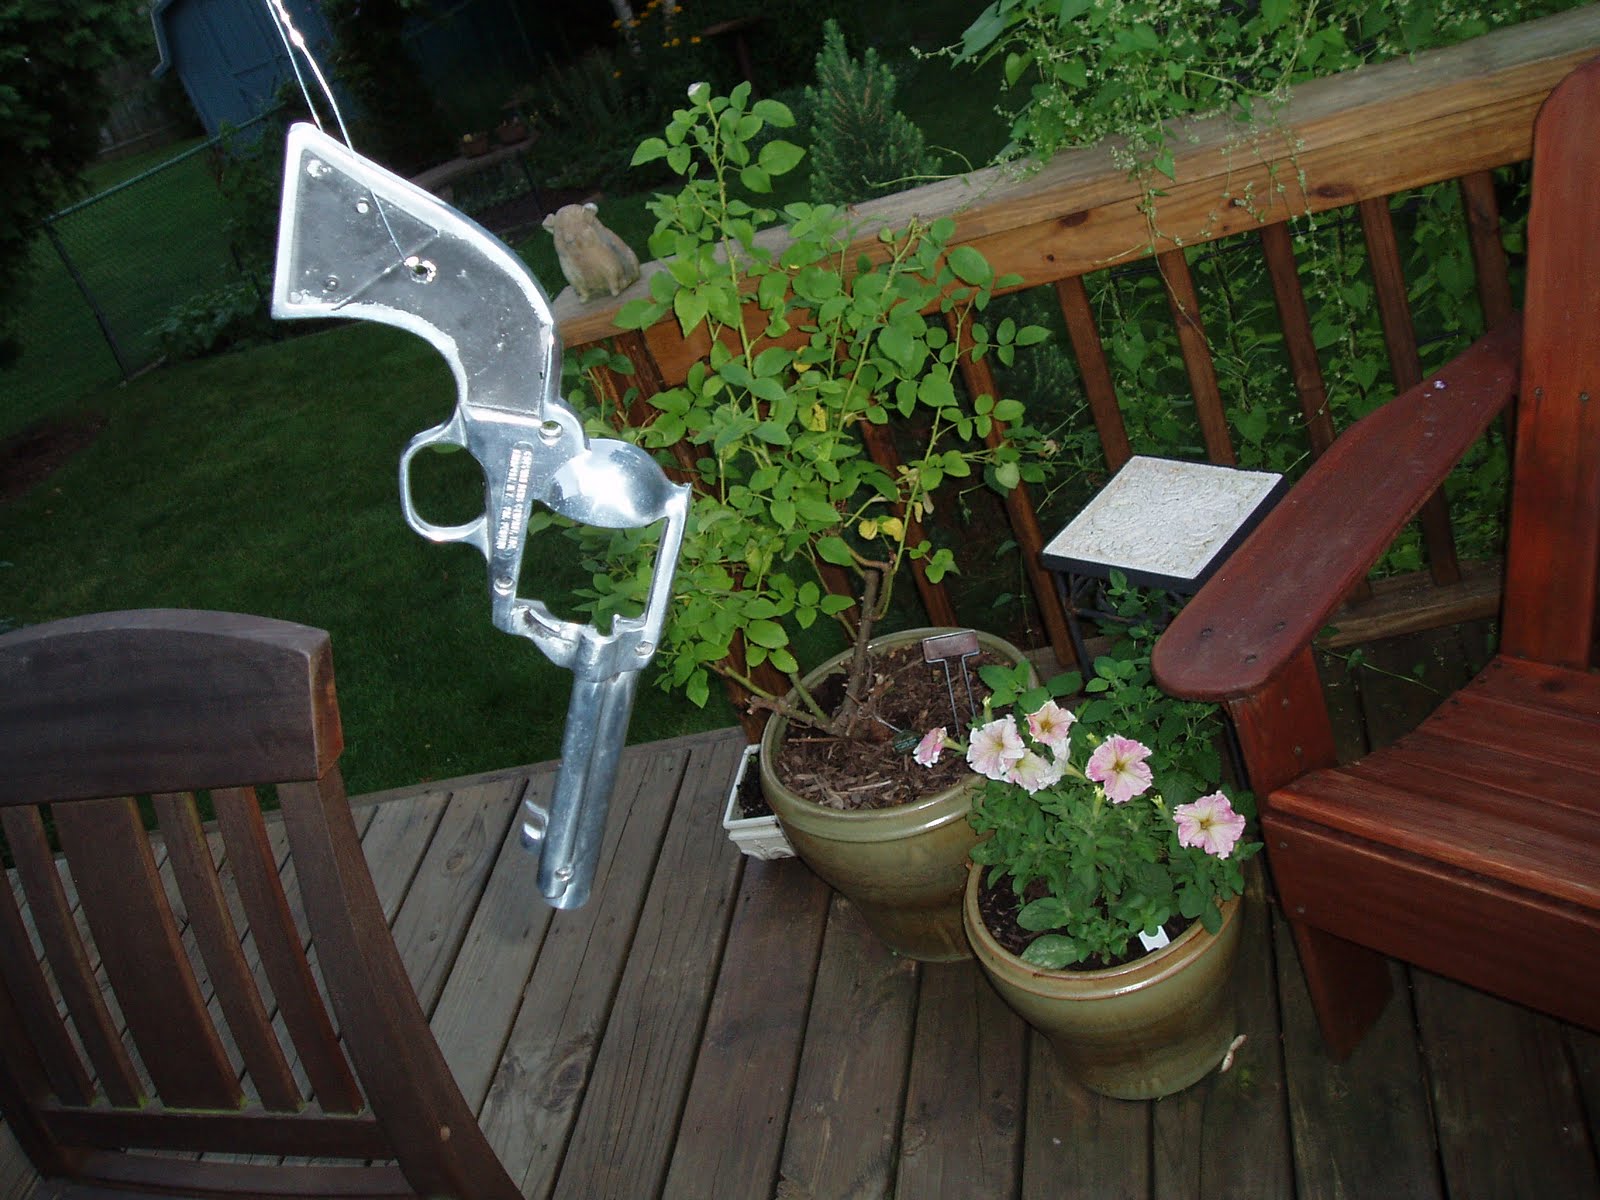
The finish kept orange peeling on the second coat. I've been waiting too long between each coat and apparently, that's a no no. Blame it on my 10 hour days at work or whatever, the paint that has worked so well for me in the past has become my nemesis.

I buffed out the orange peeled areas and managed to not burn through all the finish. Rubbed out the remaining paint with some polishing compound until it looked passable. Great. Just what I was after--passable.

Since it was apart, thought I'd at least fix the finish on the trigger blade. The face of the blade was pockmarked and rough. I started on the wire wheel.

Followed with a small cratex wheel in the Dremel tool.

This left an acceptable surface.

At least the trigger blade looks good.

Blued the trigger and the hammer with Birchwood Casey Perma Blue Paste.

Think I mentioned previously that the accuracy of the SA6 was lackluster. Note the rough crown on the barrel. (In truth, there's actually no crown on the barrel.) A quick twist with a tapered reamer would be an improvement. It's so bad that banging it on a concrete block might even help. The rifling is also not uniform. The lands and grooves aren't spaced equidistant from each other. Ah, and the barrel rattles inside the gun. That's probably not good either. This is the single worst barrel I've ever seen--in anything. The inside of a toilet paper roll has a more uniform spiral.

Top soda straw is the stock SA6 barrel. Bottom is a remnant of a Crosman 2240 or 2250 barrel from the parts box.
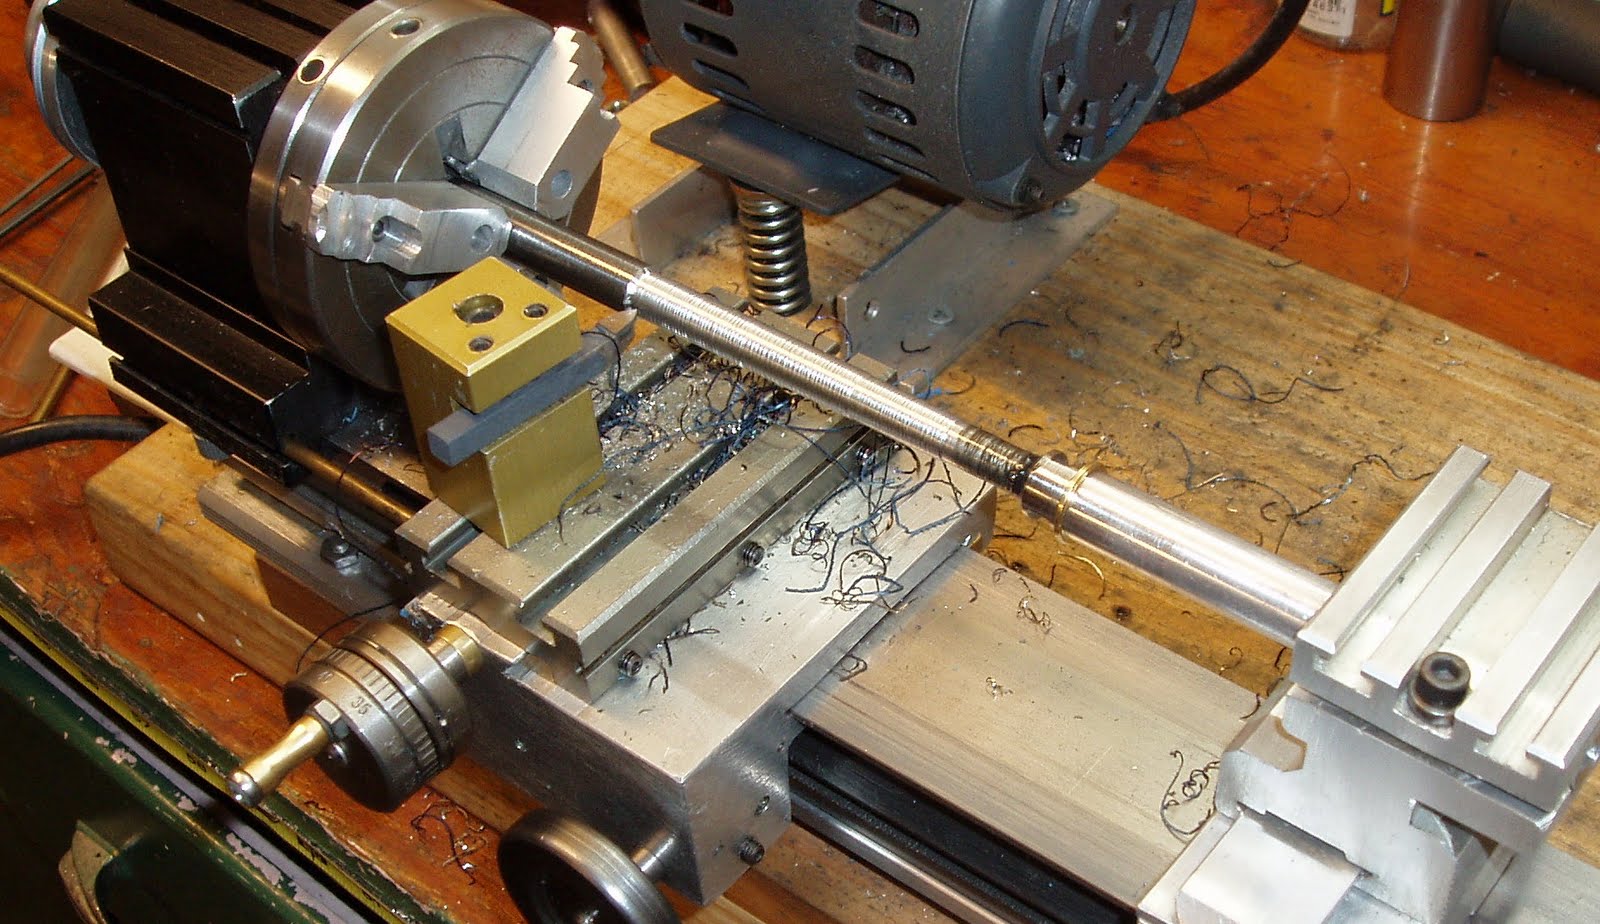
Chucked the barrel into the Taig and set up a dead center.

Turned the OD down to 0.316"--about 0.003" larger than the stock barrel.

Needs cut to final length, a leade, and crowned.

Faced off one end of the barrel. Started with the leade as that was the easiest to screw up and the extra barrel length meant I'd get a second or even a third chance to get it right. The fired pellet from the SA6 jumps from the cylinder into the barrel. The leade acts as a funnel, easing the pellet into the rifling.

A cone shaped burr was used to remove some of the rifling and cut a taper.

Followed with another burr to chamfer the edge. A brass rod and some 600 grit emery cloth finished the leade.

Looked OK on the first try. Not shown: Cut the barrel to length and crowned the muzzle.

Almost forgot to cut the relief groove at the breach.

The relief is for the hole in the plate.

The barrel is secured in the hole--this fixes the breach end of the barrel at the cylinder. I went for a tight, no barrel rattle, press-fit.

While it was apart, I refinished all the screw heads. Cleaned up all the screwdriver slots, beveled the screw heads, and reblued. Reassembled as per Nick's blog post.
Reassembly note: I put the hammer spring in the third slot from the bottom of the grip. This would be the second highest tension location.

A few pics.


Here's the other accuracy issue. The rear sight is just a groove between the halves of the frame. Not sure if I should cut it deeper to make it easier to see, mount a red dot sight on a Picitinny rail, or live with it. Living with it is currently winning.

There should be a black plastic cover that wraps around and hides the CO2 cartridge. Um, maybe I'll just paint a case of cartridges. Wouldn't they work better in cold weather?

It looks pretty good, but...

after firing 30 only shots, the epoxy finish on the cylinder was coming off from the indexing lock-up. I'd had enough with flaking paint and stripped the cylinder down to bare metal.

An unseen bolt through the cylinder let me chuck it in the 3-jaw. I sanded the cylinder to 400 grit.

And it was put the gun back together again time.

I hate it...

I hate it a bit less...

I can sort of live with it for now. So, it must be growing on me. Actually, no more scratching the paint off the cylinder is growing on me. Most importantly, it shoots groups now. The sight picture is abysmal, but the trigger (being single action) is a winner. It breaks at just over a pound. I did exactly nothing to the trigger/sear interface as far as smoothing or adjusting. The SA6 has one of the very best triggers I've ever encountered outside of a purpose built target gun. This is really a fun gun to shoot, and the relative lack of mechanical complexity should keep it running trouble free for years.
After the newness of the SA6 wears off, I might try repraying it yet again (what? a fourth time?) and giving it a solid week of drying time. Looking back at a few of the projects that were successfully painted with the appliance epoxy, I see they all got substantially longer curing times before handling.