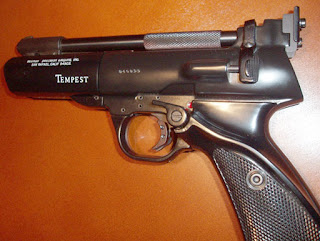
Nick and I pondered the trigger situation. Then, Nick forwarded this link: http://www.rimfirecentral.com/forums/showthread.php?t=219638
Seems like I'm not the only one who thinks the trigger pull weight is absurdly high.
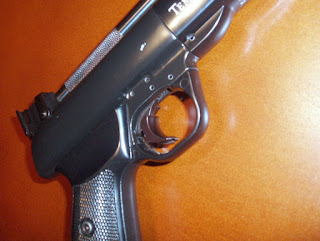
The trigger is retained with, yep, small roll pins. What a great way to start! More required reading: Nick disassembled a Webley Hurricane on a previous blog post. Pay attention to the way he numbered the roll pins for disassembly. Handy! http://anotherairgunblog.blogspot.com/2008/05/disassembling-webley-hurricane.html
Note: Worry not. There is exactly zero danger that the mainspring will come blasting out of the gun by removing the roll pins.
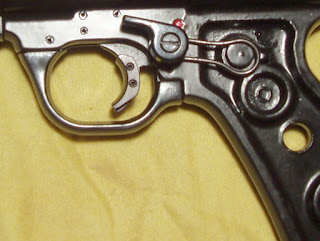
Grip panels off. Unscrew the flathead holding the safety lever and pull it off the stud. The safety spring then comes right off.
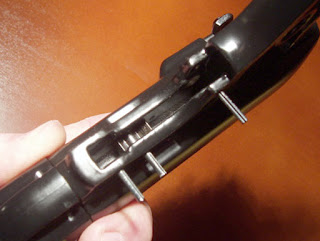
Knock out the roll pins in the order Nick has them marked in blog post #31. Not necessary in the least to push them completely out of the frame. I pushed them out from left side to right.

The trigger and sear are buffed (bench grinder fitted with a 6" stitched wheel). Lots of polishing compound on the wheel. A small container of water near the buffing wheel keeps the part cool. All the mating faces are polished until they look like mirrors.

Trigger and sear after buffing. The allen set screw behind the trigger blade gives the spring something to bear against. Screwing it in increases trigger pull weight. Backing it out lowers. The trigger spring is so stiff (and so long) that the set screw only really gives you the option of "too high" and "really too high" in it's adjustment range. The spring is 0.145" diameter and 0.616" long--"free length" in spring speak.
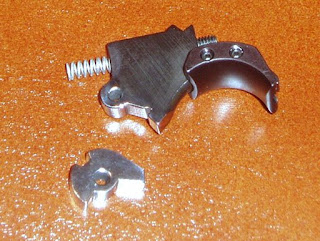
The trigger shoe is from Crosman It's for their 2300 custom shop guns. It fits quite well. Crosman part number 2300-012. About $9 if I recall. It's not always available for after market sale. Beeman used to sell a really nice steel trigger shoe from Flaig Ace. Beeman's old part number was #7761.
I looked around at all my springs, but couldn't find anything small enough in diameter to replace the stock trigger spring. A trip to several local hardware stores also came up dry. It's possible that Webley used a metric sized spring. If that's the case, it's probably a 3.75mm OD and it crushed very, very slightly when I put a caliper on it. I found several good options in a few seconds online, but didn't want to order and wait. I chose instead to cut 2 coils off the spring to lower the preload. Alternately, it might have also been possible to change to a shorter set screw in the trigger itself that bears against the spring. Either way, the spring will then exert less force against the sear.

Pick your poison. Just cut the spring shorter. Reassemble in the reverse order. I lubricated all the contact surfaces with Castrol MP grease. Use whatever bearing/chassis grease you have around. And, yes, a moly grease is fine for this as well.
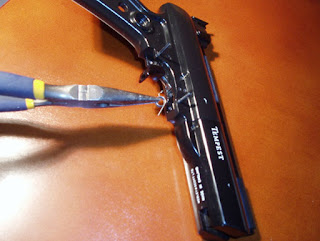
The return spring for the sear goes in this way. This is the only part that might cause some head scratching during reassembly.
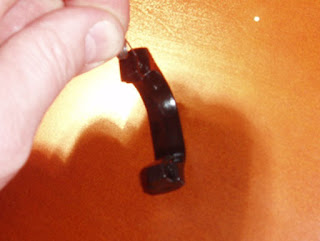
There's a relief cut on the trigger guard for the long leg of the return spring.
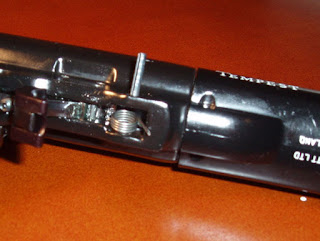
Gun is lying right side up. Long leg of spring is on top and towards the front of the gun.
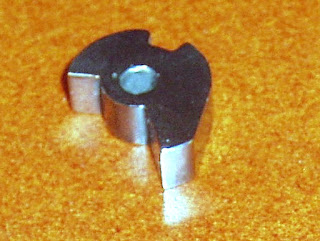
The short leg at the rear of the return spring fits in notch cut in the sear. Notch is there at the top.
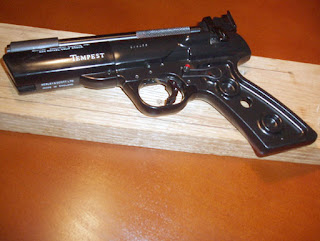
Once the guard is pinned back into place, only the safety lever needs to be reinstalled.
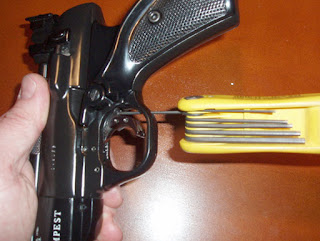
Have I mentioned yet that these Webleys have single-stage triggers? Well, there you go. The trigger pull weight can be fine-tuned using the set screw at the rear of the blade with a 1/16" allen wrench. By adjusting the set screw to preload the trigger spring, my pull weight was variable from a high of about 4 lbs 2 oz down to 2 lbs 8 oz. Mine is currently adjusted to about 2 lbs 12 oz. Pretty good considering it was in the 8 pound range before the job. It's still not "match grade", but perfectly acceptable for a fun plinker.
Side note: IF the set screw is backed out of the trigger blade more than approximately 0.120" from flush, the gun will fail to cock. The protruding set screw will contact a shelf inside the rear of the trigger guard and the sear will not hold the piston back. Turning the set screw in a few turns will immediately fix the problem.
Warning to Americans: I failed to match up the thread size on the set screw. It's not metric--and it doesn't match up with SAE. It's probably a BA #4. You are hosed if you drop this under a work bench outside of the UK.


