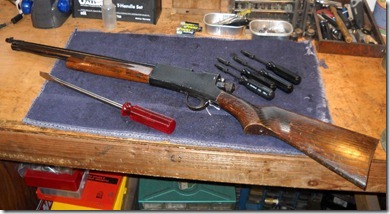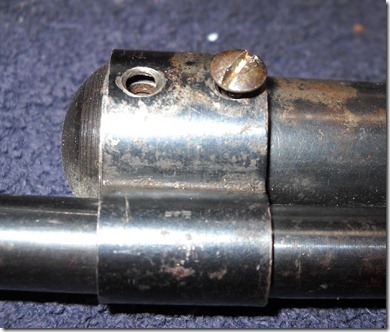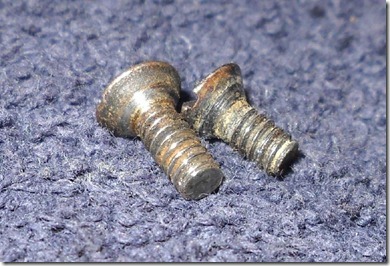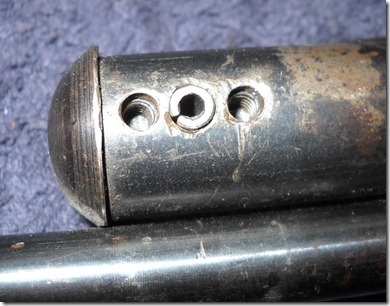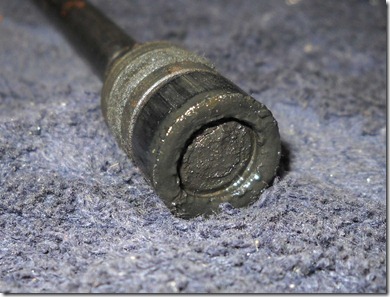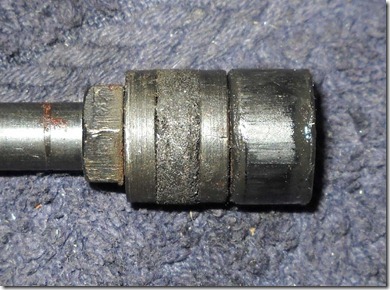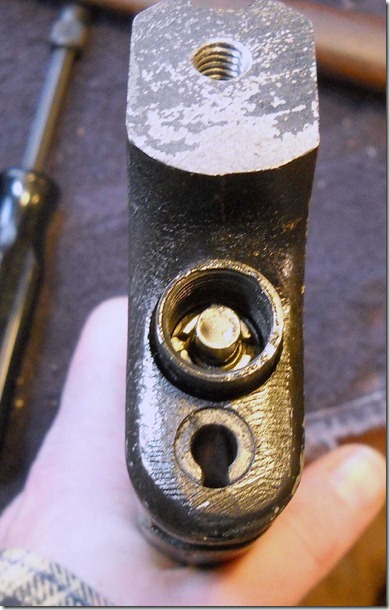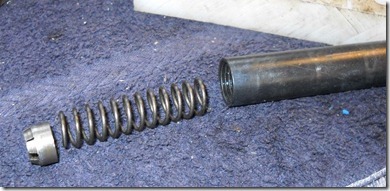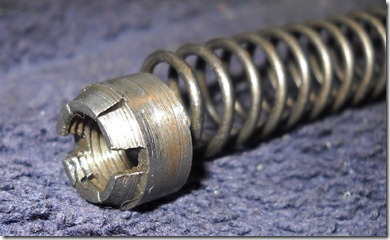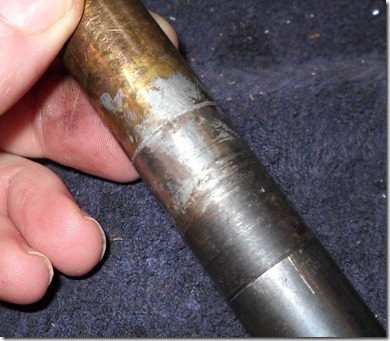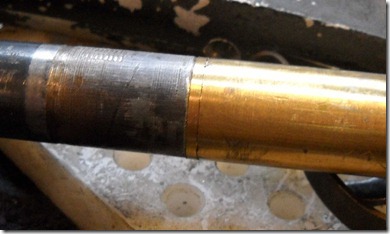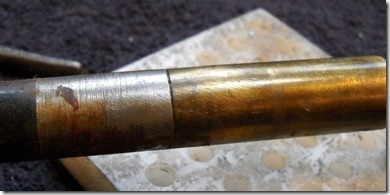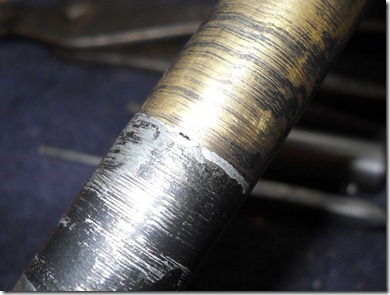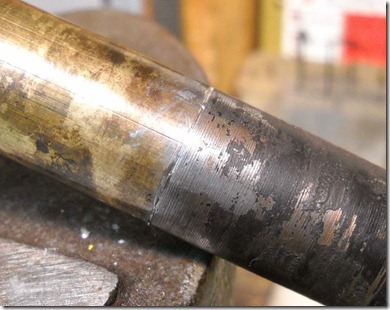

The factory supplied steel weight is 24.5mm in diameter, 24mm long, and weighs 78 grams.

Before she shot it, I was actually using it with two 78g weights attached. The weights slide onto an 8mm diameter rod and secure with a single M5 setscrew. The weight(s) can be located anywhere on the rod and fixed to achieve the balance characteristics that the shooter wants. A slightly heavy muzzle is often preferred.

I cut a piece of 7/8" diameter aluminum rod to make some new (light weight!) weights.

Faced off the end then skim cut to get a nice finish.

Center drilled.

Then gradually through drilled.

5/16" is pretty close to 8mm. Turned out to be an OK fit.

With a parting tool, I cut off a 24mm long cylinder. There's 0.250" rod in the drill chuck to catch the piece as it's cut through.

Another view. Was pretty liberal with the cutting fluid.

Here's the piece "caught".

Cut two more weights--each 12mm long. At this point, the quick part of the project took a turn and became an exercise in machining. Sometimes, easy is too easy. I wanted the two smaller weights to equal each other exactly and I wanted them together to weigh as much as the single large weight. Why? Why indeed. It's for an airgun. What else can I say?

After deburring, it was a matter of weighing and facing and weighing and...Until they were very, very close.

Found center lines on each, and spotted, drilled, tapped M5 x 0.8mm for setscrews.

Started the threading in the drill press for alignment, finished by hand with a plug tap. After sorting through the bin of M5 setscrews, I finalized the weights--with the deburring tool. They were that close. The largest weighs 20.6 grams. The two smaller, half that, at 10.3 grams each.

Since this was already pushing the absurd for a couple aluminum tubes, I hand-stamped the weights into each piece then gave them a brushed satin finish.

Installed.

Gapped,

or scrunched together.
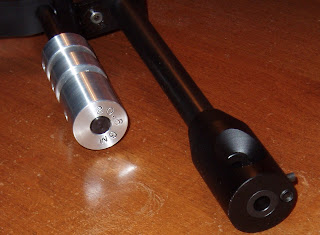


This just might be the project that clearly shows just how far wrong I've gone. And the weights are closer than a tenth of a gram.
