Showing posts with label Daisy 790. Show all posts

Sunday, December 16, 2012

Daisy 790 Sight Rail Part 2 Final

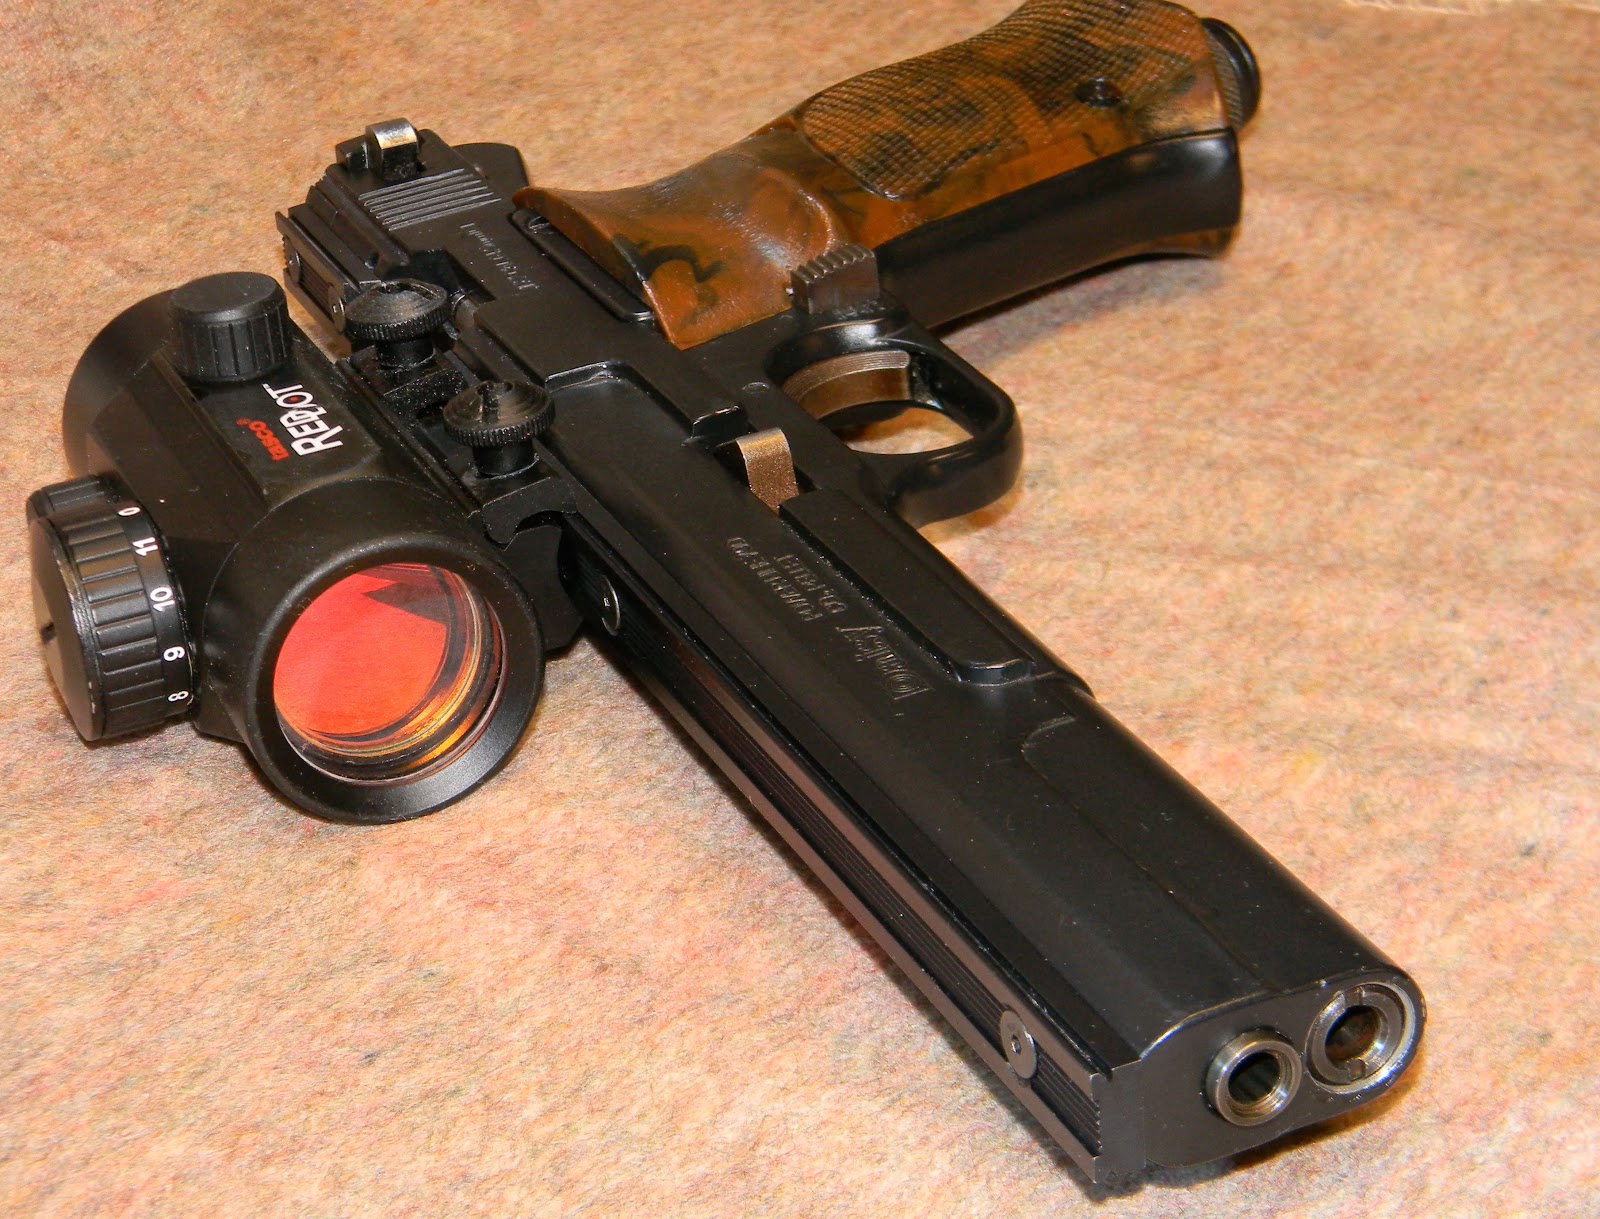
Finishing up the scope/sight mounting rail on the Daisy 790.  OK, yeah, technically it's a 780 since it has a .22 cal barrel installed... 


Went through my magic box of parts and found a Picatinny 1913 rail as well as a smaller 3/8" dovetail rail.


This is clearly the best for mounting options these days.  All kinds of stuff fits the Picatinny standard--but to my eye, it overwhelms the gun.  Might be more practical, but it just looks gigantic on the slender receiver.


Here's the 3/8" dovetail rail.  I like the sleek lines and to me, it evokes a vintage look that suites an air pistol almost three decades old.


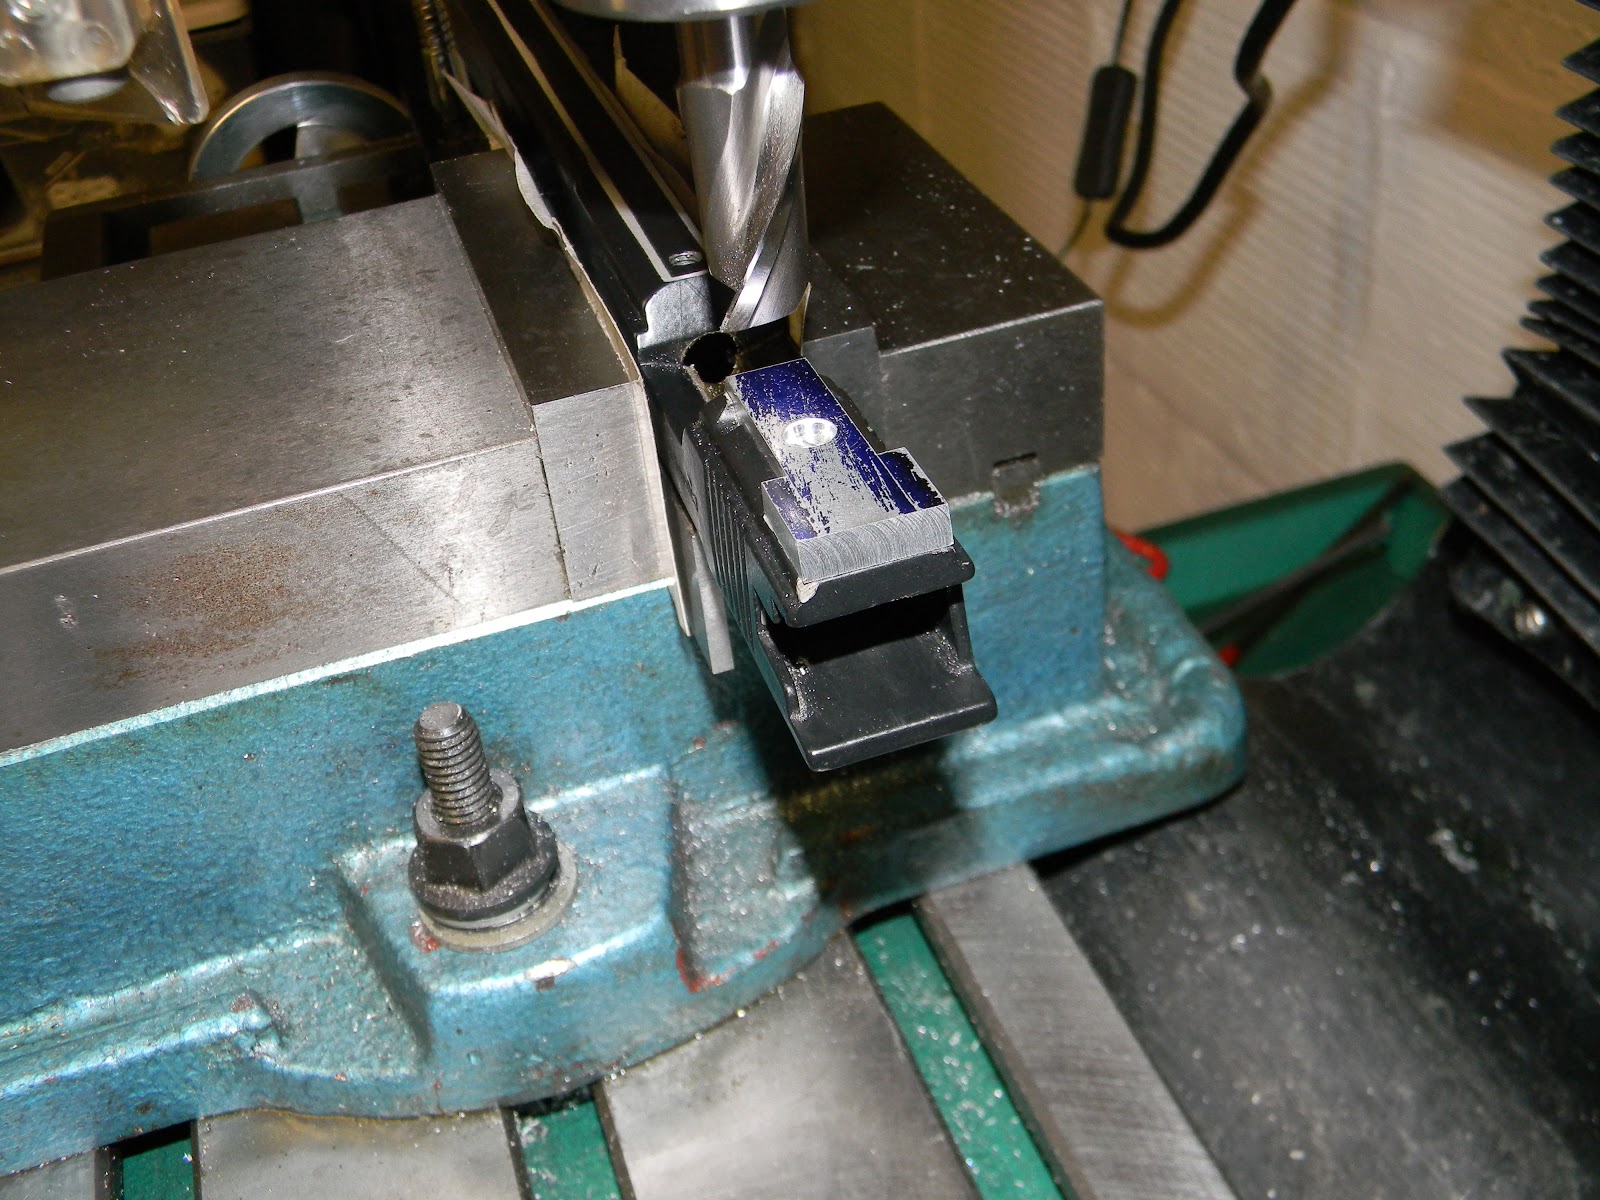
Of course, the 3/8" rail has a concave base that needs to be removed.   A six flute milling cutter took it down pretty fast.


Work is on parallels.


Taking  it down in several passes due to the overhang on the vise.  Could've (should've) blocked up the ends with jacks, but this worked.


Five or six passes later.


Some layout for the mounting holes.


Here's a jack screw.  Needed it to prevent deflection from the downward pressure of the drill.


Three holes for the long front rail and a fourth for access to the barrel setscrew at the breech.


Two holes in the rear rail.


Transferred the hole locations to the receiver.


Drilled.


Tapped for #6-32 screws.


Each hole was spotted, drilled and tapped without moving the mill head.  Barely snugged the tap in the chuck for  alignment.  The tap wrench is snugged to the body of the tap and turned by hand to cut the thread.


Five tapped holes later, some filing of the rear spacer and it's done for now.


Five shots and it was zeroed.  I really like this combination.

Not sure yet what's next, but check back soon.

Sunday, December 9, 2012

Daisy 790 Sight Rail Part 1

With the Daisy 790's loading trough repaired, only the broken rear sight boss was keeping it out of action.   Considered milling out a pocket and making an insert with a new boss for the original sight. Except my other variant--the S&W 78G version--is still sporting iron sights and I wanted some variety.   Decided to add a full length sight rail to this one.


The Daisy 790 top half with the damaged casting.


With the piece on parallels to get it above the top of the vise jaws, I started by milling off the front sight.  It would be a straightforward project to make a new--better--front sight for this pistol, as the original cast sight with the rounded edges left a lot to be desired.


Going, going, gone.  Starting to extend the flat down the top.


The only difficulty is the rear sight pocket on the top of the casting.  It's not exactly the same height as the front half.  Milled away the boss for the sight.


Changed to a smaller endmill.


Slowly bringing the entire cutout to the same depth.


Done.  Now, I need to make an insert to fill in the gap then cut everything to the same height so a sight rail can be mounted flush.


Now that insert.  Found a strip of aluminum in the scrap box.


Did some math/layout to make it fit into the pocket and set it up against a work stop.  Also set the table stop so the notch would terminate at the same point on each side of the cut.


Made this workstop a few weeks ago.  The work butts against the brass rod.  Lets you remove the work, reinstall it into the vise and go back to the original location with good accuracy.


Notched.  Flipped over, (and butted against the work stop) and notched the opposite side.  (hint:  Don't move the z-axis.)  This creates an equal depth of cut.


Cut it to final length and angled the cuts to blend into the gun.


Found the sight mounting hole.


Spotted and through drilled.


Countersunk for a mounting screw.


Screwed the filler plate to the "slide".  Well, it looks like a slide...


The entire top was then milled down to the same height.


After milling.  There's not much left of my wafer spacer.


Good view of the space that needed filling.


Like a glove.  Later, I'll radius/blend the sides and add a finish.


In a few days, I'll have the rail fit and finished.  Thanks for reading.  Please check back soon.

Monday, November 26, 2012

Daisy 790 Loading Trough Repair

Here's some of the Daisy 790 parts gun I purchased almost two-and-a-half years ago.  It was in a cardboard box and priced to low to pass on.  At the time, I bought it so I'd have spares for a Smith & Wesson 78G purchased ten minutes earlier.  Keep in mind that the S&W 78G and 79G (.22 and .177 calibers respectively) designs were sold to Daisy in the very early 1980's.  Daisy renamed them 780 and 790.  Daisy just changed the "G" to a "0".  For the most part, the parts are all interchangeable, so simpletons that we are, we write about the guns as though they are identical.  If you're new to this blog and need repair information on the Daisy guns, check the blog index for "Smith and Wesson 78G" as Nick and I have cataloged the bulk of the work there.


After getting the Daisy home and starting assembly, I realized it was missing the trigger.  OK.  It's a parts gun.  Set the box aside and shot the S&W 78G.


Eventually, I took the time to work the phone and the internet and tracked down a trigger.  Then I hit the next roadblock--and the likely reason the gun ended up in the box in the first place.


The real problem:  The loading trough isn't aligned with the breech.  It's noticeably offset to the right.


It's also far too wide and deep for a .177 cal pellet.  Actually, it's too large for even a .22 cal.   And why is it in the white when the rest of the gun is painted?   Did Daisy have an insert for the trough for the two different calibers?  And why wasn't it centered with the bore?  Very odd.


Thought about plugging the hole and re-drilling.  Didn't think that was a very good idea.


Here's a better pic of how much it's off.  The loading bolt gets pushed to the right and then drags and wedges in the breech before it locks closed.


I finally just decided to file out the left side of the trough by hand and make a sleeve.


In this case, it's not important that the hole in the receiver be perfectly round.  It's important that it's centered for the barrel.


Cut down a piece of brass tubing.  The OD of the tube is a pretty good match to the size of the trough.


Cleaned up the ends and filed it roughly to the length of the trough.  Exactly length not terribly important.


Slit the tube in half.


Deburred the edges with a small file.


The brass insert will take up the excess space in the trough.


Coated the trough with J-B Quick Weld epoxy.


The sleeve in position.


Pressing it into place allowed the epoxy to squeeze out and fill all the gaps around the tube.


Gave the loading bolt a thin layer of grease so excess epoxy wouldn't stick.


The barrel was installed and the bolt latched closed.  This held the sleeve in perfect alignment to the bore.  Gave it a couple hours to set up.


Oh, there's still one more problem with the gun--If you look closely, the top of the casting is damaged at the front sight cross pin.  The sight is only held to the gun with the elevation screw.  I'll probably add a dovetail for a red dot.


The reassembly was done with a .22 cal barrel made for my S&W 78G.  So, now, my Daisy 790 is technically a Daisy 780.


There's more epoxy on the right than the left.  Worked great as a filler.


Semi-finished--and the bolt works!  Add that dovetail next time I fire up the mill.


Quick S&W/Daisy tip:   Removing the cylindrical retaining sleeve is often a huge pain in the neck.  Nick made a really nice tool for this the last time he worked on a S&W 78G.  I took a different approach a while ago and forgot to show it.


Ran a 5/16"-18 tap into the end.  I've done this when the sleeve was stuck inside the gun.  Got enough thread bite on the tap and pulled the sleeve out.  Once out, clamped the sleeve in the vise (in soft jaws) and cut five or six full threads.  Deburred as necessary.


Important to make sure the threads face the muzzle when reassembled.  A standard 5/16-18 bolt can now be screwed in and used as a handle to pull it out next time it's stuck.


More soon.