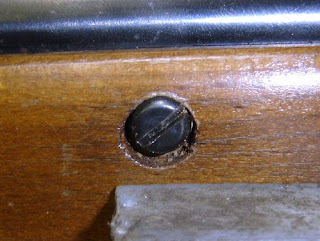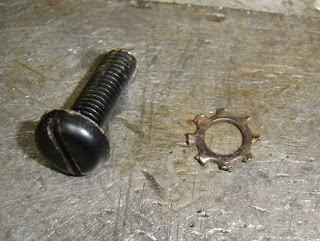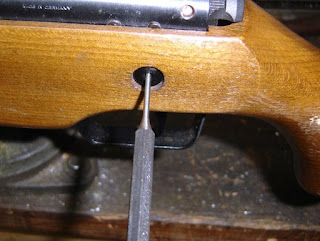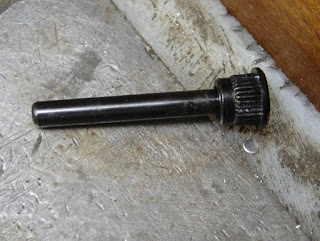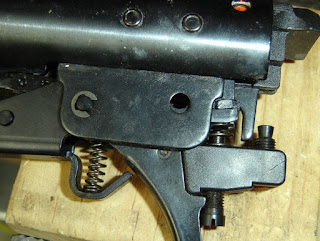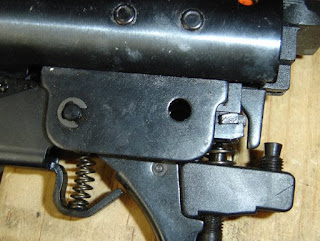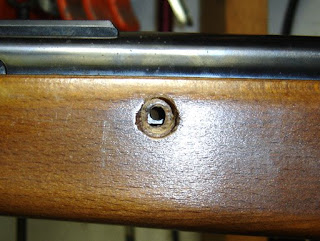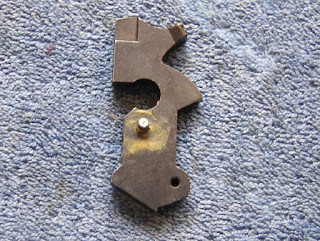
The hammer.
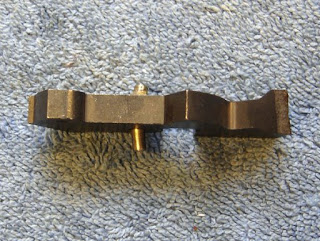
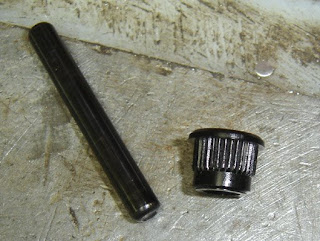
Besides being broken off, the pin was bent.
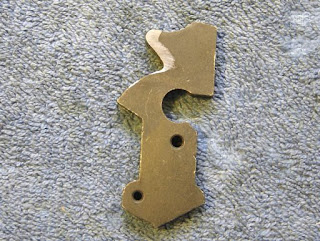
So I ground it down on the belt grinder, and deburred. I should probably have blued it or polished the whole hammer, but I just didn't feel like it.
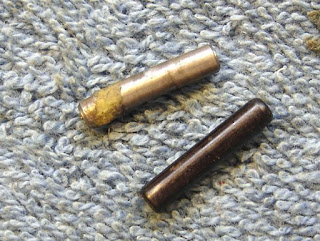
I found a replacement pin in my collection of dowel pins.
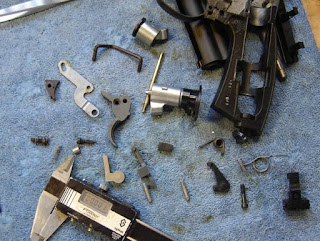
Now this is where I humble myself. When I started this project, moths ago, I started to take apart the pistol. I had pulled the trigger a few times to make sure the CO2 cartridge was out of gas but I did not remove the CO2 cartridge...
Sure enough the safety was on, blocking the hammer, so when I started to take the pistol apart, WHOOSH! The whole thing exploded apart in a cloud of CO2. I spent hours finding all the parts (or most of the parts) and humbled, put all the parts in a box and tried to put it out of my mind for a while.
So the lesson is to always remove the CO2 cartrdge, even if you think it's empty...and always wear safety glasses...
Since I didn't have any pictures of the pistol assemby, I was a bit worried I'd have trouble putting it back together. I downloaded the exploded diagram (irony there...) as well as finding a good article on resealing it in Airgun Hobby magazine, Vol 4, No. 3.
It's worth noting that Airgun Hobby sells all their back issues, when I decided that I would pursue this hobby with vigor, I bought a complete set and subscribed.
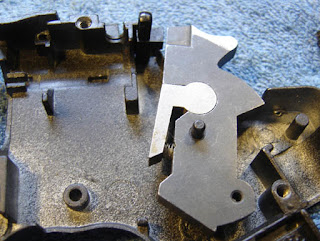
The hammer back in place.
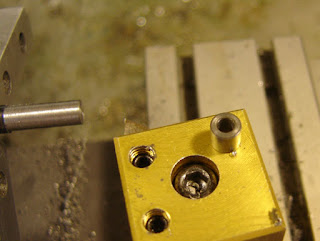
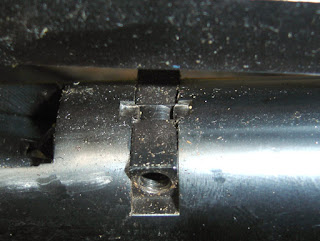
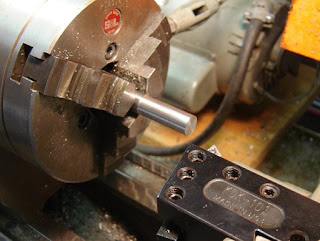
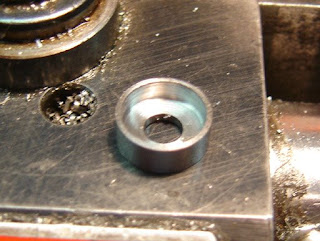
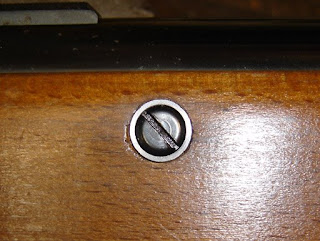
I was missing one of the two bushings that hold the tube seals in place (seen sitting on the corner of the tool post).
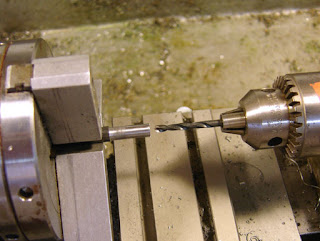
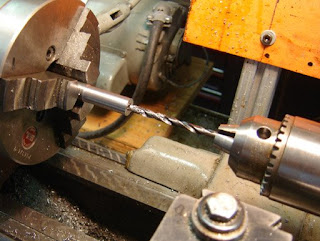
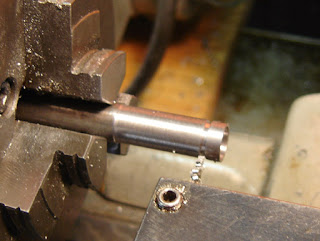
Drilling...
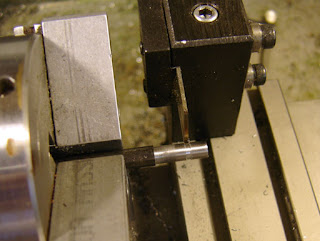
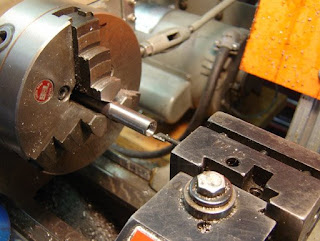
Parting it off.
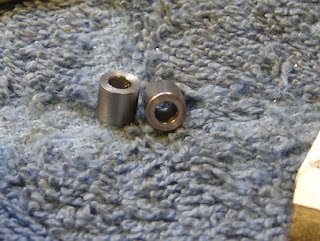
So now I can reassemble it...
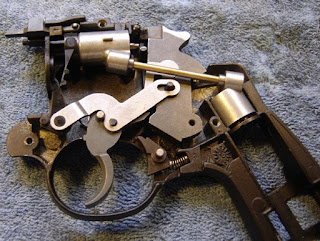
Surprisingly, I got it all back together with no problems.
