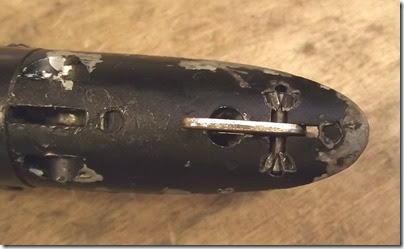
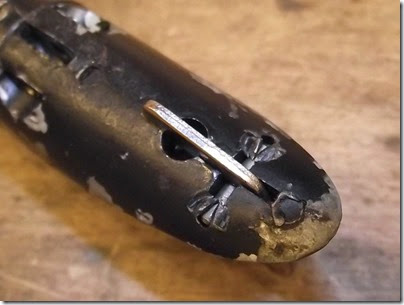
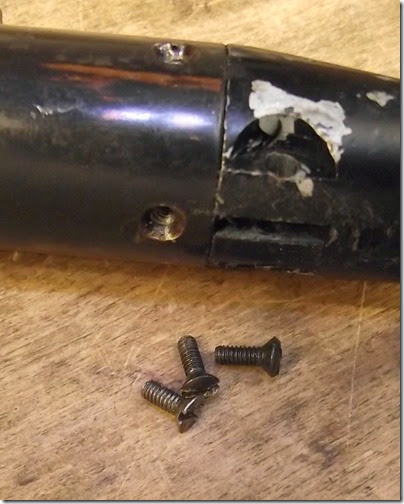
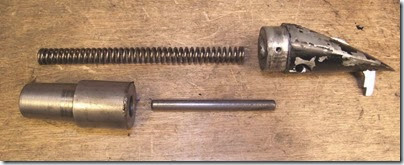
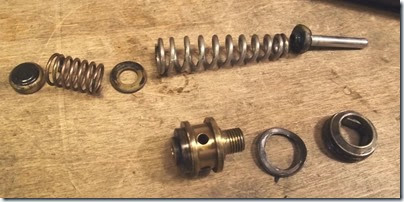
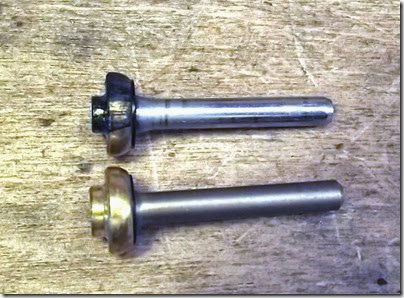
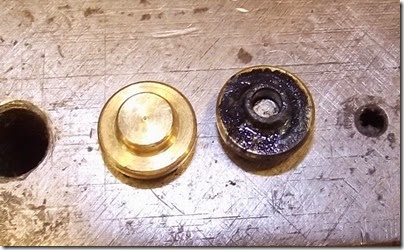
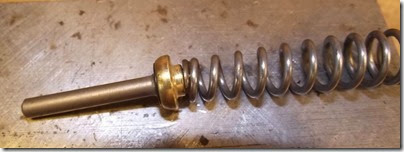
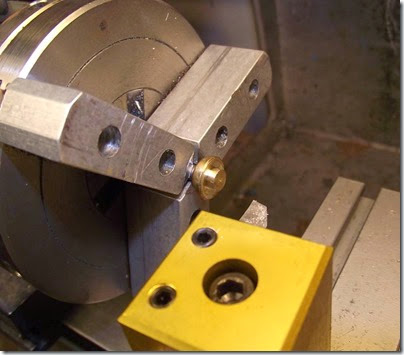
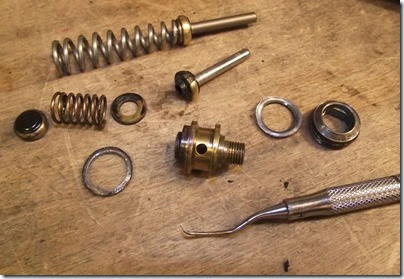
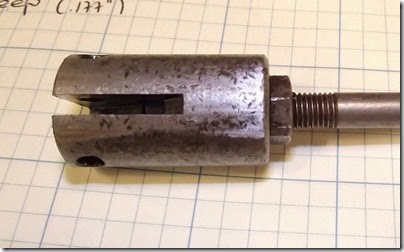
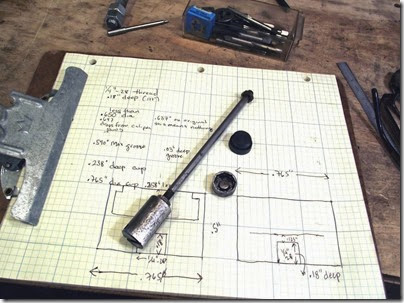
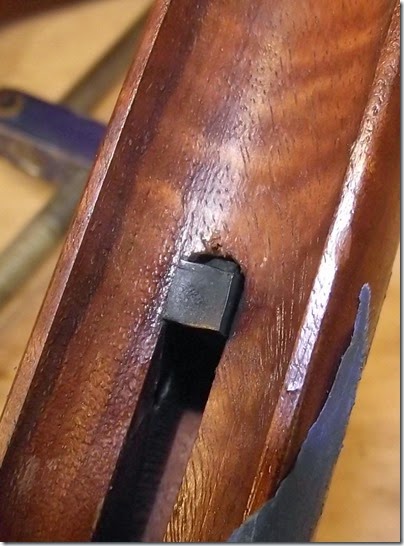
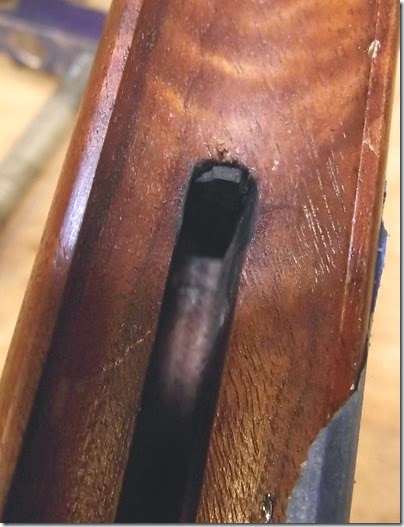
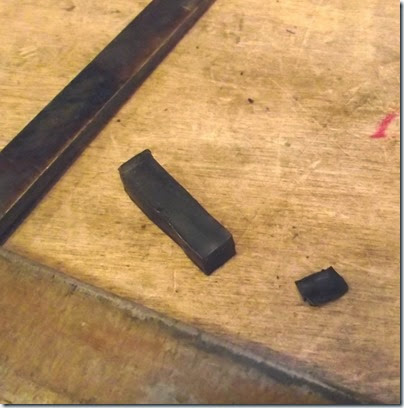
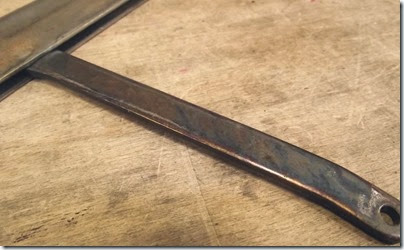
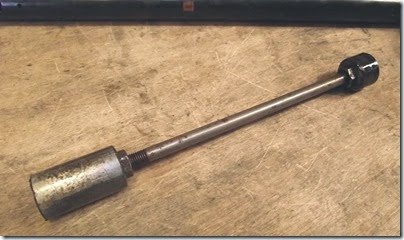
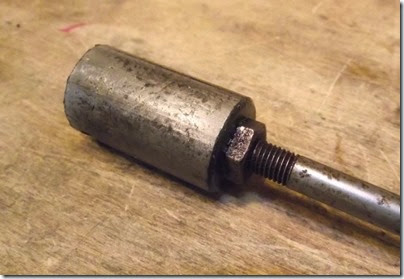
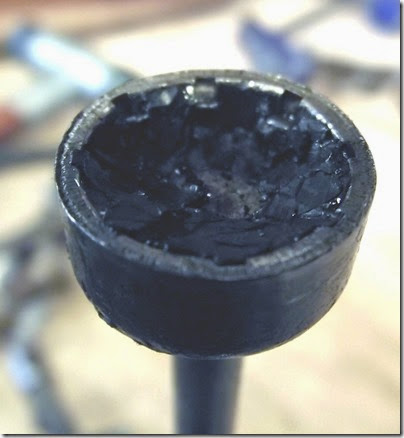
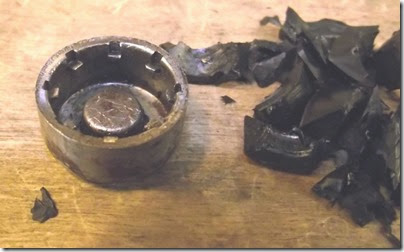
 I turned down some free machining steel. Made it long in case I screwed up. Drilled it out a bit.
 Bored to the minor diameter.
 Had “fun” boring it out so it would have a lip that retained the pump cup. The tool has to cut on three sides which means that it doesn’t cut that well.
But the pump cup snaps in!
 Some chatter marks. I’m not perfect.
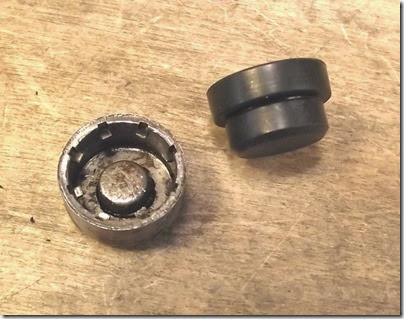
  Parting to length. I placed the old metal cup in the picture to show that the new part isn’t that much longer.
Getting it to run true.
 Drilling. I didn’t want to break through into the cup chamber.
Tapping 1/4”-28 tpi.
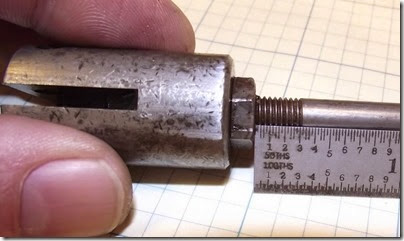
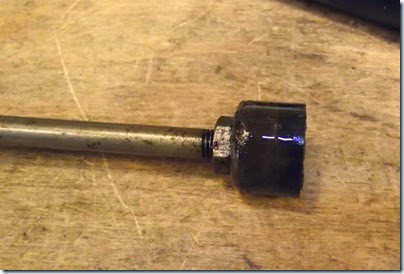
 Definitely enough threads.
  Done.
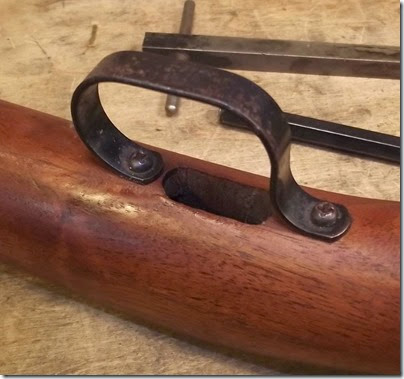
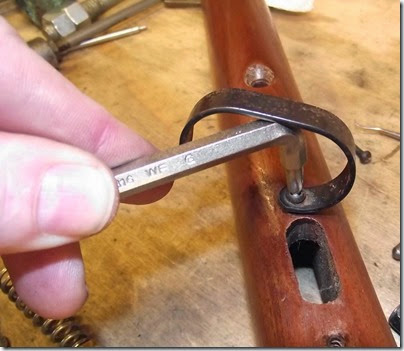
Done.  Came out well in my opinion. Next comes cleaning all the mechanical bits and reassembling, which is straightforward (I hope). Then some quick stock refinishing.
