Hey! Happy belated birthday wishes to Nick!
As a brief reminder, Nick and I are looking for old airguns as blog fodder. If you've got any old guns tucked away that we can have for free or for crazy cheap--the cheaper the better--as our budget is almost zero. Even parts guns can be helpful as we may be able to salvage a barrel or some such part for a project. Shoot one of us an email if you've got anything we might be able to use. Anyway, we appreciate everyone all over the world who's been following our exploits. Thanks to everyone for taking the time to read our blog.
Back to the task at hand. Made good progress today on Frank's Marksman. I appreciate his patience.

Started in on the trigger unit. I swabbed the inside with moly, but still wasn't happy with the second stage, so I started knocking out pins. The metal plate is part of the safety. The spring tensions the lower sear and trigger.

Upper sear and spring removed.


Here's the trigger unit completely disassembled. It's not as bad as it looks to reassemble--it's actually worse.

No, it's really not that bad. This is the general orientation of the parts to each other.

I polished most of the trigger components.

This surface bears against the lower sear.

Buffed the sides, too, where they rub on the inside of the trigger housing.

That center hole in the trigger housing is in exactly the right location to add a screw to adjust the amount of sear contact--it just needs to be threaded. Some measurement revealed the hole was the correct tapping size for an M3 x .5mm thread.

A bit of
Tap Magic for aluminum and a plug tap.

Cut to full size threads.

Reassembled the trigger unit and screwed in an M3 button head.

It's too long--I'll shorten it later--but it works perfectly. It reduces the travel of the second stage by limiting the surface contact between the upper and lower sears. I'll set it up and err on the side of safety. The screw can also be backed out--or even removed completely to return the trigger to factory spec condition.

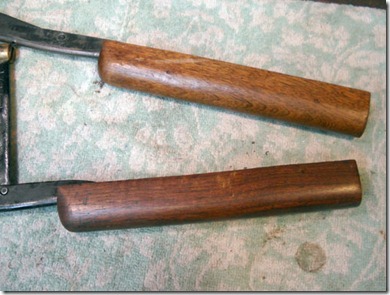
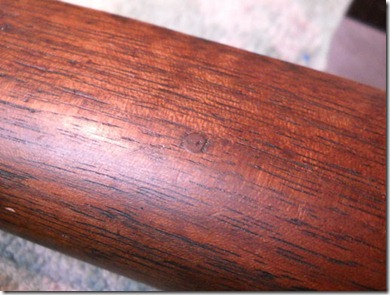
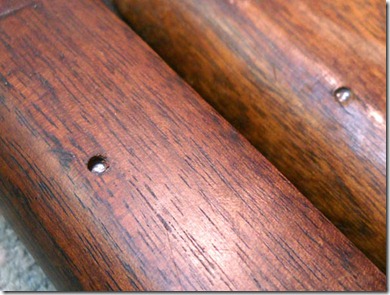
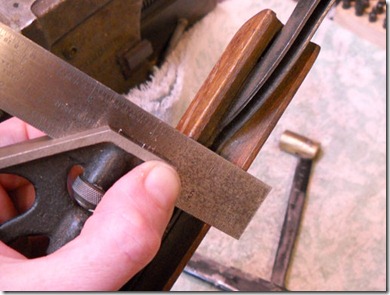
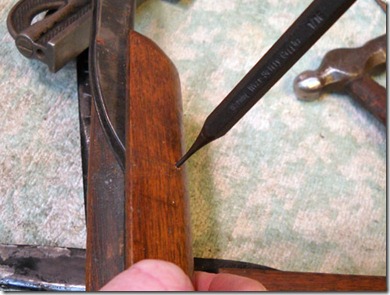
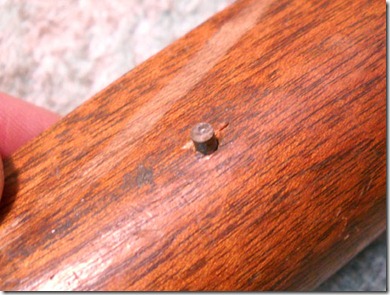
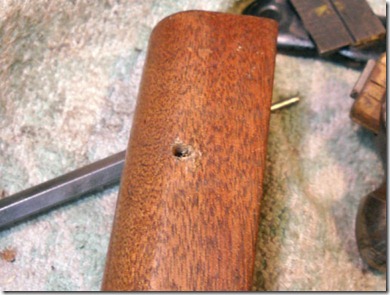
Excuse the redundancy. Yes, I'm going to make some screw cups. They're functional, dress up the gun and remove the flat head machine screws. Went through the transfer punches until I found a snug fit.

Measured the punch.

Cut a piece of drill rod that was a bit oversize...

and turned it down to 0.408"

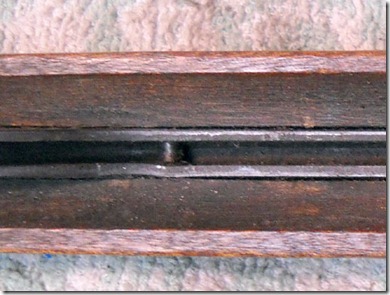
Another view. Not shown: measured the depth of the holes in the stock

Spotted.

Through drilled with a #9 bit to provide clearance for the M5 x 0.8mm forend screws.

Counterbored with a flat bottomed drill to recess the head of the allen bolt.

Finished with a tiny boring bar.

Bolt was a tight fit into the counterbore, so I shaved the allen bolt head down slightly in diameter to fit.

Parted off and cleaned up. Made a second cup in the same manner. Fine tuned the length of each cup to a specific side of the gun. The left-side hole in the forend was about .006" deeper.

Not shown: cut a piece of delrin (acetal), through drilled for the piston stem, then reduced the outer diameter to press fit into the main spring. Left a 45 degree angle at the base to interface with a steel washer. Same technique as the
Weihrauch spring guide made here.

Cutting the OD of the washer to slip fit into the Mod 70 compression tube. Not shown: cut the matching 45 degree bevel.

I've got the washer mounted on a homemade arbor. I "bumped" it until it ran true then locked it down with the allen bolt. It's a piece of free machining steel.

Spring, guide and base washer.


Still waffling on buttoning the piston. The spring is also a very loose fit inside the piston. Want to increase the liner thickness and snug up the fit, then I think it can all go back together.
More soon.


