Back to the tank fill adapter for the Czech CO2 tanks that came with the Aeron guns.

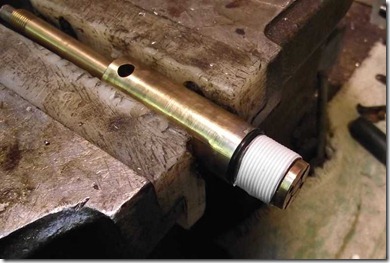
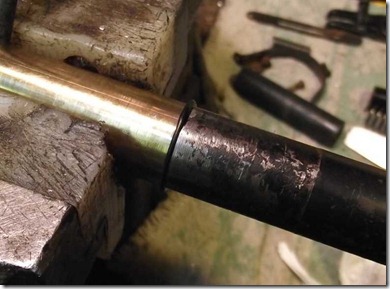
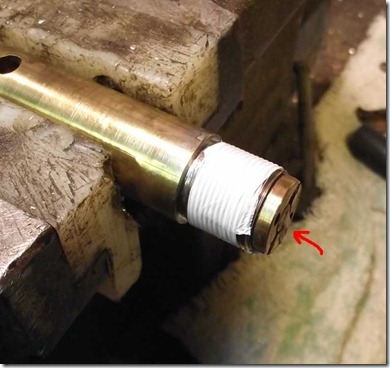
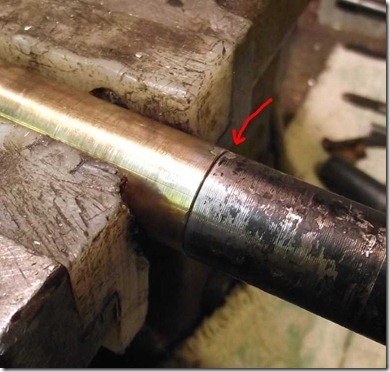
Up top is the tank. I've attached the bulk-fill adapter that will be screwed to the gun. I need a better look at the tank/bulk-fill adapter interface. That'll reverse engineer the dimensions for my tank adapter.

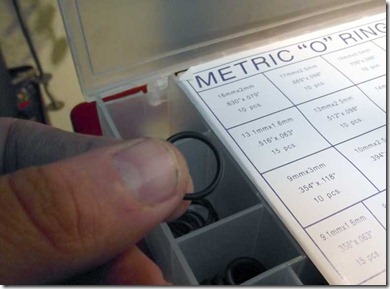
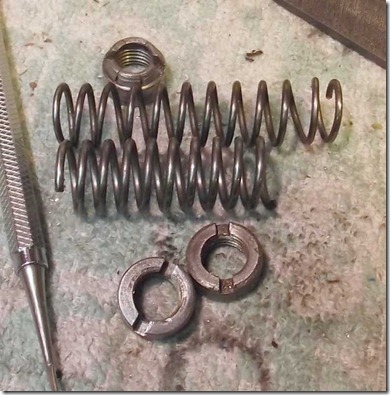
Started by removing the o-ring that seals to the tank valve stem. It's size P8.

Then removed the large clip...

and pulled the body out. A small punch presses out the pin that retains the check valve.

Here's the entire bulk-fill cap from the Aeron pistol. I didn't remove the large o-ring on the body--that seals the end of the gas tube housed inside the gun's grip.

Measured the ID of the bulk-fill adapter with a telescoping hole gauge.

The hole gauge is spring loaded and expands inside the bore. It's then locked, removed and measured across the ends. 0.353" on the micrometer.

Used a depth micrometer to measure from the face to shoulder on the counterbore. It's not a true flat-bottomed hole, but it'll get me in the ballpark. 0.334" Since the valve stem on the tank is sealed around it's circumference, there's some leeway here. Ideally, the bottom of the counterbore will crack the tank's pin valve open for filling.

Spotted.

Drilled to a depth of 0.330" to the shoulder of the bit with an 11/32" drill bit.

Then opened up the hole to 0.353" with a small boring bar.

Ground one end of a lathe knife to sort of an L-shape to cut the internal groove for the o-ring.

Took a bit of trial and error with the tool before I had the relief clearances and rake correct, but it worked. Repeatedly test fit the o-ring several times until it fit correctly and the tank seated--and sealed.

Then through drilled.

Turned the adapter around and started the taper on the end of the M16 A/S thread with a shaped knife. All the taper does is interface with the deep internal o-ring on female A/S fittings.

Wasn't getting quite what I was after, so I switched to the Taig Radius Turning tool.

Don't ask about the clearances. I took very light cuts for control and was extremely mindful of where the 3-jaw and the tool were at all times.

top view.

Done?

Ahhh, the missing link.

So, this gets more or less permanently attached to a Crosman A/S to paintball adapter.

and I'm in business.

If you're starting from zero and need to fill a Czech tank like this from a paintball tank, there are probably
easier ways to go about it. This kludge was my "minimal machining solution" (trade mark pending) based on utilizing fittings I already had on hand from my other CO2 guns.

Once the tank is charged, the B&A valve connector is closed at the paintball tank end, then the Aeron tank is unscrewed from the steel fitting. It gives just a quick pop of gas--no prolonged hiss to empty the tank. Couldn't have asked for a better result.

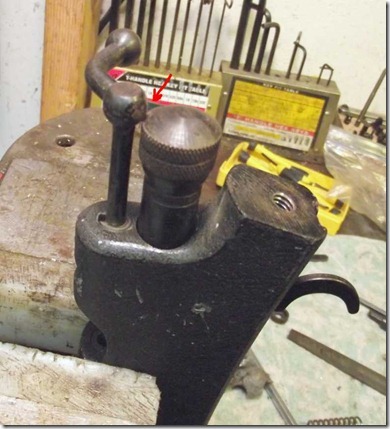
To charge the gun from the tank, I shot the gun empty and removed the 12 gram end cap.

Side note on the Aeron 12 gram cap: The 12 gram cap normally has a dull piercing pin that will just give you trouble. A couple seconds on the bench grinder gives it a triangular, reinforced chisel point. Avoid the temptation to make it a needle or cone shape. This is stronger.

Screwed on the bulk fill cap.

And attached the gassed up tank.

Almost forgot, the gun must be cocked first.

Ready to rip for pennies per charge.
