Showing posts with label crosman 150. Show all posts

Saturday, November 13, 2010

Grips for the Crosman 150 Part 4 Final

Still sanding away.

At this point, the grips are pretty much finished. Just evening the grips out here and there. Trying to get symmetry.

Want that line at the bottom of the curve a bit more defined.

Marking an angle...

then sanded the heel.

There was nothing wrong with the heel the way it was, but its a simple step that (I hope) adds some visual interest.


Sanded to 400 grit then rubbed down with 0000 steel wool.

Rather than oil the grips, I went with a wax. The Briwax is outstanding, but apply it outdoors or get the tolulene free formula.

Generously waxed the wood, let it dry, then hit it on a stitched wheel.

Should've used a different wheel, but it was late and this was the only one on hand that didn't have polishing compound in it. It worked fine.

Some pics.

Just looked at the board I cut this from and there's enough left over for another similar grip. So, there's maybe $13 in wood here.

There's a WoodCraft store about half an hour from here. I can kill an hour just browsing all the exotic lumber.

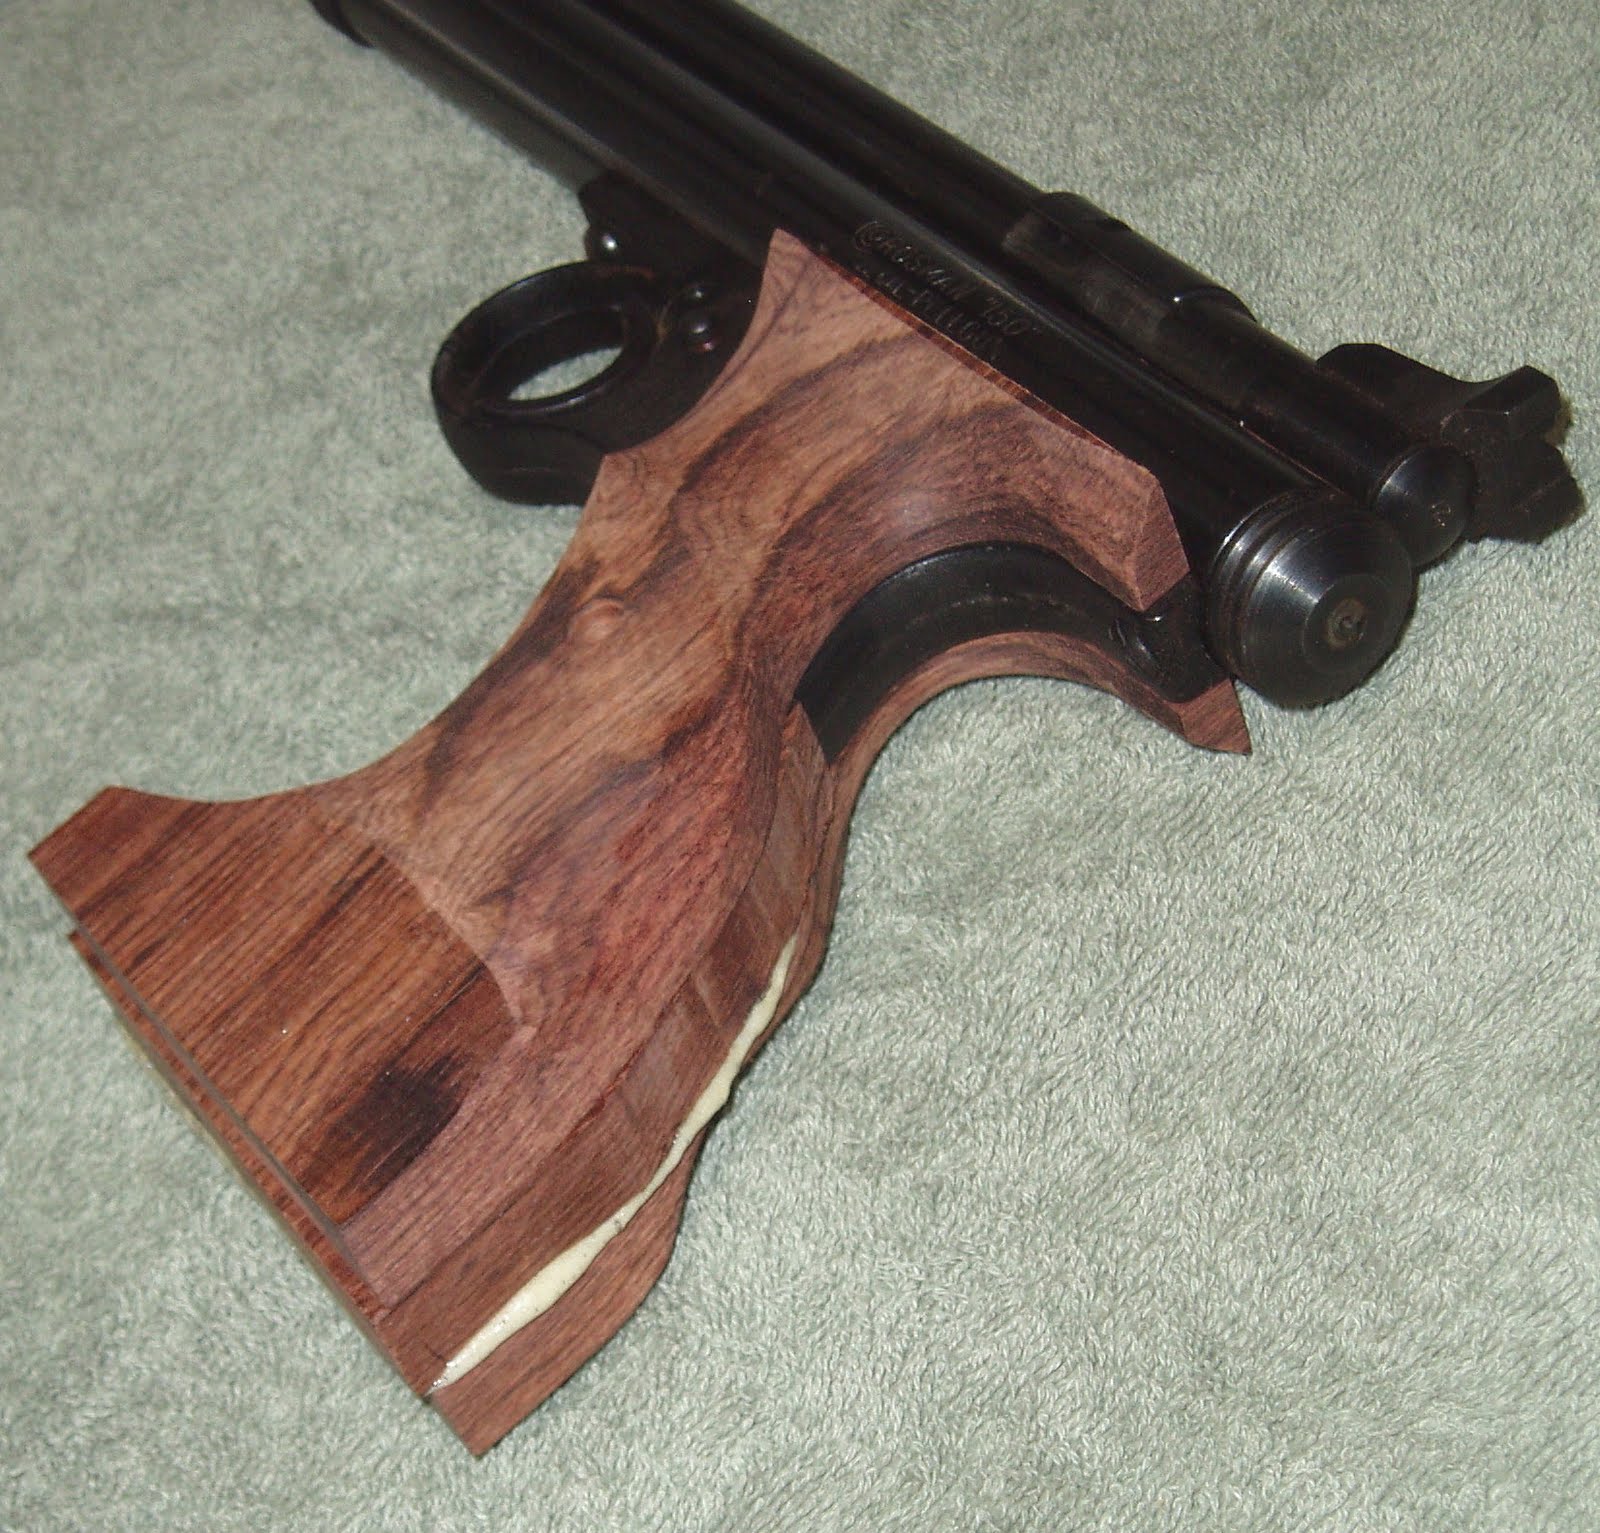
The grips fought me non-stop for pictures. They're so smooth and glossy, all the camera sees is reflected white light. The rosewood compliments the blued steel of the 150 nicely. They feel great in the hand and look stunning. I think they're done.

Wednesday, November 3, 2010

Grips for the Crosman 150 Part 3

Slogging along. It seems kinda slow going on these grips, but there have been other projects that come up that just don't get blogged. Typically these are non-airgun related or something that's even more mundane than sanding grips.

Anyway, I need a filler for the heel and bottom of the grip. Back to the original board the grips came from.

Either grip will work for this.

Elected to trace the right side grip. Didn't really matter which one I chose, but I liked the way the grain looked.

Cut it out on the scroll.

Fine tuned the frame location and traced.

Cut it out. Had to open it up a bit here and there to get the angles to match up with the right grip panel.

Test fitting

Gonna permanently affix the spacer to the right grip panel. Thought about gluing the spacer to the left panel, too, but that would entail slotting the pin holes for the trigger pivot. Was concerned with having the grip immobile on the frame like it is now. Afraid the slot would let the grip shift slightly while sighting. If, however, a gap opens between the left panel and the spacer in the future, I'll go that route.


Just some mulling before the affixing time.


A bit of clean up for the difficult to reach spots.

Gorilla Glue. Woodworking wisdom--of which I have none--says to wipe rosewood with acetone or a similar solvent to remove the natural oil from the surfaces to be glued.

I wet the wood, let it dry--then wet it again and glued it up. I don't think it'll ever come apart at the glue joint. I probably could've used another clamp or two.

More test fitting. Yay! The glue didn't foam up against the frame and stick it all together.

A couple views.


Looks like I can't procrastinate sanding anymore. I screwed the grips to the frame.

Removed the grip frame from the gun and sanded the bottom surfaces flat.

That's three half-inch thick boards.

Evening up the backstrap and heel.

Killed the flash to show the contours. The sides are almost mirror image.

Some up front tweaking.

Various angles

It already feels more hand-filling and substantial compared to the original.


It's starting to look like finished product. Needs a bit more shaping--especially at the bottom--and then finish sanding.

More soon.

Saturday, October 30, 2010

Grips for the Crosman 150 Part 2

Yet another super boring post. Sorry, it's hard to make sanding sexy. With the basic outlines cut and grip screw holes drilled, counterboring for the screw heads was up next.

It's important to do this sooner rather than later. If you contour the grip to shape, then try to recess the screw head, you risk tearing out the wood. By cutting the counterbore first, any tear out will be sanded off during the normal grip shaping. As usual, a forstner bit was employed to cut the flat-bottomed hole.

Test fit. The original CR150 grips are too small for my hands--especially at the heel, so I left some excess wood for fitting.

I'll add another piece of wood in the back as a filler a bit further down the road.

Gonna shoot for some symmetry this time around. Locked both grips together and sanded the bottom of both sides as one piece.

And made the area at the backstrap a uniform curve as well

Worked the heel down a bit to get it closer to final size.

Then went back to the belt sander and started making rooster tails of rosewood.

Used a charcoal dust mask and eye protection. Remember that exotic hardwoods can cause serious allergic respiratory reactions in some people.

The belt sander was great for quickly getting the grip contours roughed out. I just winged this and compared sides as I worked away.

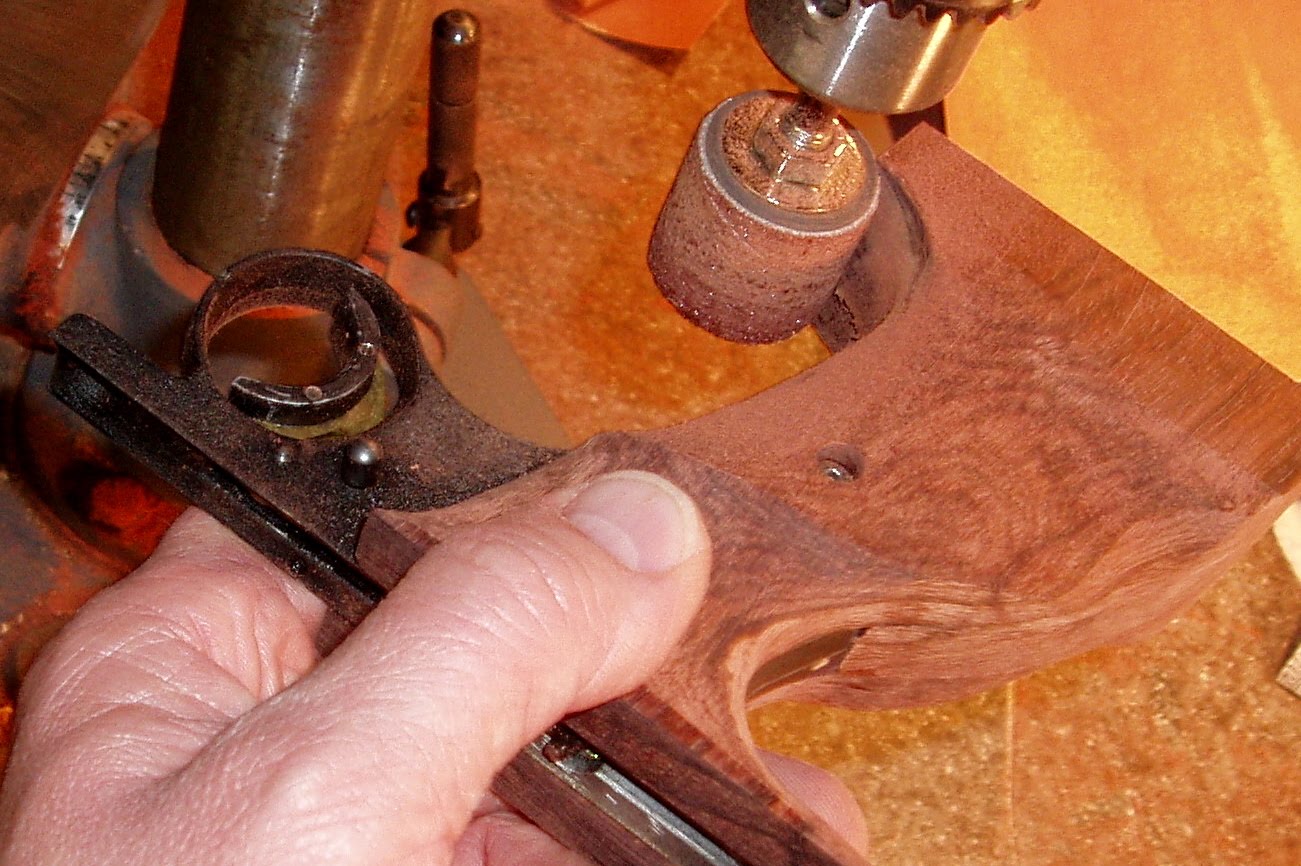
More shaping with a sanding drum.

It's starting to look like a grip.

More to come.