Showing posts with label CP1-M. Show all posts

Wednesday, August 16, 2023

A Bolt Hold Open for the CP1-M

So many of these modification projects are based on fixing perceived shortcomings.   When I load the CP1-M using the single-shot tray--especially with wadcutters--it helps to point the barrel downward, then drop the pellet directly into the breech.  This is helpful because it gets the flat-headed wadcutter pellet past the barrel o-ring.    But every time I tipped the barrel downward to load the pellet, the retracted bolt handle slid forward partially closing under it's own weight.  And yes, while a spot of thick grease on the bolt will solve the problem of the bolt closing on it's own accord, at least for a shooting session or two, I wanted a real fix. 


Did a quick tear down and took a look at my options.  If this was a Crosman 22XX or 13XX, it would be easy to add a small magnet to the rear of the loading bolt and use the cocked hammer pin to hold the bolt to the rear. 


I remembered having an assortment of small metric spring plungers.  They're essentially set screws with a small spring loaded ball tip.  The ball bearing is captive.  Snugging the screw puts spring pressure on the ball bearing tip.   Benjamin Marauder rifles use one of these for the same application.


A better look at the spring loaded ball tip.


Rather than drill and tap a hole in the breech, Realized that since I'm running a red dot sight, I can simply use the existing M4 x 0.7mm rear sight mounting hole.


Want to figure out where the ball makes contact on the bolt when retracted


Sharpie marker layout. 


Transfer punches.  A fine Harbor Freight purchase.


Botched the picture.  The bolt should be pulled to the rear...


And a light tap with a hammer will mark the spot.


Like so.


Could make a small dimple with a drill.   I'll use the Taig benchtop lathe and cut a shallow groove instead.   Chuck and center the cutter at the mark.  Hey, no measurement machining!


Just enough width and depth for the ball tip to engage.


Deburred and polished.


Always one more thing.


Made this small knurled M4 nut.
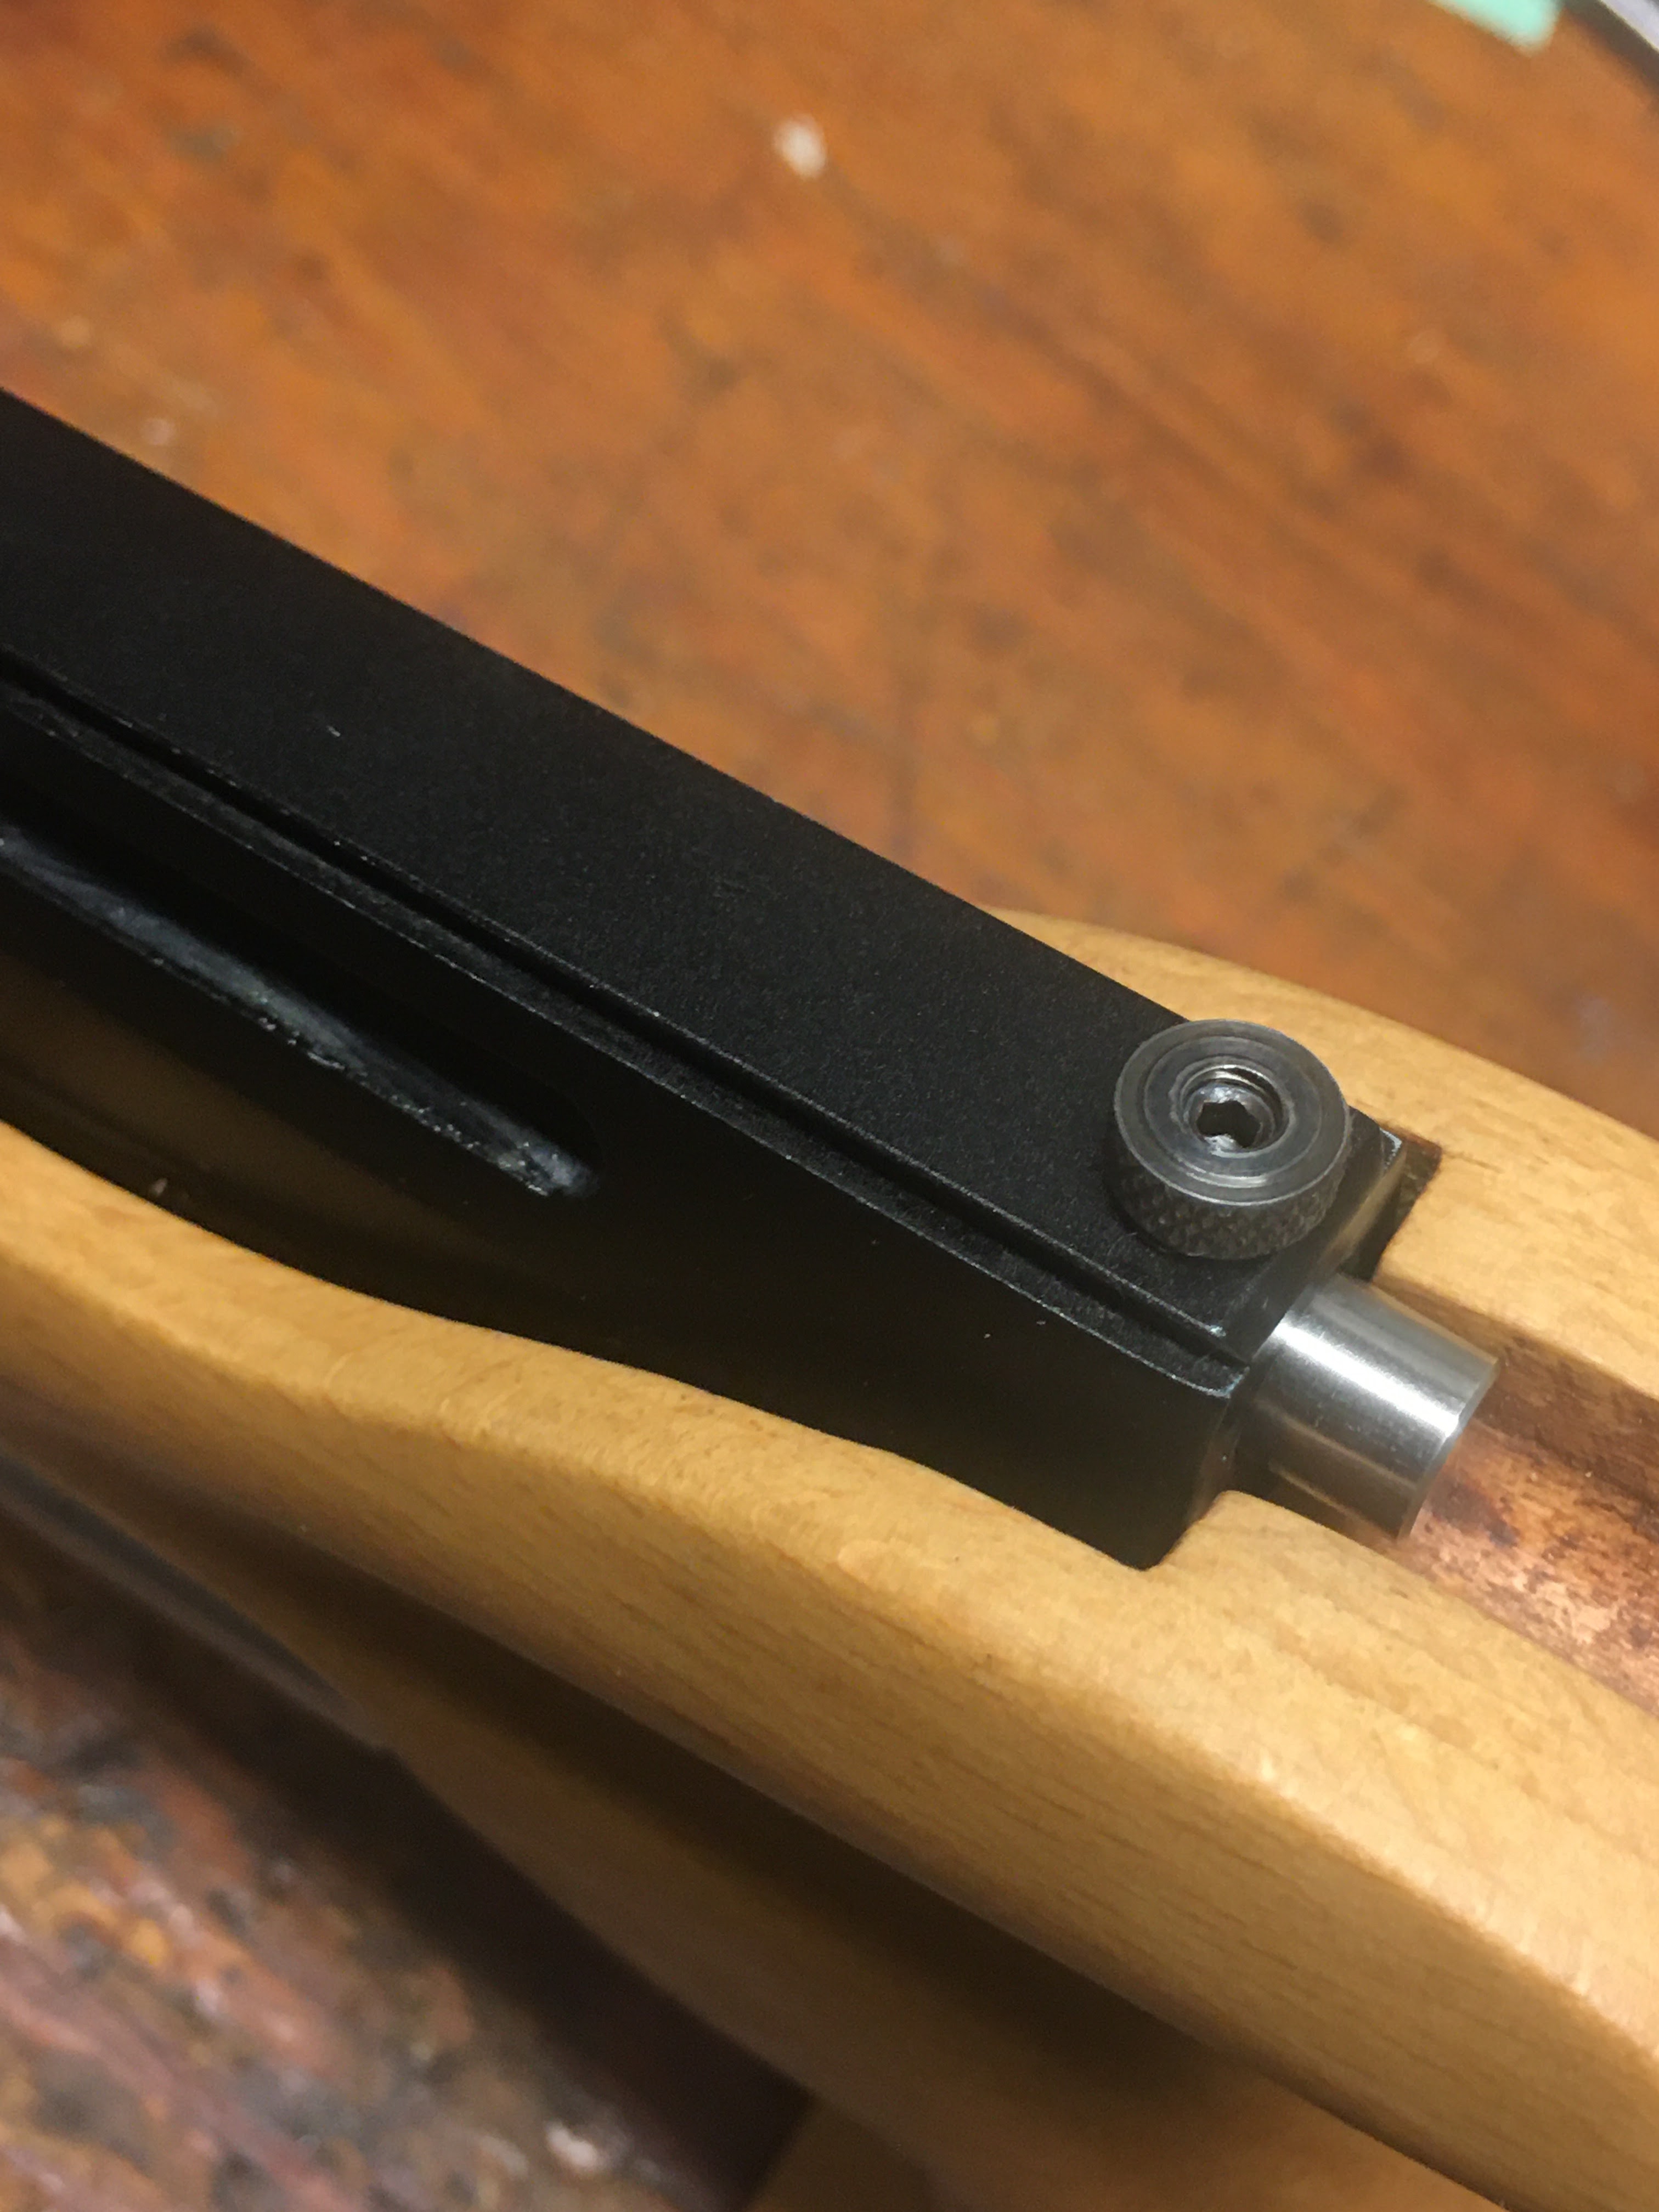


Adjusted the plunger for spring pressure, then snugged the locknut down to hold it in place.


Back in business.  I can feel the bearing tip engage the groove in the bolt when cocked.  Holds perfectly.  Think I'm done with the CP1-M for now.  Got several other projects in mind.  We'll see what rises to the top.


More soon.


Still Sprucing Up the CP1-M. Part 3


Just making a quick grip/hand interface modification.


When I added that palm shelf, I didn't account for how it would slightly alter my finger placement.   


As the shelf pushes my hand upwards into the grip, my pinky and ring finger get pinched by the finger grooves.


Back to the sanding drum to move the bottom two finger grooves upward.


Attach the palm rest..


And try this again.


Sand, test, sand, test...


A little spot sanding 


Just like that, the grip finish is restored.   Not exactly deus ex machina.


I've been meaning to add a bolt hold-open feature-- a small refinement to make loading a bit more pleasant.  I'll get that up in a separate blog later this evening.   

Thanks for checking in.  

Saturday, August 5, 2023

Sprucing up the CP1-M Part 2

Finishing up the CP1-M.  

Reader, Paul, identified the muzzle brake as an Air Arms accessory used on several models in their lineup.  Thanks for that, I'd done a quick look under "airgun muzzle brake" but hadn't really looked any further.

Thought the pistol looked like a bit haphazard.  Body parts sewn together into Frankenstein's monster.  A bit over-dramatic, but truthfully the aesthetics matter and I'd like to have some sense of pride of ownership.

I mean, that silver muzzle brake looks a bit lonely and out of place.  Maybe a bit more silver color will make it look more unified and not cobbled together.   I say this at work all the time--"My goal is to make it look like I had nothing to do with it"


Removed the homemade trigger guard.


Did this Friday after work.  Into the media blasting cabinet!


About 20 seconds later the epoxy finish was gone.


Now it has a matte finish that doesn't quite match the shine of the muzzle brake.  A quick hit with an extra fine Scotch-Brite sanding pad had it looking about right.


Detour:  Since the trigger guard is off the gun, I'll take the opportunity and reshape the trigger.


The original curve of the trigger blade was a bit too pronounced and didn't fit my finger.


Removed some metal at the top and bottom of the curve.  Straightened it out.   Not shown:  Polished out the marks, bead blasted, then blackened the blade.


Finally, I scavenged a matte silver colored dot sight and put it all back together.


A better pic of the reshaped trigger.  


This morning, I turned an aluminum screw cup for the palm shelf replacing the original brass.

It came out OK.  There's a small woodworking tweak I'd like to do to the grip to improve the way it fits my hand.  

Try to get to it later this week.  Yeah, I need to post more.  There's always something on the workbench, but it doesn't always feel like it's something worth sharing.  I'll work on that.  


Thursday, August 3, 2023

A Different Muzzle Brake for the CP1-M / Sprucing Up the CP1-M Part 1


I found this shiny muzzle brake in a box of stuff for sale at the Toys that Shoot airgun show last year.   I had no real plan for it at the time, but it was only $10.


I did like the undercut on the bottom, and I thought the machining was pretty clean for the price.  


Surely, I had something that this 14mm diameter would fit.   See the justifying?  Brought it home and put it in a larger box of stuff with other shiny things where it sat waiting.


Some of my airgun projects never seem to be finished.  My old CP1-M pistol from the now defunct M-Rod Air is a good example.  It's worn iron sights, red dots, modified grips, triggers, barrel shrouds.  A different configuration every few months.  Changing needs and perspectives, changing interests, too many options--all in search of shooting perfection.  At least that's the hope we have whenever we try a new airgun accessory.   Maybe I'm just attracted to shiny things like a magpie.

Anyway, I was never really happy after sleeving the barrel in carbon fiber.  It was supposed to just be a stopgap until something more appropriate came along.  Something more air pistoley. 


The other night, my brain made the connection:   

      Muzzle brake 
   +           CP1-M   
   =        Amazing 


All the brake needed was just a simple shim. There was a cut-off scrap of black acetal already on the workbench.


Quick and easy.  Went to the lathe and faced the end.  


Took the diameter down to 0.550"--just barely smaller than the bore in the muzzle brake.


I really like to machine acetal.  Easy to cut and no razor sharp chips all over the floor.


Test fit.  


Really snug.  It's actually a light press fit.


Cut it off and chamfered what will be the front end of the shim.


I want to drill for the barrel with it installed in the body of the brake.


Pressed the acetal plug in, snugged the set screw then progressively through drilled for the muzzle diameter.


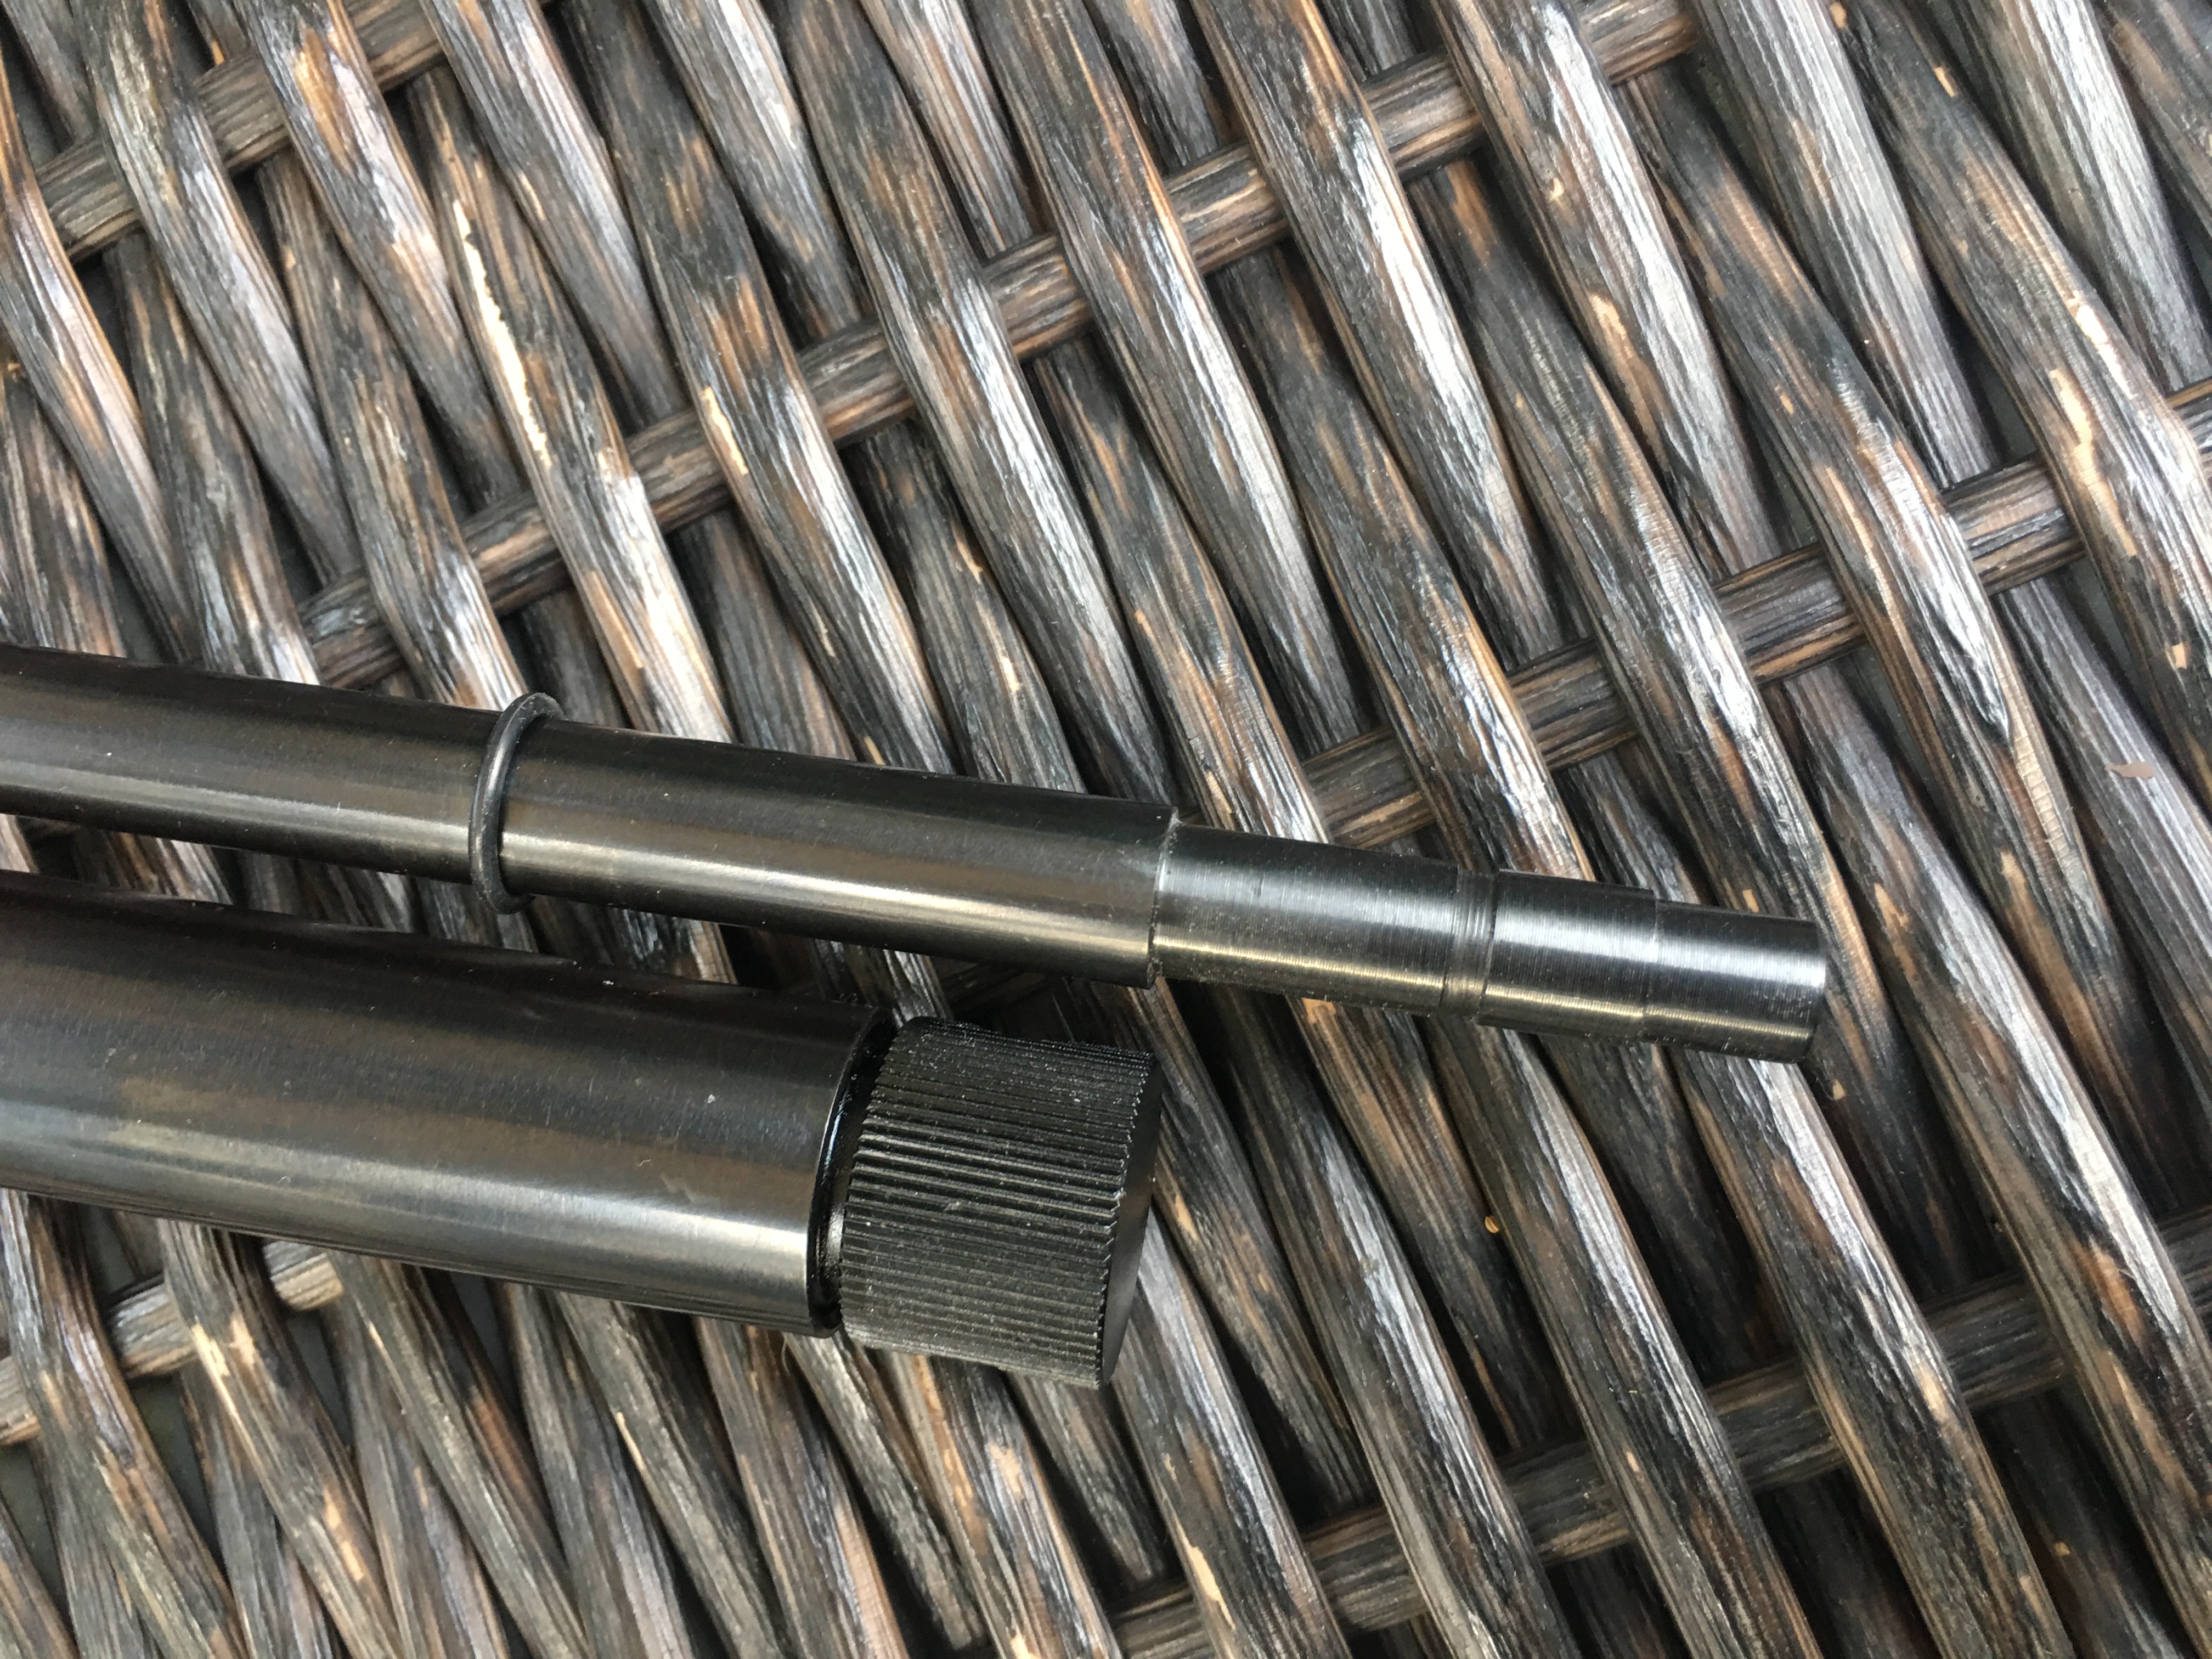
The muzzle of the CP1-M barrel is stepped down.  A 25/64" drill bit is a good fit.


The insert is about 7/8" into the bore.


Some better pics of the brake.


A couple pics of the stepped barrel on the CP1-M.  


Used an o-ring to close the gap at the rear of the brake.


Pushed up snug.  A quick visual bandaid to hide an unsightly gap.  


Done?


The sleeve presses into the brake, the brake then presses over the barrel.  The set screw keeps it all from moving.  This press fit works on a no-recoil CO2 pistol.  After looking at this, I'm thinking about stripping the trigger guard back to bead blasted raw aluminum.    


Whoops! Almost forgot.  Always want to make sure there's no pellet contact with a newly installed muzzle brake.


Some electrical tape


Over the muzzle.  


And a test shot.    Looks OK!

More in a couple days.