Saturday, June 12, 2010

Walther LG55 Quick Stock Fix

What? This isn't the Haenel! The Haenel stock is (still) drying. The relative humidity has been high and the finish is taking it's sweet time. And so am I--as I don't want to redo the finish yet again.

The Walther LG55, acquired in December of last year from the infamous airgunner Volvo, turned out to have two hairline cracks in the wrist, one on each side beginning at the rear of the trigger guard and progressing backward to the grip checkering. Volvo didn't realize that the stock was cracked and he was seriously concerned about his end of the deal. For what it's worth, I think there's an expectation that mechanical things simply need some TLC from time to time. So, this is my end of the deal and I'm content with it.

Anyway, the crack hasn't changed size with over a thousand shots fired, but I wanted to make sure it had stabilized.

I'd like to apologize for the pics right now: I was working outside in mid-afternoon sun, so the light was harsh, and the gun stock is a fairly high gloss... The reflections turned out to be pretty serious and I ditched many of the images. I didn't have time to stop and download images then re-shoot anything or wait for more favorable lighting.

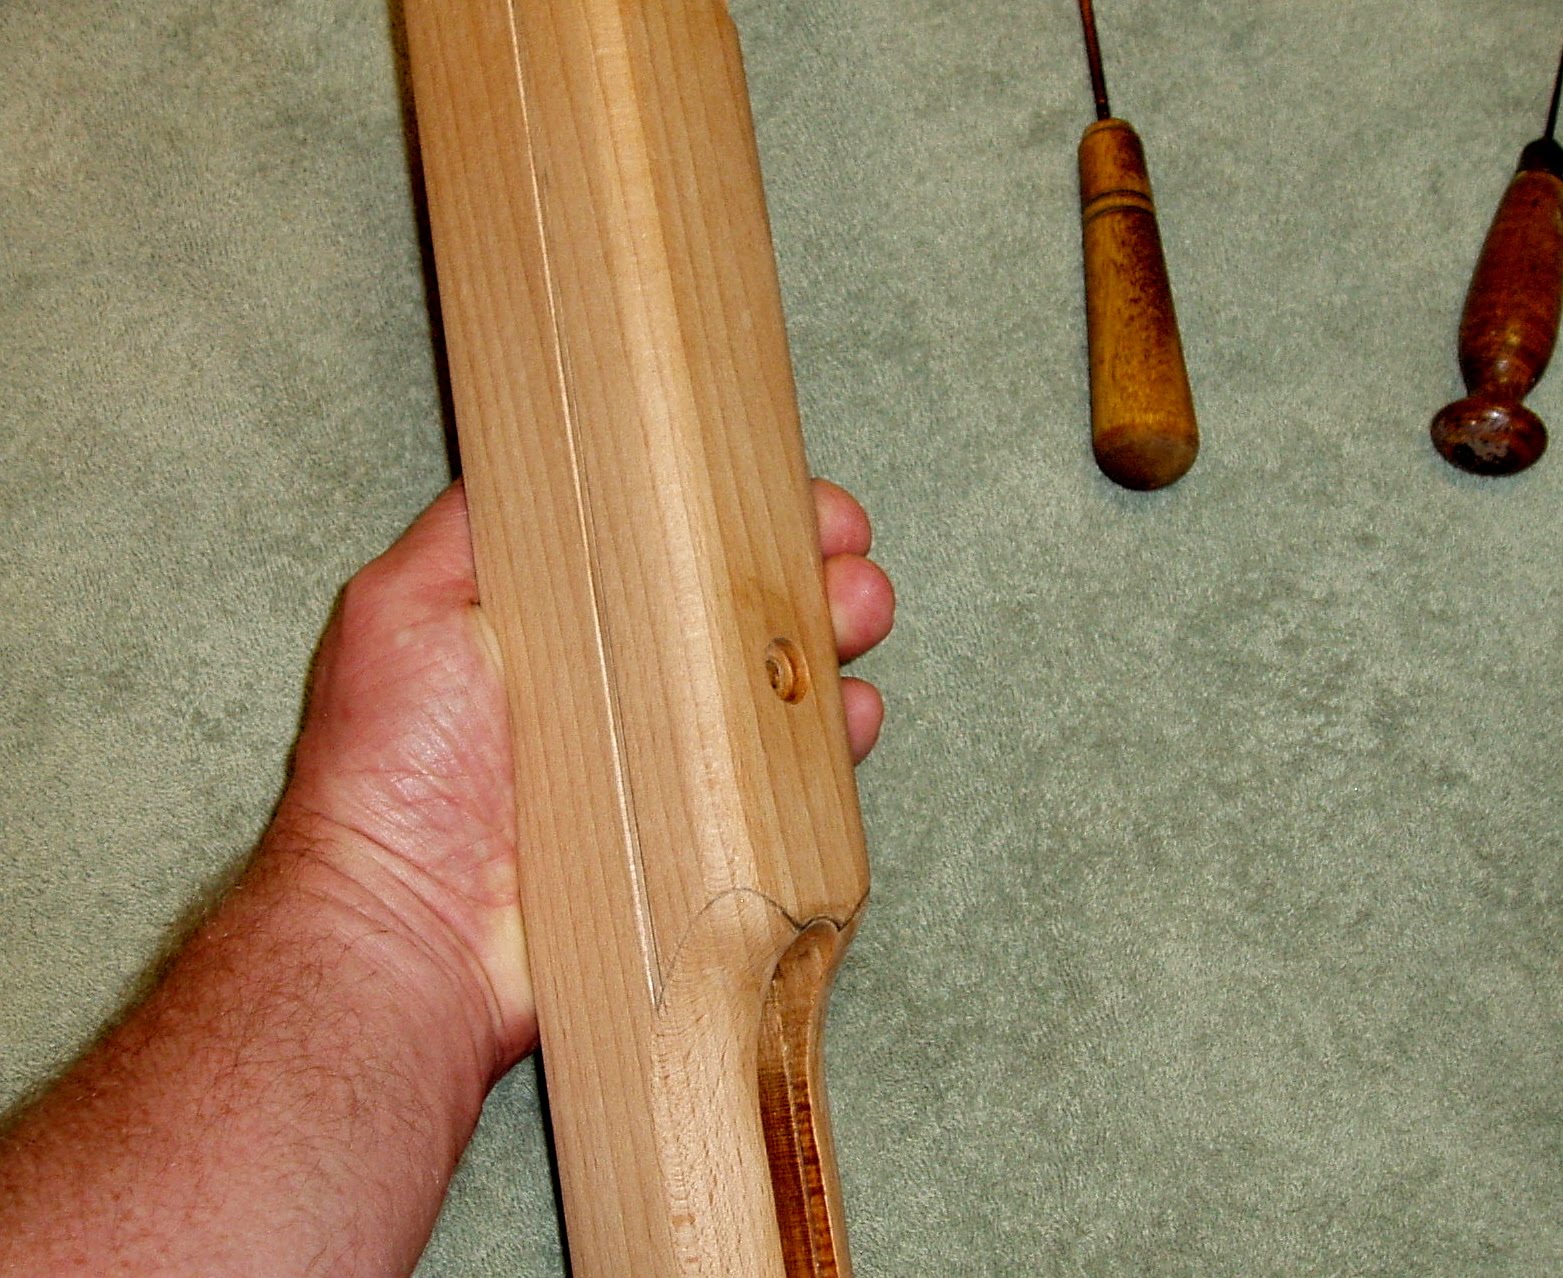
The cracks were extremely small, looking like cracks in the finish. I took about fifteen images to get one that worked. There is an identical crack on the right side. My initial plan was to drill a hole at the rear of the compression tube channel and add a screw to draw up the grip and reinforce the area. With the action removed, that was easier said than done. The inletting fell well short of the area where the screw needed to go. Adding the screw would mean pocketing the rear of the inletting, removing quite a bit of wood in the process. I felt that would have done more potential harm than good. So, plan B.

Titebond cyanoacrylate. Thin. Seems thinner than water. It's made to wick into very tiny places. Hopefully places like cracks in old Walther stocks.

I coated the inside of the inletting of the trigger guard at the rear. Then ran a bead along each crack, one side at a time. Flexed the stock back and forth attempting to open the cracks to allow them to absorb more glue.

Now, to remove the excess dried glue from the surface of the stock. Started with 1500 grit wet/dry paper. Just want to sand the glue line level with the stock finish.

Followed by some Mother's Mag Polish to blend the edges.

Still have a slight glue line. A bit more sanding. Tried very hard to not burn through the stock finish.

Glue line is gone.

I'll give it a wipe with Tru-Oil and let it dry for a day.

Rubbed out the Tru-Oil with a bit of rottenstone.

I can't find evidence of the cracks or the repair. I'll inspect the stock after every shooting session, but I think it'll be OK.

The sixty year-old Walther Luftgewehr 55 lives to shoot another day.

Wednesday, June 9, 2010

Failure/Redemption Staining the Haenel 303-Super

A special note of congratulations to Nick. His post a few days ago was the 400th for the blog.

On with the show. Where was I on the Haenel anyway? It's been so long that I had to go back through old blogs to see exactly where I'd left off. Oh, yeah, I was about to refinish the Haenel a few weeks ago then took a break to do some "research" that involved mainly looking at old guns. I wanted to add some extra detail to the plain stock, but I wasn't sure what direction to take. Spent some time browsing through old Anschutz brochures from the early 80's as well as viewing lots of online images of vintage target rifles. The style I tried to copy is similar to what Anschutz used on the old 250.

Strypeeze and some masking tape. Exercising caution as I wasn't sure if the old finish on the stippling would bleed into the wood and make a bigger mess to remove.


Didn't notice any color bleeding, so I did the right side--sans tape.

Didn't like the border of the grip stippling curving downward at the top.

Wanted it to run parallel to the top of the forearm, so I sanded it out and penciled in a higher line.

Like so.

Then continued the line on the forearm. A machinist's ruler and a scratch awl.

Doubled the line to match the outline on the grip and used a v-shaped cutter to deepen and define the lines. Also re-cut the border that I'd just sanded off at the grip. This gave a rough approximation of the basic Anchutz 250 stock style.

Wasn't sure I could exactly duplicate the factory stippling on the grip, so most of it was sanded off, too.

Some stippling punches. They work OK, but don't produce as fine a texture as my single punch does. They do allow for relatively fast coverage of large areas.

Stippled the grip on both sides.


Then stippled the forearm.

Tried to get some shadow here to show the stippling details.

Deepened the rear stock mounting hole with a forstner bit. Later, I'll make a screw cup and swap the flat head fastener for a socket head cap screw.

A stiff nylon welding brush makes a good cleaning tool to remove sawdust from the stippling and border lines.

Stained the stippling with Minwax ebony.

Needs another coat as well as some delicate work at the edges.

Two coats later.

This is where it all went wrong. I opted to dye the stock.

Mixed with denatured alcohol. The two test boards I dyed looked good.

Wiped on a thin coat...

Uh, where did the grain go? It just disappeared. The color was nice though.

Sanded out the dye. Had some really choice words about my selection. The dye wasn't the problem, it was just a poor choice for this particular project. I didn't realize how the grain would tone exactly the same as the surrounding wood. Oh well, I'll never claim to be a woodworker. This is all trial and error.

Switched to a stain. Varathane American walnut from the Daisy 717 grip project.

Almost looks like I added some French red.

After it dried, I topped it with a red mahogany stain.

Burnished the stain into the wood with nitrile glove covered hands.

I like the reddish hue. Almost reminds me of the Weihrauch guns.


This is working for me. It has a retro look that should be a good match for the action.

While the stock dried, I pulled the buttplate and polished the sides on the buffer.

More soon. Now I'm on a roll.

Monday, June 7, 2010

The 1377 Project, MKIII Piston

Now to make the MkIII version of the pump cup modification.

.25" brass tubing this time.

Coring the hole.

I cut the cup end off with a knife.

Much better than trimming by hand.

Turning a shank and the taper.

Checking for depth.

Shoulder, threads, check!

Looks like it works.

Cutoff.

Cleaning up the face.

Slotting the head for a screwdriver, .032" wide and deep.

The piston head, all done.

It stopped raining long enough to run a few shots over the chronograph. With 10 pumps, CPL 7.9 gr. pellets, I got a very consistent 757 fps (+/- 3fps). That's a 17 fps improvement over the o-ring! I would have been happy had it been a bit slower. I'll be trying this mod in all the Crosman pumpers from here on out.