The bad: Haven't made much, if any, progress on the Haenal stock in the last couple weeks. Seems like everything else keeps getting in the way of airguns. I actually have been working on various airguns here and there--small stuff that doesn't merit a post or has been previously covered--like Crosman 22XX builds.
The good: Nick posted about his
BSF S20 WCM pistol a while back. Before I shipped it off to him, I had the opportunity to fire a few pellets through it. Of course, I ended up buying one for myself a week later. My gun seems a bit "gummy" inside. No doubt due to the 25 year old grease and lube. So, I'll need to do a rebuild--eventually.
The S20's biggest drawback as a shooter (like oh-so-many guns) is the poorly designed sights. Amazing how companies can put all the effort and expense into a gun's design then just slap some impossible to see, razor thin, imprecise sights on top and call it good. I can accept that on a field rifle. I even get it--they know most all of us will scope the gun. But on a pistol--especially one that came out before the advent of red dot sights--this is almost unforgivable. All the accuracy of the gun is wasted by the shooter's inability to achieve a sight picture. It's as if no one at the gun company ever bothered to fire the gun at a tin can--much less a bullseye target.

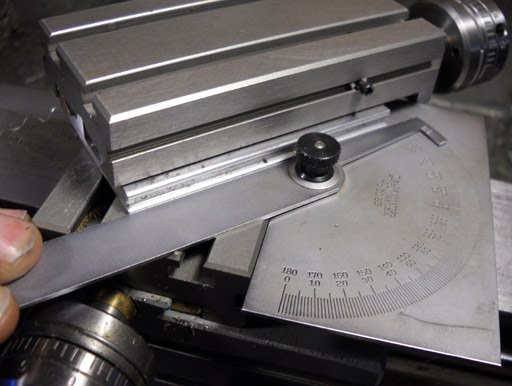
The rear notch width on the S20 is 0.059" that's 1.5mm. It's so narrow, it's very difficult to even see the front sight.

Fortunately, the leaf comes right off the sight base. I was sorely tempted to simply file the notch out, but I also wanted a wider rear sight to better "frame" bullseye targets.

Some tin snips and some sheet metal. I know, this is going to be really complicated...thanks for going all out for us BSF. I think the sheet metal is from the drawer of an old, broken shelving unit.

This pic didn't turn out so hot. Aluminum plate in the vise jaws to protect the sheet metal.

Bent the sheet to the approximate angle of the original. (Actually, I whacked it with a dead-blow mallet)

I like to do real precision tolerance layout stuff.

Filed a notch. Eyeballed the center--it'll be close enough; the sight will be adjustable laterally.

View number dos.

#20 bit gets the mounting hole started.
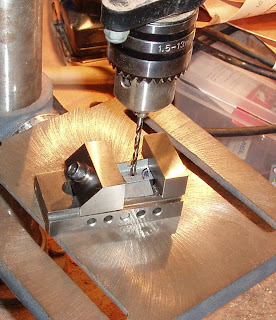

Elongated the hole with a small round file. Ovalizing the hole allows the leaf to be positioned laterally to adjust for windage.

It's technically usable right now, but it's still too ugly--even for an S20.

Used this curvy tool and refined the lines with a "fine point" magic marker.

Did the shaping with the bench grinder and used the lines as "recommendations". Just trying to keep this simple yet still keep the lines of the vintage gun intact.

Wire brushed the finish off and deburred the edges. Was going to polish it, but thought the brushed finish would better fend off glare.

Original on the left. I cleaned up the notch after taking this pic with a very small mill file.

Blued with
Formula 44/40.

Installed. The notch width is now 0.111" (2.82mm) about twice the width as the original 0.059".

Looks OK and works far better than the original. I can see the front sight! But now I want a post shaped front sight... It never ends.
I'll try to get back to the Haenel. The no-sawdust nature of this project was a nice distraction.