Saturday, June 4, 2011

Crosman 112 needs some new grips

Hot off the Crosman 116, I stripped and resprayed the old longer barreled 112. Didn't see a reason to blog the tear down and rebuild as it was identical in every way.

For some reason, probably too much time between coats of paint, the wrinkle paint didn't wrinkle. Devious. It produced a sort of bumpy, lumpy texture. Since it wasn't what I was after, it got stripped off and re-shot with less time between coats. Worked perfectly the second time around. Maybe even a bit better than on the 116. Definitely some learning curve to the wrinkle finish.
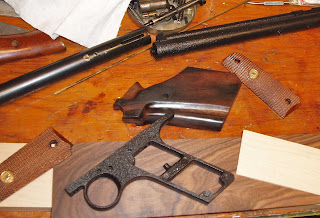
Since I'd sent the original 112 grips off to Nick, I had to do something. (And that was the idea for sending the grips off to Nick.) Anyway, there was a grip party as you can see. Just some spare grips from various guns for "research". Settled on using some rosewood left over from a knife handle project that's still languishing due to chronic laziness. I truly wanted to just make a set of simple grips and use up some of the wood on hand.

The rosewood by itself wasn't quite thick enough for the grips, so I Gorilla glued a thin piece of maple--about 1/8"--to add some thickness.

Fascinating, I know. Glued wood. The rosewood is sandwiched in the vise with a walnut and another maple backer. It was handy and it was flat. And a few clamps. Never too many clamps when gluing.

A day later, an inseparable piece.

Chopped the piece to size.

Traced the grip frame onto the piece.

And did a quick cut out.

Cleaned up the edges.

Wow, this looks bad.

Maybe if I back up. Nope. Still awful.

Started shaping the sides.


Asymmetrical curve to the top.

And notched the trailing edge.

Spotted for the grip screw hole and through drilled. Followed by countersinking for the head of the #6-32 grip screw.

Getting there. Overtones of a 1911 grip shaped to fit the 112 frame. I don't completely hate it.

Sanded more curve into the grips. They're almost completely curved in profile now. Added a relief cut at the bottom for some visual appeal. Made the second grip to match. The grip on the right has been finish sanded and lightly polished.

One coat of Arrow wood finish on the right.

And on both.

Just laid the grip on the frame.

Reassembled the 112 and bolted the grips on.

Still need to add a blind pin or a protrusion to keep the grips from rotating on the frame, but they're good enough for now.

More soon.
Thursday, June 2, 2011

Manu-Arm Air Pistol Disassembly, Part 2

On I go…


06011116


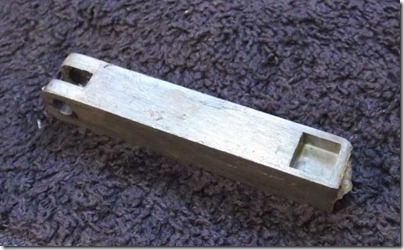
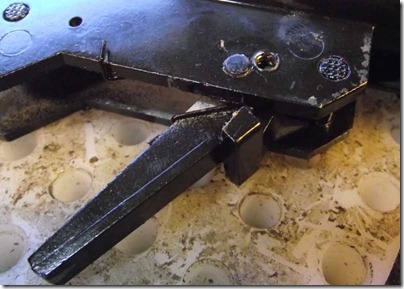
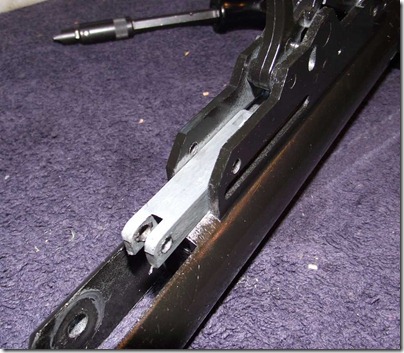
The cocking bar, that part of the cocking linkage that pushes the piston back.


06011117


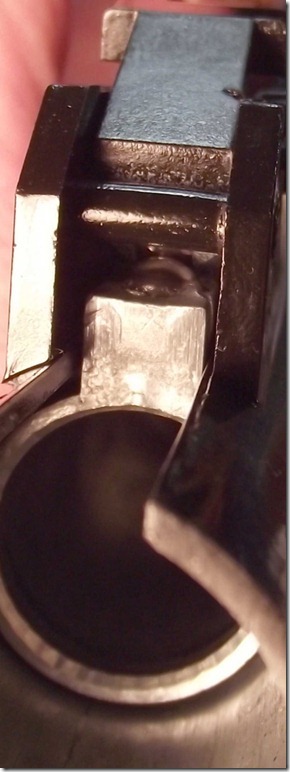
I don’t know why it has that square bit. Possibly a sort of anti-beartrap? Hmmm.


06011118


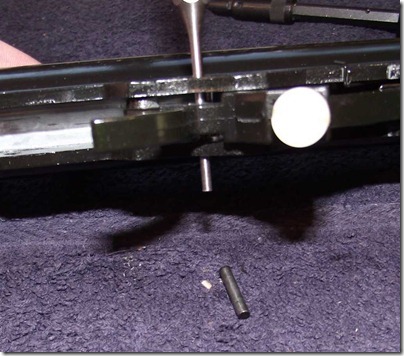
One trigger pin pushed out.


06011119


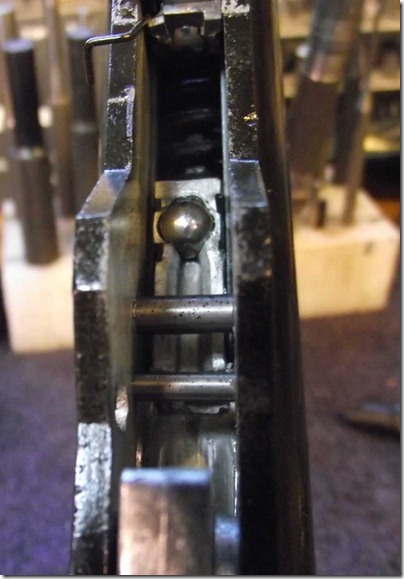
The sear is odd, there’s a ball bearing on the sear and one on the piston.


06011120


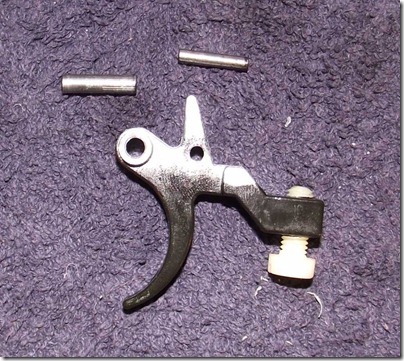
The trigger and its two pins.


06011121


I couldn’t remove the “cocking body”.


06011122


The pin just wouldn’t come out more than this and I did not want to destroy the gun.


06011123


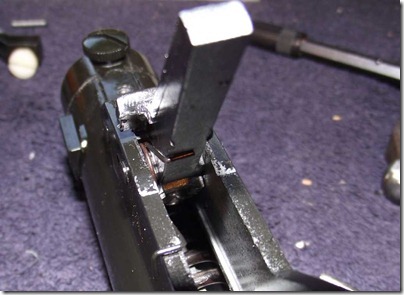
The rear sight.


06011124


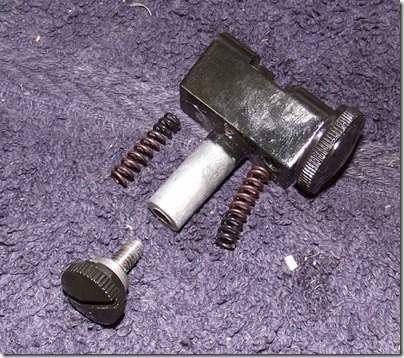
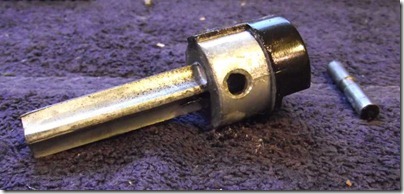
A setscrew locks the plug to a cross-pin.


06011125


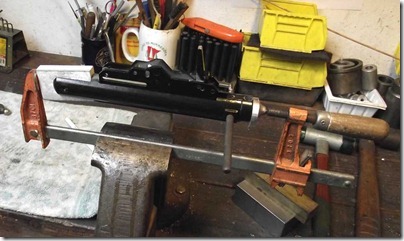
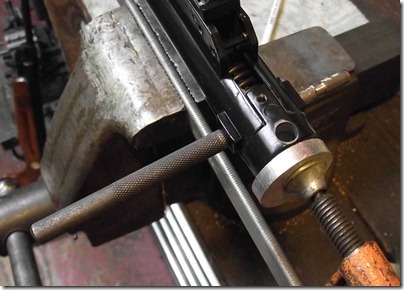
I was too lazy to drag out my spring compressor so I just used a bar clamp. The spring does have a significant preload.


06011126


Pushing the cross-pin out


06011127


The end plug. Notice the integral cruciform spring guide.


06011128


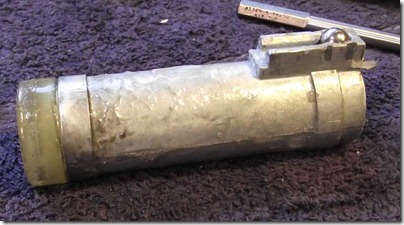
The piston.


06011129


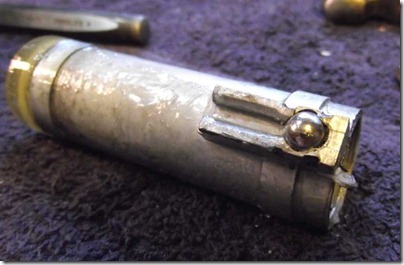
See the ball? Shiny ball


.06011130


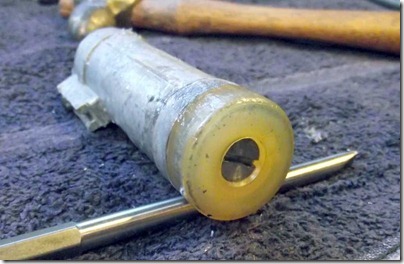
The piston seal is a simple slug of molded elastomer. I forgot to take pics but it has a groove on the underside as it’s molded. I think an easy replacement would be an aluminum slug with an o-ring.


06011131


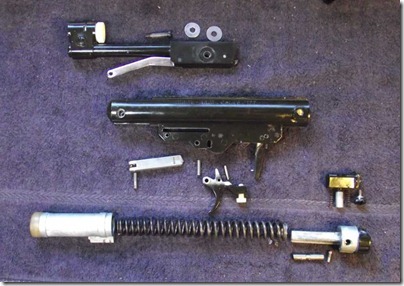
All the parts…


06011132


Here’s a poor shot of the two sear balls in contact, representing a cocked condition. When the trigger is pulled the one ball slowly rotates out of contact, which yields a sliding motion as the sear releases. Not crisp, but smooth.


Anyway…reassembly is exactly in reverse. I took some time to properly lube everything. The gun does shoot smoother than before.

Wednesday, June 1, 2011

Manu-Arm Air Pistol Disassembly, Part 1

A while back a request was made to take apart my Manu-Arm air pistol. Finally got to it.


06011101


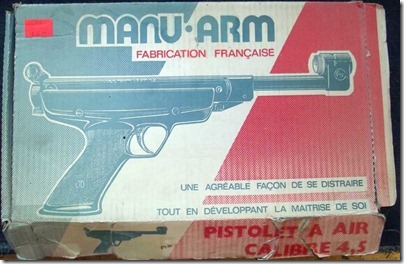
The box.


06011102


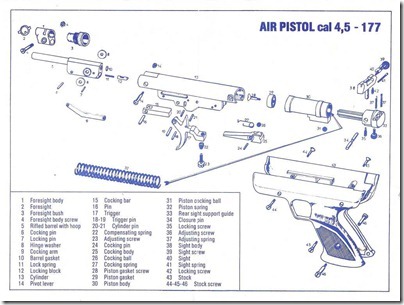
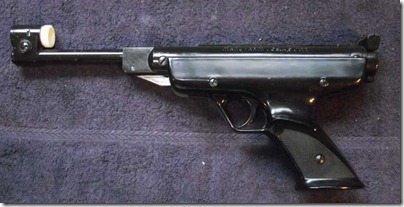
Pistol and drawing.


06011100


Drawing.


060111000


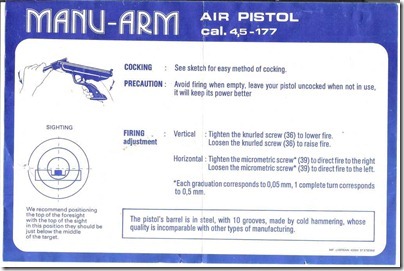
Instructions.


.06011103


It’s not a bad looking pistol, for all the potmetal and plastic.


06011104


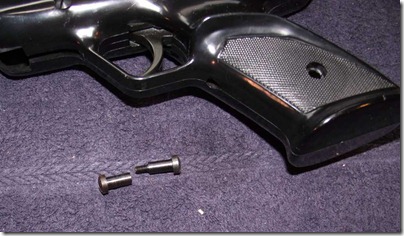
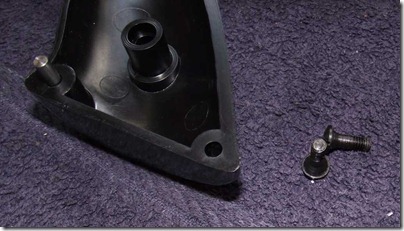
One screw through the grip.


06011105


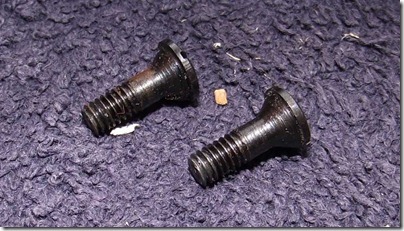
And two screws on either side into the action.


06011106


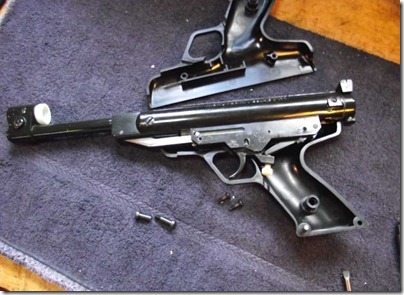
The housing comes apart typically.


06011107


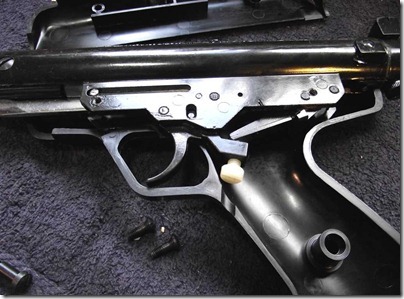
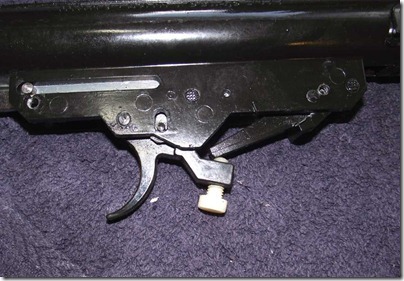
Notice the trigger adjustment screw.


06011108


There’s a dowel pin loosely in that grip hole to align the grips.


06011109


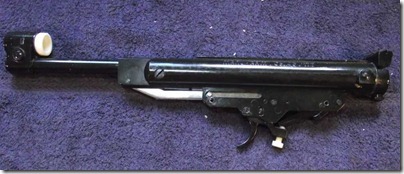
The action removed.


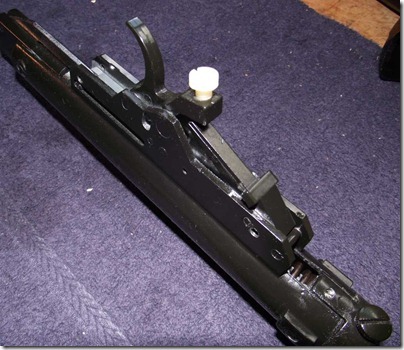
06011110


A view of the action…


06011111


And another of the trigger…


06011112


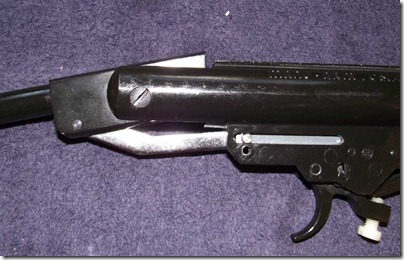
Break the barrel to relieve tension.


06011113


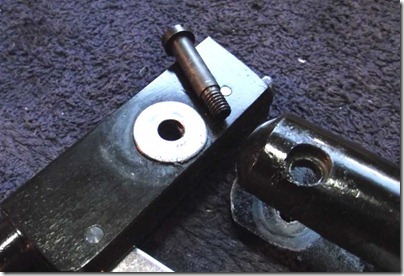
Remove the pivot screw. Notice the steel washers on the pivot bearing.


06011114


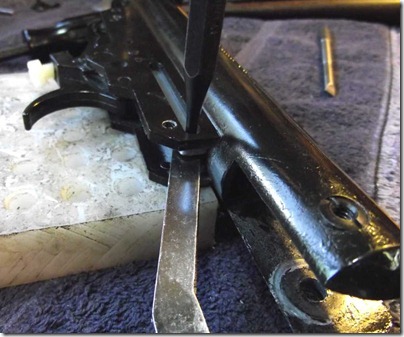
I punched out the cocking linkage pin. I was very cautious when knocking out pins as most of the parts are potmetal and could break.


06011115


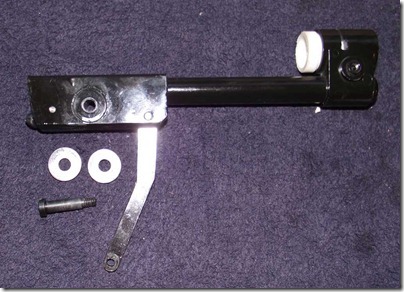
Barrel removed. More to come…