Now to fabricate the valve stem seal. When I did the Crosman 167 I tried to punch the seal from sheet but didn't have good results. This time I decided to try a different type of punch and fabricated my own.
Drilling some tool steel before reaming a 1/8" hole.
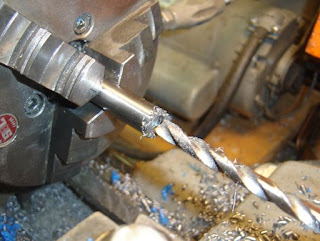
Drilling the other end 19/65"
Reaming to 5/16"
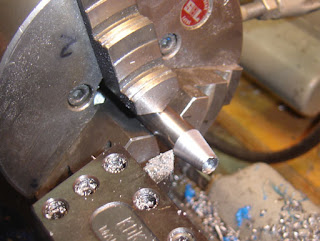
Turning a 10 degree taper on the end. A file was used to clean up the end and put a secondary bevel on the cutting end. I did not harden the punch, but may in the future.
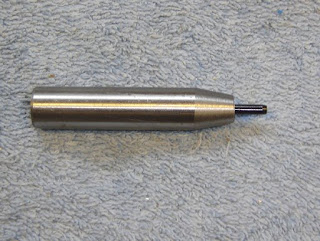
A 1/8" dowel pin provides a removeable pilot.
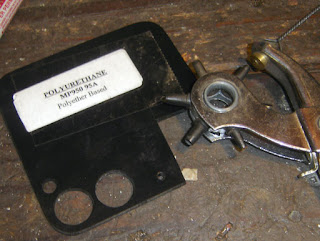
Some 1/8" thick 95 durometer urethane was punched with an 1/8" hole.
I inserted the dowel pin in the hole.
And slipped the punch over it.
Using the arbor press I was able to make a nice concentric seal.
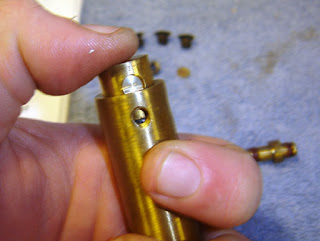
Inserted in the exhaust valve.
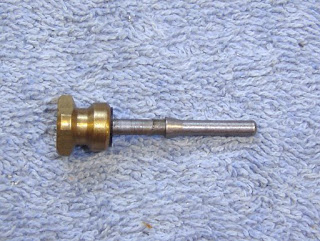
The stem was slipped in and then pressed all the way home. I have no idea why I forgot to take a picture of it pressed all the way in, I guess I got excited. The replacement seal stands a little proud of the brass body, I'm assuming it will compress a bit from use.
The large valve o-ring was replaced with a viton one.
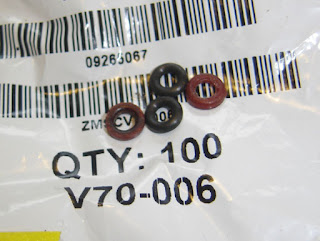
The two small o-rings were replaced with viton ones.
The valve reassembles in reverse from disassembly.
Saturday, February 7, 2009
Friday, February 6, 2009
Smith and Wesson Model 79G Disassembly, Part 3
Almost done...
The piercing assembly.
Align the holes on the outer sleeve and punch out the roll pin.
All apart.
Small slotted nut on the inside.
Removing...
It captures the small red o-ring that seals the piercing pin.
The valve is compressed by my thumb.
The o-ringed pipe that connects to the CO2 chamber is pulled out and the end of the valve pops free.
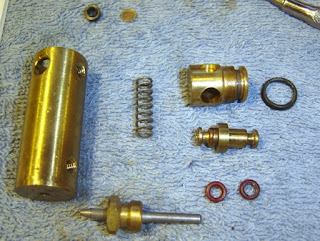
The valve assembly.
The exhaust valve stem is pressed out of the brass exhaust valve body
Finshing up with a pin punch.
The seal was easy to dig out. It's seen better days.
Next up? Resealing...
Thursday, February 5, 2009
Smith and Wesson Model 79G Disassembly, Part 2
Onwards...
The valve assembly. The transfer port bushing/gizmo is supposed to be (or was) staked in place but came loose earlier.
Remove the three screws holding the valve assembly.
The valve assembly.
There's a tiny screen that sits in the hole, I avoided losing it.
The safety.
Pulled up and out with pliers. No detent ball! If there had been I would have lost it.
The setscrew holds the barrel on the slide.
And the barrel slides out the front.
The bolt is retained by that pin.
It slips out, allowing the bolt to come out. I didn't see a need to take apart the bolt any further as it looked clean and in good shape.
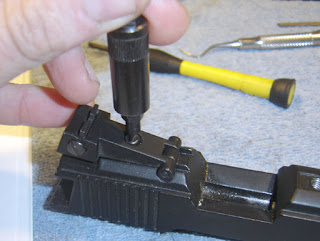
The rear sight screw is removed.
Then the spring.
Again the pin is knurled and only comes out one way.
I was going to disassemble the rear sight further but couldn't get the large slotted nut unscrewed from the windage screw. No need to take it apart anyway.
More to come...
Wednesday, February 4, 2009
Smith and Wesson Model 79G Disassembly, Part 1
A friend asked if I could try and reseal his S&W Model 79G pellet pistol for him. I used the article in Airgun Hobby magazine, Volume 2 Number 1, "Rebuild the Smith and Wesson 78G and 79G" by Peter Ruut, for a general guide of how to proceed with disassembly.
.177 caliber, CO2 powered.
The piercing cap was removed.
Then the grips.
The threaded plug at the front of the barrel was unscrewed.
And the power adjustment screw was unscrewed from the plug.
The adjusting rod and sleeve slipped out.
The small screw on the side was removed.
The "slide" springs up at this point.
The frame and the slide.
There's a small metal plate with a hole in it at the muzzle end.
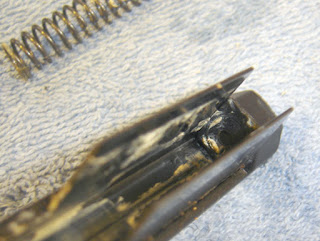
I had trouble getting the sheet metal spring guide out, the pot metal of the frame had peened over on one corner. A tiny amount of filing freed it up to be removed.
The spring, cocking lever, plate and spring guide.
The trigger spring, prior to being fished out.
The trigger is removed by punching out the pin. I tried punching it from the other side but it wouldn't budge with gentle taps. Rather than break anything I tried this side. It came out easily.
The pin has a knurled end, so it can only go out one way.
More to come...
Subscribe to:
Posts (Atom)