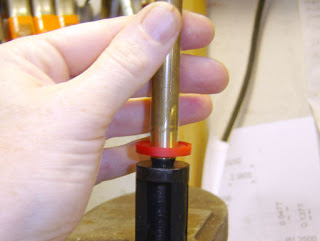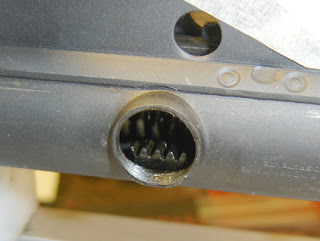
Just the stepped washer to do.
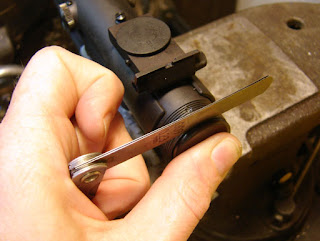
With the washer held against the rear piston seal I checked the gap with feeler gages. I showed .021" of gap. Going by my work on the Diana model 6, I want that gap to be .3mm, or .012". So I need to remove .009" off the face of the stepped washer. On the Diana model 6 I made a whole new stepped washer, which meant I could use the old Diana 6 washer for this purpose...
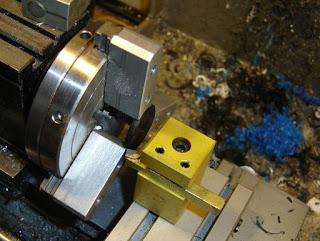
I chucked up the old washer and tried to face off .009...yikes! Totally hardened. Even with carbide I was having a very hard time removing material and getting a smooth face.
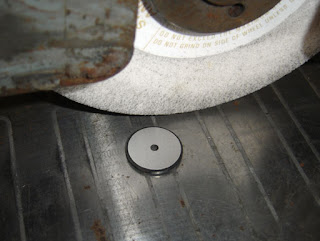
So I went out to my surface grinder and ground the face down.
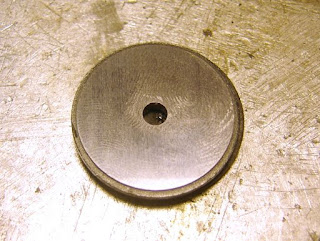
A lovely smooth finish.
I replaced the stepped washer, checked the gap (it was right on) and screwed the end cap back on.
I ran a bunch of pellets through the chronograph, the last 10 shots with RWS 7.0 gr. Meisterkugeln gave me between 491 and 503 fps. That's about what it should be doing.
How accurate is it? Much more accurate than I am...time to practice.
Wednesday, October 8, 2008
Tuesday, October 7, 2008
Resealing a Diana Model 10, Part 5
And on I go...
I lightly coated most surfaces with moly, the spring got an extremely sparing coating of spring tar.
The pistons back in place.
The pinion caps were aligned with the screw holes.
I checked the depth of the cap with just the stepped washer, subtracted that from the measurement I'd taken before with the recoil seal in place.
I machined a new urethane rubber recoil washer.
I screwed the end cap back with the stepped washer and recoil washer to make sure that I had the washer thickness right for the screw hole to line up.
Now there's just the remaining detail of the thickness of the step on the stepped washer...
Monday, October 6, 2008
Resealing a Diana Model 10, Part 4
I made a special tool to put the seals on the pistons.
The tool is two pieces. A plastic rod 1/2" in diameter, with a taper on the end and the other end turned to be a slip fit in a piece of brass tubing. The brass tubing is polished on the end for about 5/8" of an inch. It's about 8" long because that's what I had in my box of brass tubing. I could have used solid plastic rod and just bored a hole to mate with the pointed piece.
The assembled tool.
The tool was lightly lubed with thin oil, and I pushed the seal on, backwards from the direction it would be installed on the piston.
The seal was pushed past the plastic tapered piece, onto the brass tube.
I removed the plastic piece and pushed the seal against the edge of the tube.
I held the brass tube against the end of the piston button, making sure it lined up.
I pushed the piston seal off the tube and onto the piston, where it settled with a lovely and almost inaudible click. This was by far the easiest piston seal installation I have ever done, and I will likely use a tool like this every time I need to fit a seal to a piston. I did the same for the other piston recoil seal/bumper.
Almost done...
Sunday, October 5, 2008
Resealing a Diana Model 10, Part 3
On I go...
The pistol action is held in the compressor.
I removed the end cap screw, then the end cap and the sleeve. The sleeve is for contact with the hand.
I used a depth micrometer to determine the gap between the rear seal and the end of the tube, .008". I also measured the distance from the end cap shim and the end of the cap, .422".
The pinion cap screws. I removed them.
I loaded the spring slightly with the compressor. As on the Diana model 6 I used my handy tool, a file tang.
With copper sheet to protect the cap I removed the right hand (looking from the top of the action) cap and pinion gear.
The cap and gear.
The rear piston rack in position.
Twisted up to clear the left hand pinion.
I slackened the compressor and the rear piston came out with the spring.
I pushed the front piston most of the way out with a .125 dameter brass rod through the transfer port. Then I was able to pull it out.
I think the front seal is bad.
The end cap shim and synthetic washer.
The synthetic washer was not in the best shape either.
Subscribe to:
Posts (Atom)