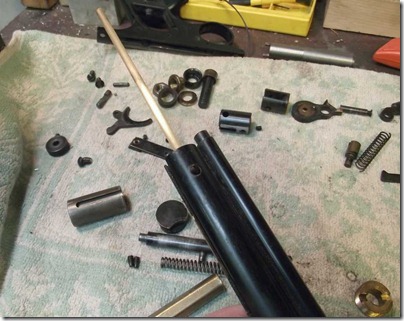
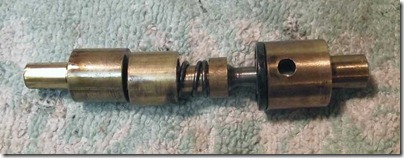
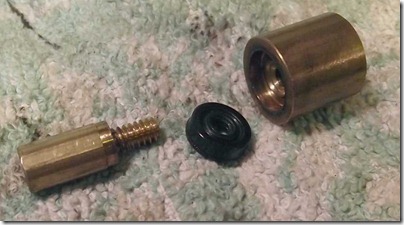
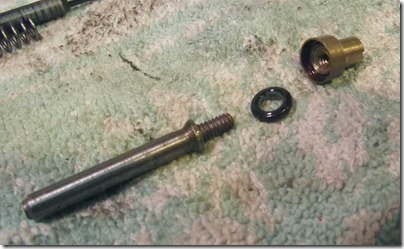
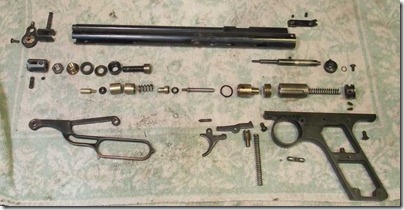
So, I'm finally getting back around to my Haenel 303-Super. I refinished the stock about a year ago and it's high time that the mechanicals get some attention, too. Pretty sure that working on Guy's Walther LG55 last week was the kick in the pants that I needed.

Haenel--Before the wall came down.

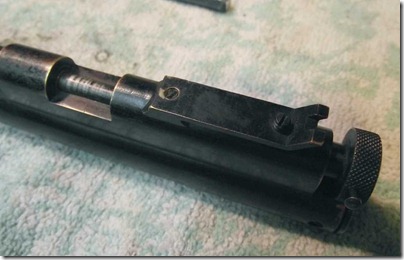
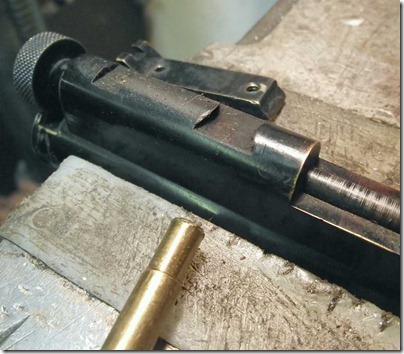
Step one, removed the funky rear sight unit.

then the front sight...

Removed the trigger guard. Rear is a wood screw.

Front is a metric bolt--M5 thread size I believe. Didn't write it down, don't send hate mail.


Removed the two long bolts from the forend then the center fixing bolt...

and the action lifts right out of the stock.

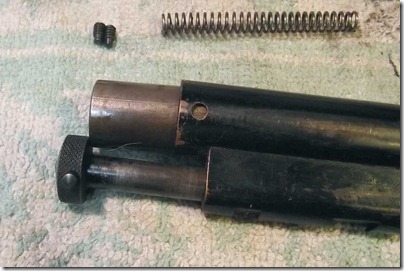
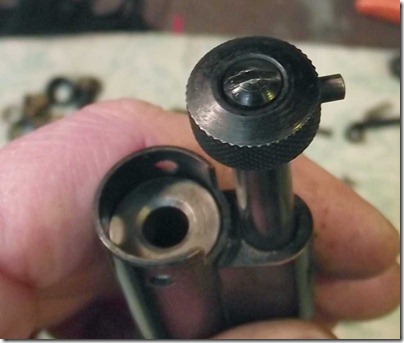
Inside the forend, there's a spring loaded steel button that keeps the cocking lever in place. This gun has hardly been used and the button is already grooved. I'll have to think about how to fix this before it becomes a problem.

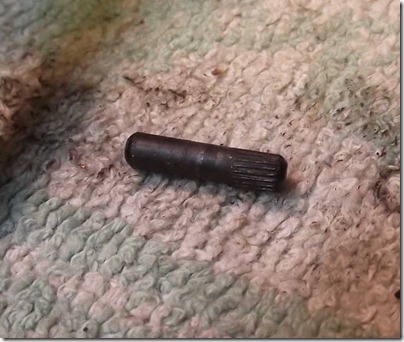
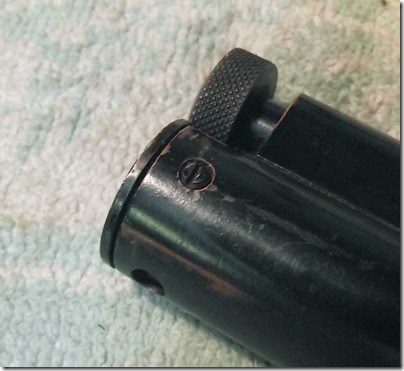
Punched out the cross pin holding the end cap. Used a homemade brass drift to avoid marring the pin.

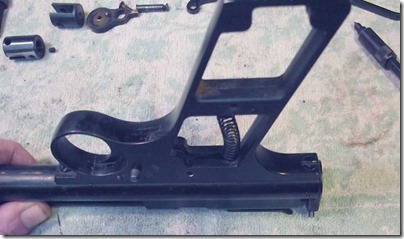
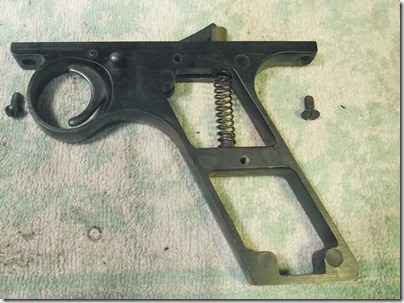
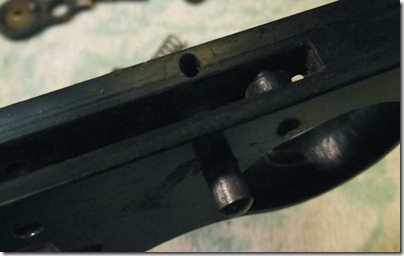
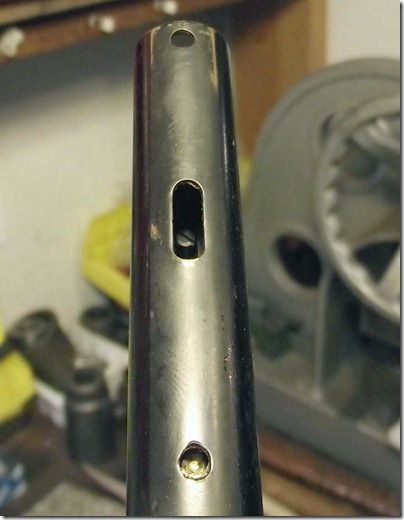
The trigger housing has an observation port.

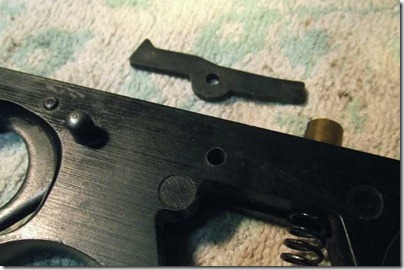
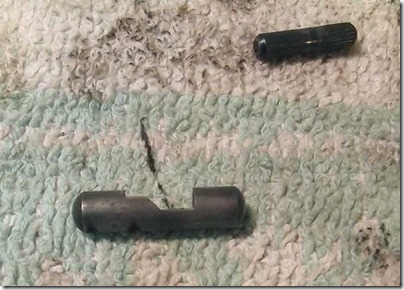
Twisted the safety 180 degrees...

and it pulled straight out. (Sidebar to Tom G-- Hmmm, my gun doesn't have an automatic safety, either.)

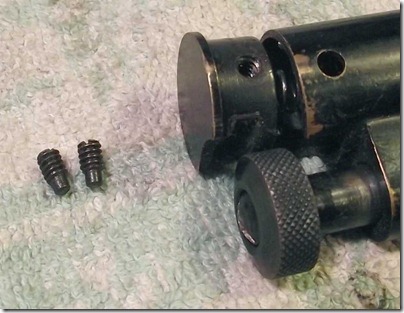
Then the end cap was carefully pried free.

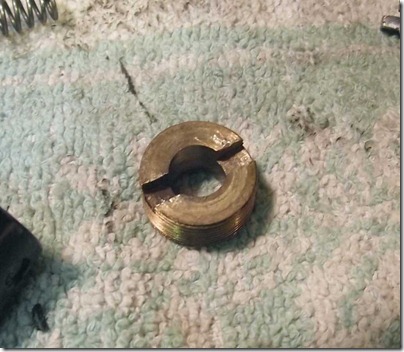
There's a small, spring-loaded ball bearing inside the cap to provide the detent for the safety. I "tapped the cap". It's plastic. If I find myself with loads of free time at reassembly, I may opt to make a new cap from steel. Not that it's necessary, but it would be a nice touch. If I'm really, really bored.

As I have no idea how much tension the mainspring is under, I thought it prudent to use the spring compressor.

Found a suitable dowel to fit inside the tube.

Took out the bolt and nothing happened--???

Ahhhh, the steel plate is a locking fit into the base of the spring guide.

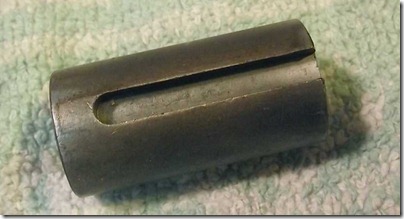
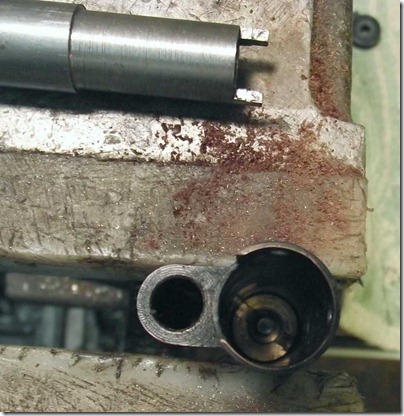
Anti-climactic. The compressor was for naught. The spring only has about half an inch of preload. Can you see the gouges in the end of the compression tube? Looks like the canals of Mars.

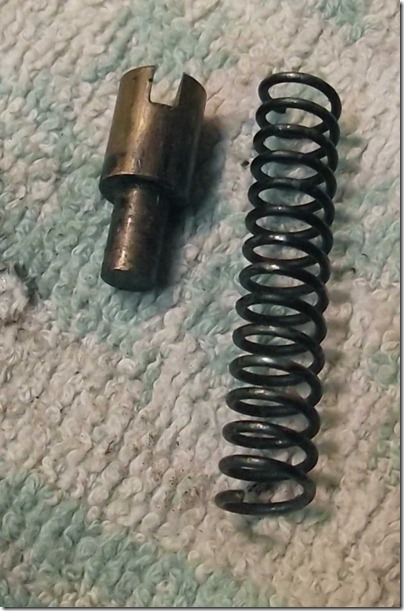
Given the massive spring size and lack of preload, it's unlikely this spring will ever wear out. Note the absurdly short spring guide.

Is it just me or does the coil size look like overkill? Seriously, it's a target gun.

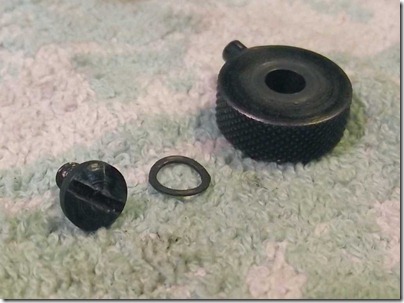
Cocking lever pulls out of the slot. No separate shoe. It's all one piece of thick stamped sheet metal.

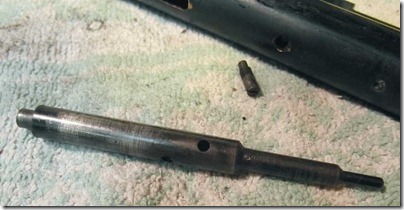
Piston came out easily. It shows substantial evidence of flame hardening.

The piston seal is waxed leather. Seriously, heavily waxed leather with a central leather reinforcing washer.
More to come.
I'm heading to the "Toys that Shoot" Airgun show in Findlay, OH in the morning. I'll try to get a show post together as quickly as possible.
