Thursday, January 1, 2009

Diana Modell 5 Disassembly

So as I hinted at earlier, when I shot the Modell 5 recently it surprised me by going off when the barrel was closed on cocking. Not good. Thankfully nothing was harmed as I kept the muzzle downrange and away from my feet. So I had to disassemble it to inspect and fix the problem.

The Diana Modell 5 (The Blue Book calls it the Model V)

Stock screws are removed. I forget which side has the longer screws...not that I did at the time.

The trigger guard is unscrewed and unhooked from the action and then the stock can be removed. I'll call the grips "the stock" as it's made of wood...

The spring sits in the a hole in the stock, just as with the Slavia.
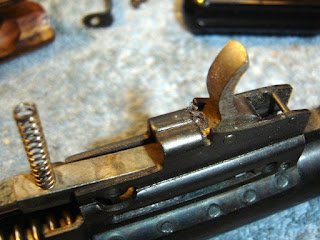
Notice the large amount of schmutz at the trigger.

The barrel was removed from the tube.

The barrel pivot screw was shimmed to time the cutouts with the lockscrew.

The llink is slid forward so that the pin can be pushed out of the enlarged opening.

A clever design of two diameters.

This is actually a shot of reassembly, the tiny pin is what the trigger guard hooks over. Don't lose it...

The trigger pin is pushed out.

The sear and pin.

Just as with every other Diana pistol, I put it in the compressor and removed the end cap.

That's the amount of preload.
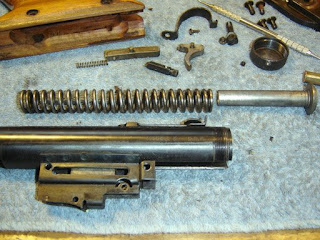
You can see a tiny setscrew to the left of the end cap. It keeps the cap from unscrewing but as far as I can tell doesn't bear against anything, just sits within the slot of the tube.

The piston with it's huge block. Notice the shaved bits of leather seal. The bit at the bottom was in the sear interface, likely what caused it to go off...

The piston seal itself was in fine shape. You can see the circuar groove in the attached block. I'm not sure how they attached that block to the piston.

I shaved off the fuzz from the piston. Then I lubed and reassembled in reverse order. The pistol now only goes off when the trigger is pulled. Which is a good thing.
Tuesday, December 30, 2008

Rear Sight for the Slavia ZVP

Well, I finally finished the Slavia ZVP...

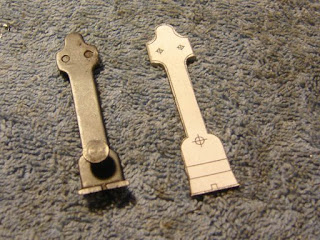
This was my first attempt at making a rear sight. Apparently tempered blue shim steel does not like bending.

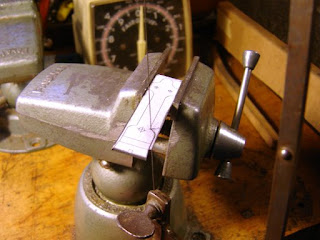
I printed up a sticky label with the sight laid out on it and sawed the shape.

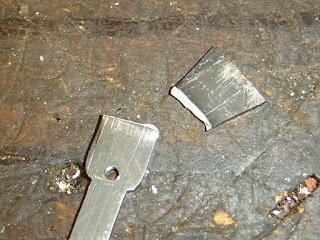
Sawn out.

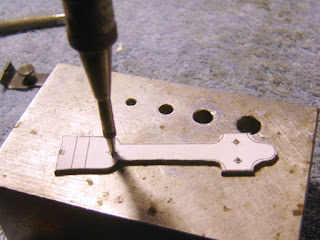
I centerpunched the hole locations.

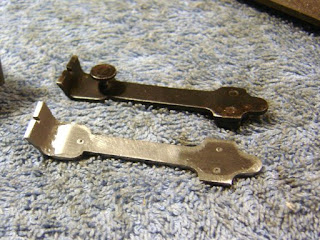
Bent easily as it was annealed stock. Not sure what alloy as it was from my pile of random steel. I refined the shape with files.

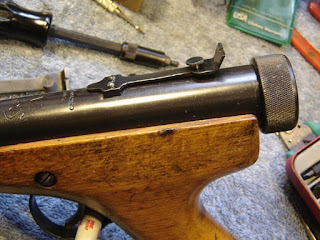
Looks like a sight.

Finding the edge of the dovetail piece.

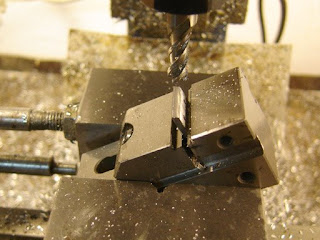
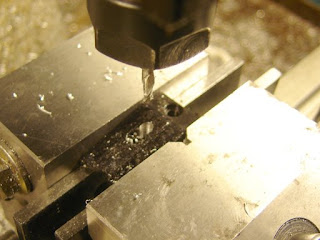
Drilling.

Milling to thickness.

Felt tip marker applied to the edge.

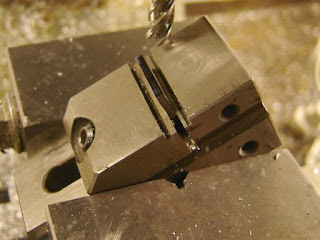
Milling the dovetail. The angle seemed imprecise on the pistol...

I filed it to be a sliding fit.

Not full dovetail contact though, someone peened the slot earlier, most likely to avoid having the original sight slide out and become lost. They failed.

Tapping #2-64.

The parts attached with #2-64 screws. I wasn't going to spot weld it. I can live with it not being a perfect reproduction.

Turning the height adjustment screw.

Using the tailstock chuck jaws to align the die stock. I need to make a die holder for the South Bend...

Knurling.

All done. I heated it up cherry red and quenched, then tempered it for springiness. Then I cleaned it, cold blued all the parts and assembled.

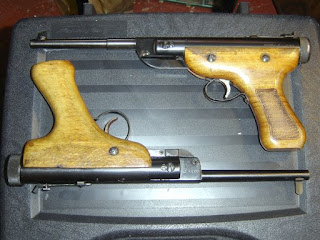
Here's a shot of the Slavia ZVP with my Diana Modell 5. Neither of them are particularly accurate and the Diana gave me a surprise that I'll discuss later on...

Sunday, December 28, 2008

Reassembling the Crosman 707 Rifle, Part 2

Well, not really reassembly as that was finished last post but here's how I put a new sight on.

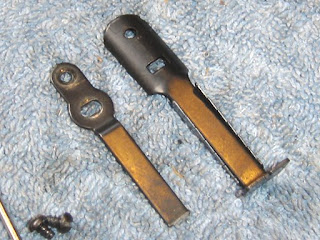
The old sight, left, had broken. I was going to modify the sight on the right (found it in my box of parts) until I remembered the pile of Williams sights I bought on Ebay...

I retapped the holes #4-40 using a form tap.

Finding the one hole I'll reuse with a center finder.

Moved over by the sight hole spacing, drilling the screw hole.

The hole countersunk enough that the screw head is below the sight surface.

You can see the new hole.

Because of the band clamp the sight is backwards, if that matters? Note that with the existing blade height I had to have it adjusted all the way down.

Milling the sight slot deeper.

The sight milled down.

Relieving the sight with a ball mill, purely for aesthetic reasons.

The mounted sight. The base of the sight fit the 707 tube radius perfectly, so no need for shims.