Wednesday, February 9, 2011

Rochester Disassembly/Reassembly, Part 8

So I spent some time checking velocity and it was slow even for an old beat up air rifle. About 490 fps with 10 pumps shooting 14.3gr. Crosman Premier pellets. I wanted to make a new pump cup that was more like the old leather one in form and there was a bit of a grinding noise when pumping.

02101101

The grinding noise was likely caused by the galling, lack of lubrication and the still intact, fresh from the factory, burrs caused by drilling and slotting the pivot on the pump rod. The burrs were sharp!

02101102

Smoothed that up.

02101103

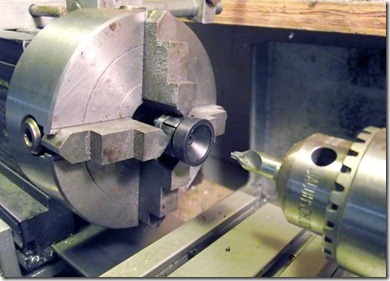
I wanted to get the pump cup as concentric as possible, the 4 jaw chuck worked better for holding the stubby piece of Crosman pump rod than the 3 jaw did anyway.

02101104

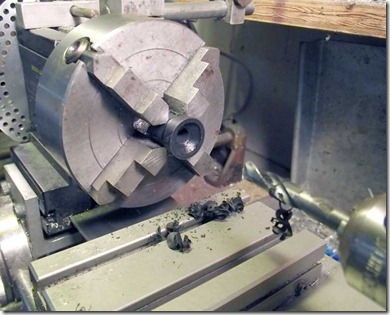
Drilled 1/4”

02101105

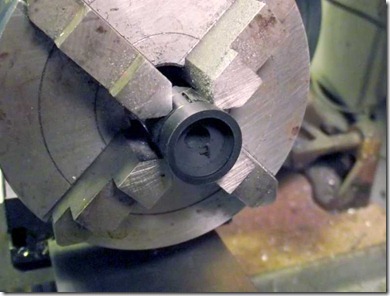
Bored it to have a nice flat bottom.

02101106

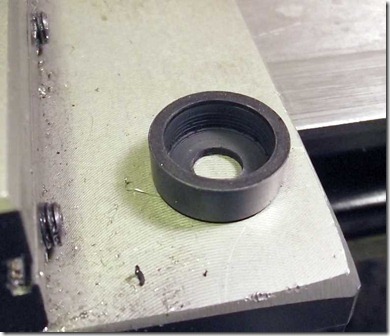
A few machining marks but not bad for rubber. The old steel washer from the leather cup fits in the bore now.

02101107

Screwed back together. I lubed the felt ring with 30wt. oil and put a very light schmear of moly on the pump cup. I figure it works for spring piston parachute seals, why not for pump seals?

02101108

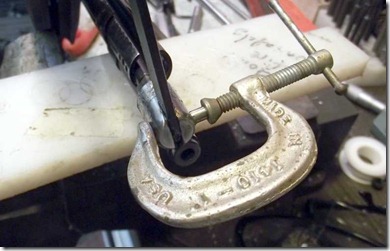
Using a c-clamp to push the pivot pins back in. Much better than wailing away with a hammer.

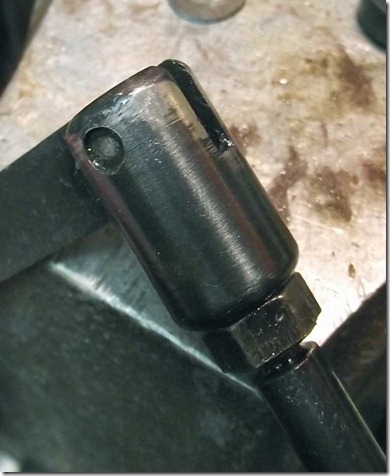
So with the rod adjusted so there was less headspace I now get about 540fps, which isn’t up to the level of my Crosman 120, but isn’t terrible. Possibly a little more headspace could be adjusted out or the entire pump cup holder could be redesigned (there is a lot of dead space in the design). But it’s not bad for an old rifle ( I would love to hear what sort of velocities other people are getting from their Rochesters though!). The grinding noise is gone when pumping. Barring any unusual problems I’d say that it is fixed.

Overall my reseal was like this: Disassemble, unsolder the vale and remove as much of the old solder as one can, use an o-ring to seal the inlet valve cap, cut two new flat seals for inlet and exhaust, use teflon tape for the tube to valve seal. Modify a Crosman 1377 pump cup to replace the old leather one (if needed). debur as needed and reassemble.

I was worried about the tube twisting but I spoke with Ron Sauls of Bryan and Associates and he doesn’t think it’s an issue. I’d have to agree going by how it feels when pumping. He sells a seal kit for the Rochester by the way, if you are going to work on your own. His has an o-ring where I used teflon tape – If I had taken more care removing the old solder I probably could have fit one in.
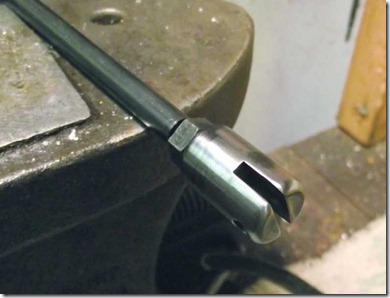
Monday, February 7, 2011

Crosman 22XX 88g AirSource Adapter--Part 2

Jumping right back in where I left off...

Spotted with a center drill.

Gradually drilled out the hole to 1/2".

Modified a 1/2" bit to drill flat-bottomed holes. Works incredibly well. I can literally shave brass foil from the bottom of the hole that's less than a hair in thickness. Deepened the hole to 0.493". If you're paying incredibly close attention, this isn't enough depth to get full thread engagement on an AirSource cartridge--it's just enough depth for the pin valve I made to refill my A/S cartridges.

With a small boring bar, I opened the hole diameter to 0.520"--roughly the nose diameter on an A/S cartridge.

I couldn't measure to the very bottom of the hole, so I used a telescopic bore gauge and referenced various depths. I had enough confidence that the bottom was at, or extremely close, to my number.

Need to cut the o-ring at the bottom of the hole for the A/S cartridge to seal on. Made a boring bar from a blank 1/4" lathe tool bit. Used the bench grinder and Dremel tool. Cut it so just as the side bottoms on the side of the hole, the tip has cut the o-ring seat to the correct depth.

Not shown: Bored the hole above the o-ring seat to 0.570--roughly 14.5mm--my tapping size.

Tapped the hole to the o-ring seat M16 x 1.5mm. Used a bottoming tap.


I need a pin to depress the A/S valve.

Spotted the bottom of the hole then drilled about 1.150" deep with a 1/8" bit. Depth not critical.

Used the 1/8" bit as I have some drill rod in that size for a pin. Not shown: Used a 1/4" endmill to make a counterbore as a gas flow passageway. You can see it three or four pics below.

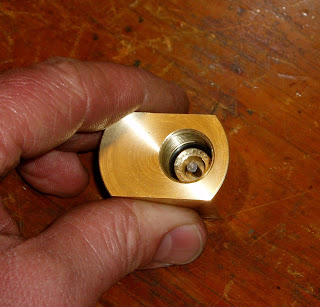
Cut a piece off with some heavy side cutters then flattened one end. Started by holding it with the vise grips, but then I remembered that I have a really sweet set of pin vises.

The pin vise uses a collet to clamp the pin and gave me more dexterity.

Fit an o-ring and the pin, then test fit the A/S cartridge a few times. Tweaked the pin length until it opened the valve just as the cartridge was sealing against the o-ring. I think the pin ended up somewhere around 0.598" OAL.

Another view. You can see the 1/4" counterbore around the pin. It's just space for the CO2 gas to flow out from the A/S cartridge as its valve opens.

Did some more layout and found the centerline on the bottom of the adapter. Picked a spot.

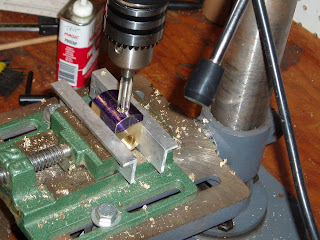
Spotted then drilled with an 11/32" bit. Followed with yet another modified bit to drill flat bottomed holes. Drilled approx 0.260" deep.

Then tapped 3/8"-24. Why? Safety first.

This hole is for a paintball tank burst disk

The M16 A/S and 9/16 valve hole bottoms aren't even with each other . They're offset slightly. Scratched a rough angled line to connect them.

Before I make the connection, I used a homemade pointed indicator to find the center of the 9/16 hole.

Then drilled about 0.250" deep with a 5/32" bit.

Angled the piece and sighted my scratched line with a small machinst square. Then centered up on the 3/8"-24 tapped hole and connected to the opposite 9/16" valve hole with a 1/8" bit.

Test fit and checked for leaks. There's the burst disk on the bottom right of the adapter. A 3K is installed now--same as all PB tanks--though I also have a 1.8K on hand.

Just a quick ad hoc arrangement at the Crosman valve end for pressure testing.

To seal the gun end, I used the front half of the Crosman valve. Added a small bolt with an o-ring at the base of the head to make a hasty seal to prevent the CO2 from escaping at the outward facing end seal. A quick and dirty pin valve if you will.

A drop of Crosman Pellgun Oil at each connection showed only a tiny leak at the burst disk. A fraction of a turn tighter and it held fast.

So, that piece of Crosman valve will be discarded from the design. A threaded tube will replace it and screw into both the gun's main valve body and this adapter. The hard part now will be getting the thread depth and o-ring seats correct so the A/S cartridge sits directly underneath the gas tube. Still a few design decisions, but I'm leaning toward cutting down a 2240 gas tube rather than make the conncting tube 3 or 4 inches long.

More in a couple days.