Showing posts with label crosman 2240. Show all posts

Monday, January 17, 2022

More Crosman 2240/2250 Picatinny Options and Modularity

Really hadn't planned on blogging this little project, but it turned out to be pretty slick.  

Found and purchased a 3D printed picatinny rail on eBay from a seller called "ezapper".  It was made to fit most of the Crosman 22XX type guns.  Slides over the barrel and gas tube and allows for attaching things like sights, lasers, lights, hand stops, forward grips, a bipod...whatever.  It was printed with a PLA + resin which promises to be substantially stronger than the "normal" PLA print material.

The part is made for a Crosman 2240 with the stock plastic breech or a Crosman 2250/2260 with plastic or steel breech.  It WILL NOT FIT a 2240 with a steel breech without modification--the steel breech extends too far forward for this to fit--unless you shorten the shroud.

Apologies.  As I wasn't going to blog this, I failed to take the "BEFORE" images of the part as I received it.  It was kinda shiny and had very fine print lines  Wasn't quite a match to the plastic Crosman breech or grips--close, but not quite.  The print quality was very good.

Remembering my goal, "Make Things That Don't Look Like I Was Involved", I threw the 3D part along with a set of stock Crosman black plastic grips into the media blasting cabinet at work.  This worked perfectly for all the nooks and crannies of the picatinny slots.


Sorry, it's bit blurry.  Here's the 3D printed picatinny rail shroud after glass bead:


Installed four #8-32 set screws into the shroud.  Holes were already molded in.  Didn't bother to tap first, just ran the set screws home. 
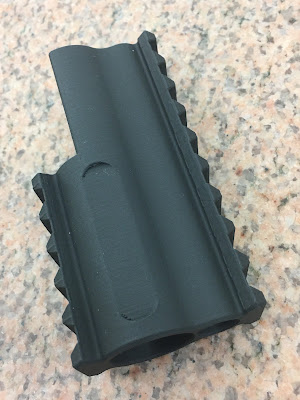


The media blasting blended and matted out the finish and removed--or at least softened--the print lines.


The Crosman grips turned a dead flat and uniform gray color.  Then sprayed everything with a healthy coating of WD-40 oil and wiped off the excess.   Back to black.
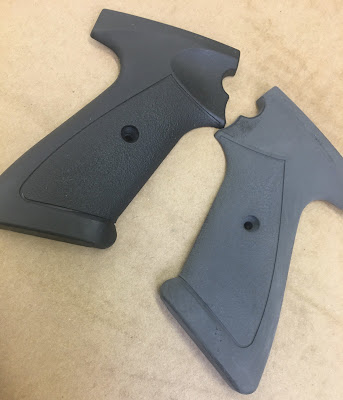


Blasted and oiled on the left.   Blasted, no oil yet on the right.   The oiled finish is a close match to a Magpul magazine.   If I don't oil the parts after blasting, the dry matte finish will show every single bit of oil from my fingertips.  I've oiled the finish so it doesn't show oil from handling. 


For fun, I installed this on a Crosman 2250 length tube and Crosman long steel breech along with a black Magpul RVG


While I was at it, made another AR stock adapter  that accepts my modified AR buffer tubes.


Since this is version 3 or 4 of the adapter, I added a rear facing QD socket...
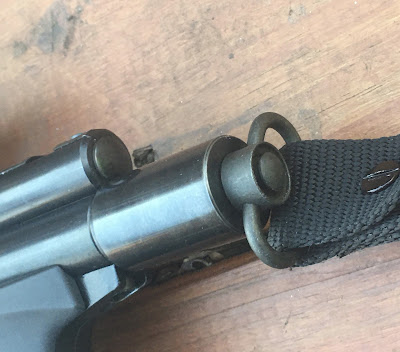


...for a single-point sling.


So, yeah.  Options.

Option #1   Go short with a single point.


Option #2  Go longerish with a Magpul (or any Mil-Spec AR) stock.


Ended up bead blasting and oiling most of my other Crosman black plastic grips/forearms over the next few days.  Think it's a good look.

I've kinda got a themed group of Crosman airguns now:

Un  Single Shot

Deux Multi-Shot

Trois --this one

1377--What?  here:


Like all my projects--a work in progress.


More soon.


Sunday, August 11, 2013

Quick Set of Walnut Grips for a Crosman 2240

I've built up several (OK, too many) Crosman 22XX based pistols over the last few years.  Largely because they're so inexpensive, perform better than the dollar amount would indicate, and readily modified due to their modular construction.  But the plastic grips--I just--hate them.  So, every few months, when the mood strikes, I try to knock out another set.  Lacking a duplicator, these are all done by hand--for my hand.  That seems somehow appropriate.

As this is grip set number I don't know covered here, I'll just give a brief recap.


Cut the basic shape out on a scroll saw, then used the milling machine to cut the inletting for the grip frame. 


Also counterbored for the grip screw bosses.


Marked, then drilled the grip screw holes as well as the associated counterbores for the screw heads.


Drilled for the small anti-rotation posts at the top of the grip frame.


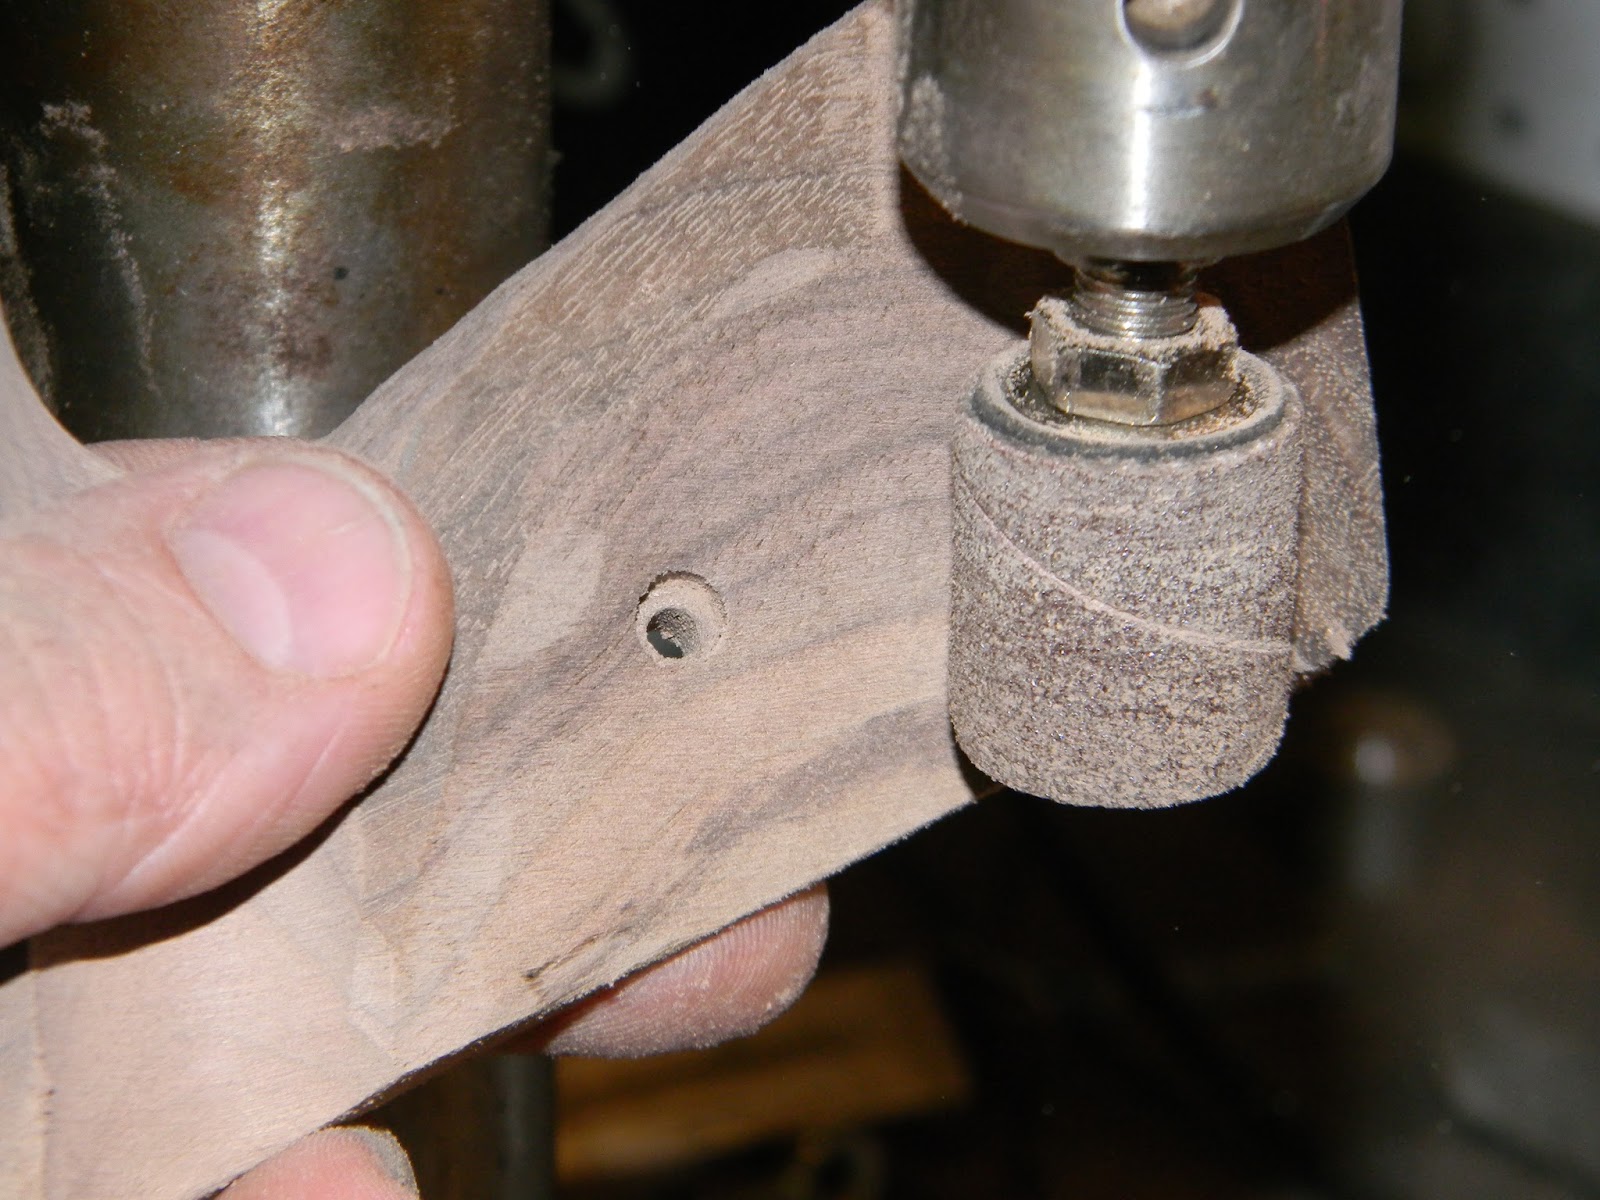
Then it was shaping time.  Everything up to this point counted as tedium.  Used various sanding drums in the small bench top drill press and freehand the shapes.  There's a lot of blending to get the curves to flow into each other.


And they're almost done.  Some finish sanding, grain filler and stain were next.


Gave the grips about three or four coats of Birchwood Casey Tru-Oil.


Moments before knocking off the shine.


Some bronze wool then a waxed rag left a matte finish.


About two evenings in these for the shaping and sanding.  Another three days or thereabouts for the finish--mostly drying time.  Still need about four more sets of grips--or fewer air pistols.


More soon.

Tuesday, February 15, 2011

Crosman 22XX 88g AirSource Adapter--Part 4 Final

Almost home free. I eyeballed the valve and connector tube length against the gas tube and broke out the hack saw.

I made the cut approximately 3/16" too long for some wiggle room while fitting.

Taped the end of the tube to protect it from the jaws.

Broke out the steady rest. Taped the tube under the fingers. Some grease was also helpful to prevent marking up the blued tube.

Gradually shaved the tube down test fitting the valve assembly as I went. It was done when the valve screw was centered in its hole.

The chopped gas tube.

Want to better anchor the valve in the gas tube. The single screw won't support the weight of the A/S cartridge and adapter assembly.

Drilled out the #6-40 valve securement threads with a #29 bit and rethreaded the hole to #8-32. Turned the the head of an #8-32 button head down until it was a very snug fit in the hole. Still want to add two additional valve screws.

Taped the vee block to protect the tube. The tape on the tube itself is for alignment of the additional holes. I spotted the gas tube with the valve inside.

Opened the holes to 0.250"

Removed the valve and deburred both the inside and outside of the gas tube holes with a single pass of a special tool Nick sent me.

It's from Deburr Master. Their web site shows it in action far better than I could ever explain.

With the valve already spotted, I drilled and tapped the two additional holes #8-32. Not shown: reinstalled the valve into the gas tube, centered up in the vee block and used an end mill to cut a small counterbore at the top of those two additional threaded holes.

Turned down the heads on a couple #8-32 socket head cap screws to 0.250" The heads will bottom in the counterbored holes in the valve leaving the heads protruding through the entire wall thickness of the gas tube. This is one of the best ways to secure the valve as it loads the fastener heads and not the smaller diameter threaded shafts of the bolts. Walter Glover is recognized for coming up with this method of valve securement. I pay attention anytime he posts on the various airgun forums. He knows what he's talking about and his advice will keep you safe.

One of the modified cap screws is on top--the buttonhead is below. I used the buttonhead on the bottom because the grip frame attaches over the screw and requires minimal protrusion.

Since I've taken it this far, I added a vent hole on the adapter. Makes it easier to remove the AirSource cartridge if it's not empty. Just spotted the hole here.
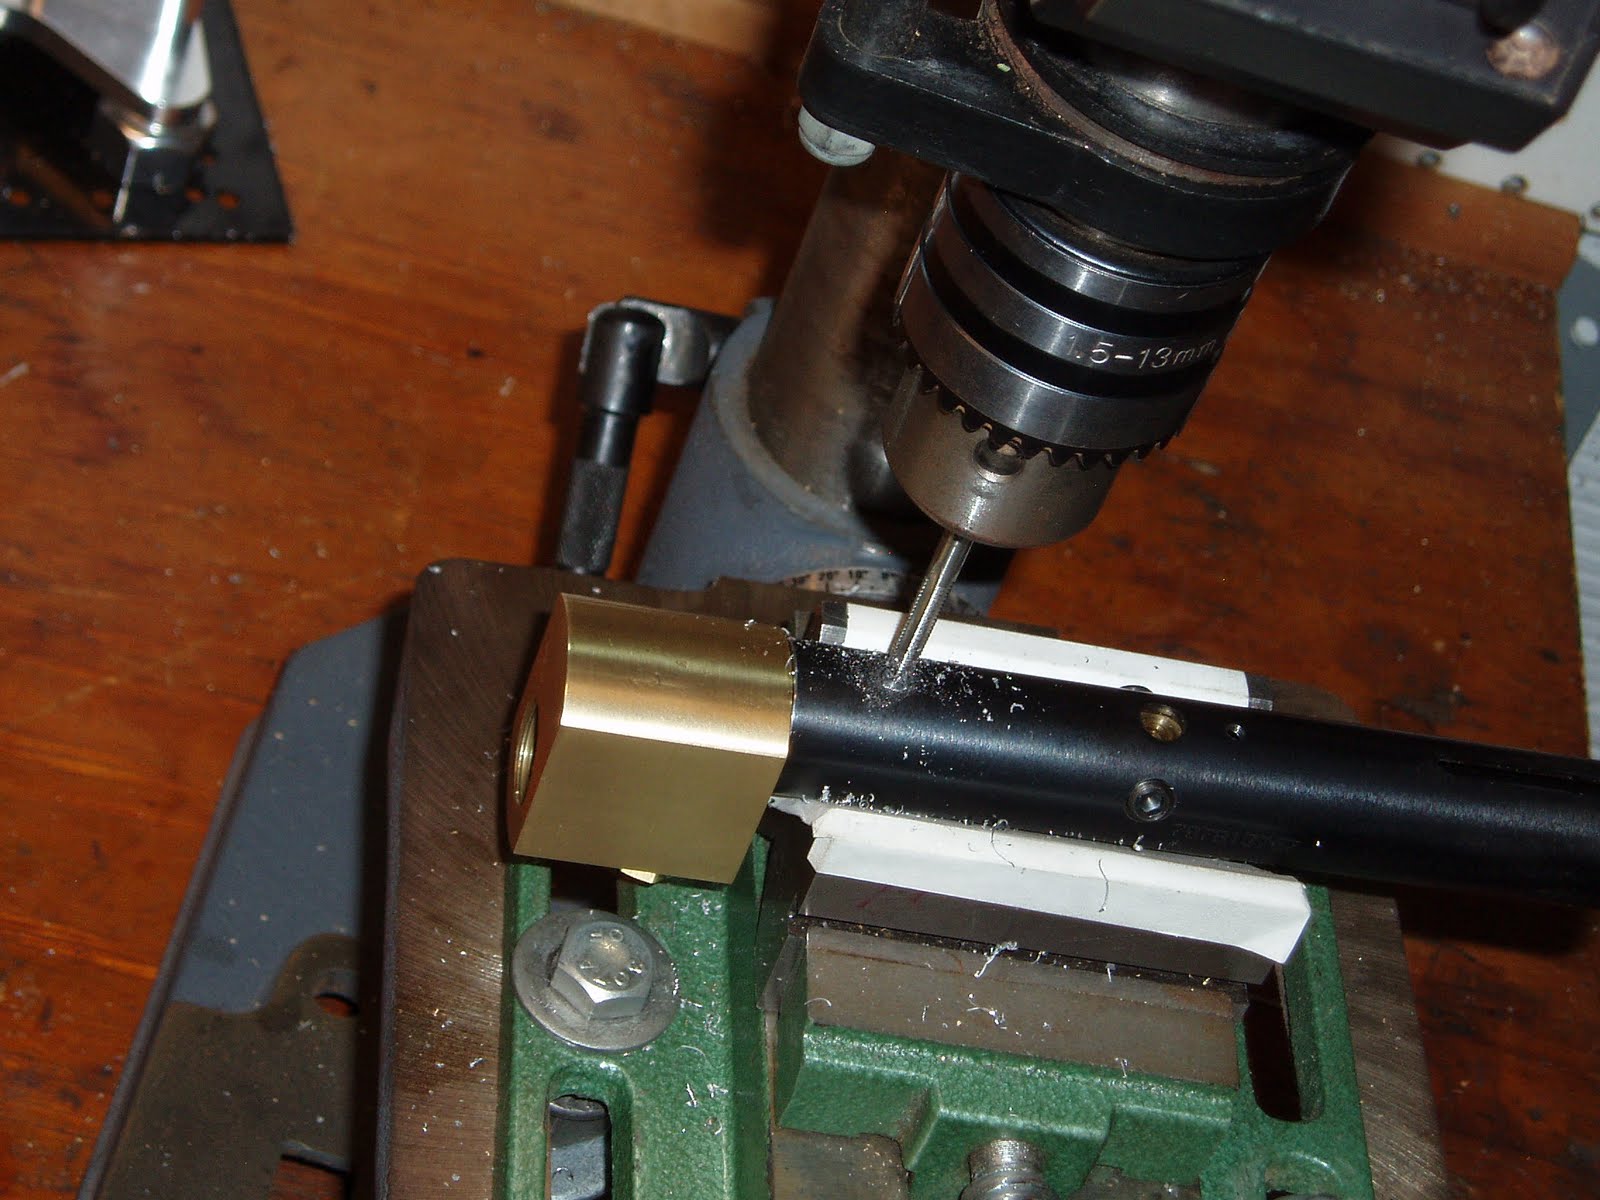
And drilled with a #45 or #46. I didn't really look at the bit. All that matters is that it vents.

Couple more things: I drilled through the gas tube--continuing the thread for the front screw holding the grip frame.

Picked up the thread, then tapped into the connecting tube inside (another #8-32). Careful to not drill completely through the wall of the connector.

Since we're using the drill press, I spotted a hole on top. (This will be underneath the breech)

Followed with the #29 drill bit.

Tapped one more hole to #8-32.

Filed down a set screw so it bottoms in the tube connector and sits flush with the OD of the gas tube.

Uh, I think it's done. So, I guess I'll just put it all together.

Here's a box stock Crosman 2240.

A/S adapter installed with a longer barrel. Probably install a red dot for sighting.

Bleed holes and burst disk.

After bluing the additional valve screws, they don't stand out too badly.

I'll get an addendum up in the future with velocity and shot count.

Absolutely, positively, no idea what's up next. But first, I need a couple days to do some shooting.