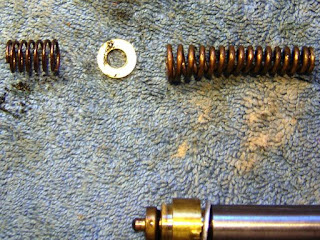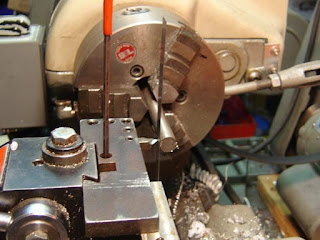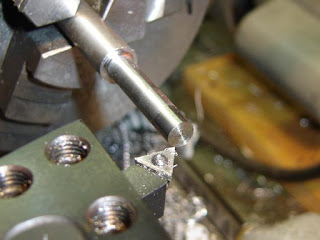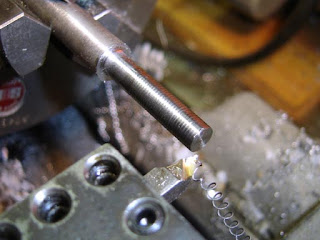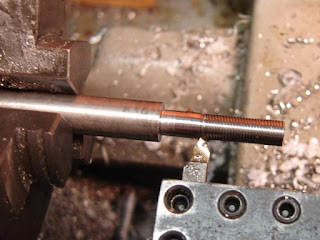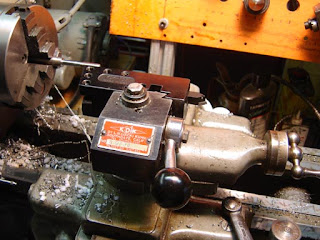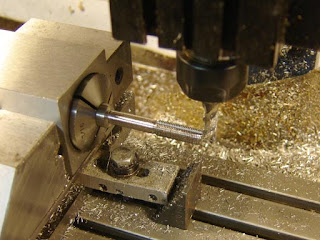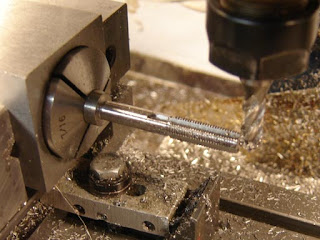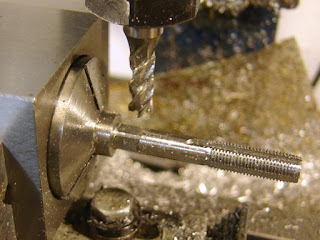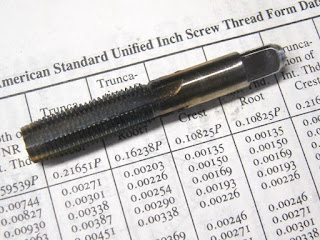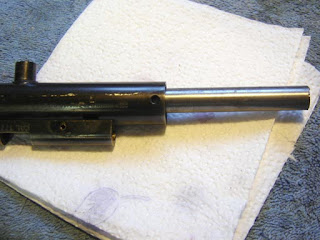
I made a new lead seal using the technique I've used before for shim washers.
I was lucky enough to have some lead sheeting that was within .004" of the thickness of the original.

I dug the old seal material out of the inlet and exhaust valves.

I used a dowel pin to get the cup walls straight.

The brass cracked a bit, probably would have been a good idea to anneal them first.

The dowel pin has a through hole so I could fit the valve stem inside.
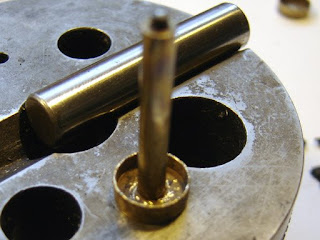
All cleaned up.
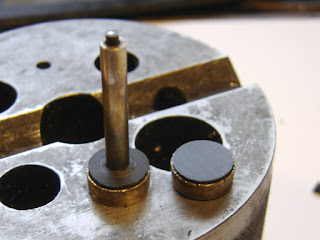
New seals from 80 durometer polyurethane rubber.

I made a crimping tool, bored to fit over the rubber seal.

Used a 1/2" ball end mill to make a radius on the inside edge.
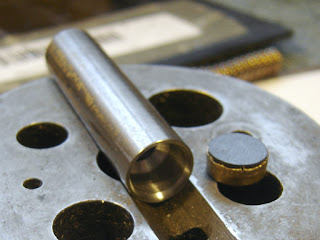
The tool.
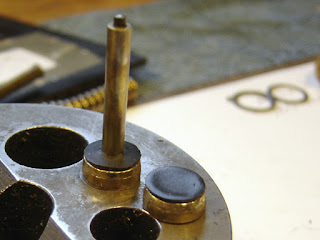
Crimped the cups. Notice that it distorted the inlet valve seal...

Which leaked upon reassembly. It took a while to figure out why, but when I did I decided to just turn up a solid teflon inlet valve. Sealed perfectly. I think the inlet valve spring just didn't have enough force to seat the harder urethane against the seat, or the deformation induced by crimping the seal threw off the seal surface. Or a combination of the two.
When reassembling I found that I needed to trim the length of the square end of the wrench to just under the thickness of the valve nut. Otherwise it's nearly impossible to get the nut started.
Another lesson learned.
So, how does she shoot?
I did some quickie chronograph shots
2 pumps: 395 fps
3 pumps: 480-500 fps
5 pumps: 600 fps
7 pumps: 675 fps
8 pumps: 695 fps
The valve does not dump all the air though, so you can get followup shots.
With 3 pumps, you can put another 2 pumps in and get almost the same fps
With 5 pumps, no extra pumps gives you 300 fps, one extra pump gives you about 400 fps
With 7 pumps, you get a followup shot at 440 fps
With 8 pumps, you get a second shot at 510 fps.
The manual implies this is normal, "Usually all of the air is not discharged when firing and fewer pump strokes will be needed for recharging."
Anyway, it's wonderful to have it working.

