
The check valve was up next. This'll allow CO2 to flow from the paintball tank and into the Crosman 160's gas tube, then close as the tank is removed--thus sealing the gun.

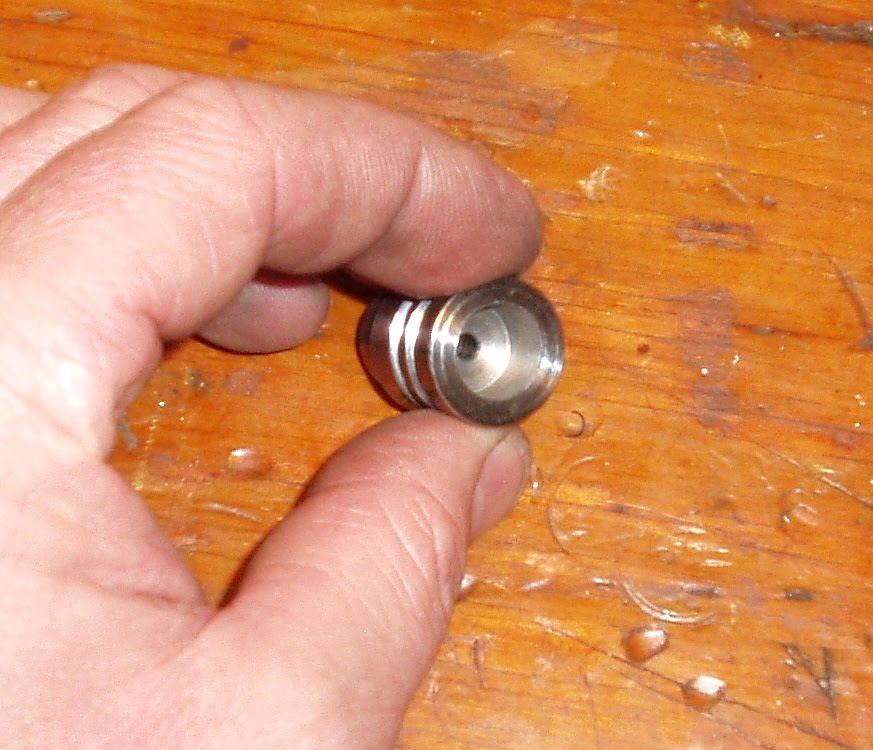
Faced off a scrap of 7/16" diameter brass and turned down an end to 0.122". This will become the check for the valve.

The nose will fit in the through-hole drilled in the plug and keep the check aligned.

Parted it off.

Chucked the gas tube plug and spotted for a larger hole.

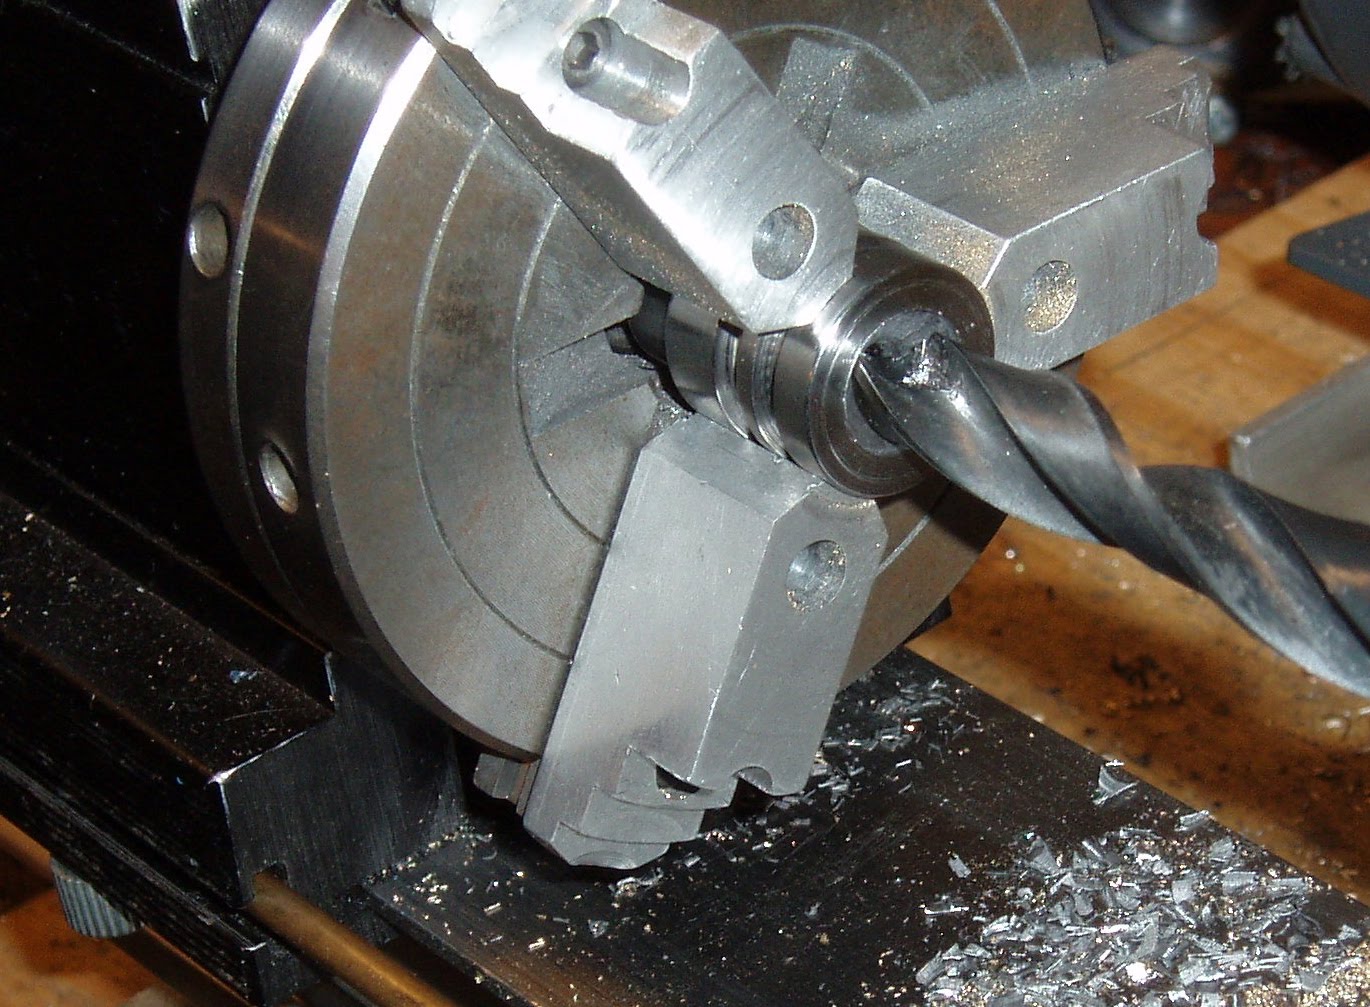
Drilled about .300" deep with a 7/16" bit.

Followed by a small boring bar to bring the hole just larger than the base diameter of the brass check. The check needs to have free movement in the bore of the hole.

Test fitting proved that the check was sticking slightly in the through-hole. Another center drill chamfered the edge of the through-hole and all was well in the world.
The boring bar left a nice, smooth bottomed counterbore. Hopefully, it's smooth enough as it is a sealing surface for the check.

Another view.

Gotta pin the check valve into the plug. Through drilled with my tiny bit friend #52.

Like so.

Found a DT bicycle spoke in the bike stuff. They're forged from 18-8 stainless steel.

It's butted--so that means that it's thicker at each end. I cut a piece off and squared the ends on the grinder. Not shown: Blued the plug.

Installed a #006 o-ring on the check.

Dropped the o-ringed check into the counterbore...

and installed the spokey retaining pin.

Made the piece of spoke just less than the diameter of the plug so the ends are recessed. As usual, I again pressure tested the gun. (One of my napkin cartoon drawing requirements was that the base of the bulk-fill plug be sized to allow use of conventional 12g cartridges in the gun as a back-up power source. Though, only the rearmost cartridge will pierce as there's no piercing device on the bulk-fill cap.) Anyway, the o-ring sealed just fine initially, but tapping the check valve didn't vent any CO2 gas. This meant that there was no way to introduce gas into the gun from the paintball tank. I got some shooting in until the gun was empty, then disassembled the check valve and tried a different o-ring. Same problem. ??? Odd, since I've got several other bulk-fill caps that use o-rings in the check valve with perfect function. So, the o-ring proved to be a mistake and a lot of CO2 cartridges died unnecessarily. I did, however, get to shoot many, many pellets that afternoon while exhausting all those 12g cartridges. So, in that light, it was kind of a good day.

I remembered that I had a small sheet of rubber. It was supposed to be for making stem seals for various Crosman rifles. A 3/8" hole punch and a block of scrap wood should do the trick.

Just like Whack-a-Mole but with even worse prizes.

A 1/8" hole punch makes the hole for the valve stem. I am so low (no) tech.

Took the gun apart one more time and installed the flat seal. Three hours later, it's still holding, venting on demand and re-sealing properly. Fingers crossed, I'll test again tomorrow.
Then on to the next and final part.


