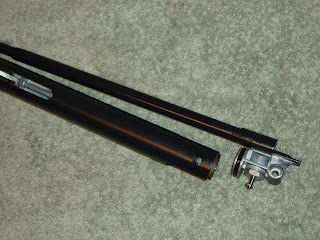
The lesson I've learned: Insert a pin (not a punch, it's too long) to hold the auto safety spring in place so it doesn't spring inside the housing.

As I said, the set screw seems too tall. Perhaps that's keeping it from cocking reliably?

The hole is full of burrs.

So I drilled it out and a bit deeper.

Much better.

I took some time to understand exactly how to reassemble the safety...notice the ball protruding inside. First I inserted the ball and the rubber "spring".

Then I put the end cap on. I have to insert the safety with the flat aligned down.

Here we go...the suspense is killing me...

Notice the pin that retains the end cap is not in place.

The safety pushed home.

Then rotated to pick up the ear on the automatic safety link. The pin was then inserted to hold the cap as well as the safety in position.

I figured I should write down what the two trigger adjustment screws do. A is a screw adjusted spring loaded plunger on the trigger. B is a screw that determines sear engagement.

Location of the screws.

The only obvious problem beyond that setscrew was that the trigger guard screw wasn't, um, screwing in.

Threads are stripped.

Thankfully the threads in the trigger housing were fine.

Rather than spend a half hour making a screw...I found a longer one in my big box of screws.
Would this solve the problem?
Nope...Neither of those two small problems were causing the larger problem of the gun randomly not cocking.

At rest, the cocking lever is centered in the slot...

When I pull it with a bias to the left, it rotates obviously. Just a small amount but you guessed it...if I pull it straight back it catches. If I ride the left side of the slot it doesn't. I don't see why it would matter but it seems to be the problem. I shot repeatedly without it failing to catch. We'll see if that's all it was over time. I can't see how to tighten things up without a huge amount of work, so I'm calling this done. I learned a lot about the Haenels and now it's time to move on...to other damaged, beat up, ugly and abused airguns.


