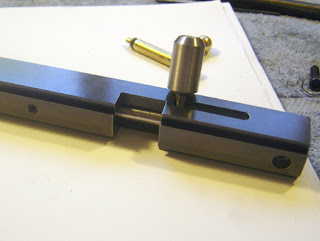
I sawed a 2260 barrel in half.

Chucked in the lathe and crowned.

I decided to see if Cratex would remove the burrs.

Not bad.

The existing transfer port in the 2260 barrel lines right up with the breech.

Cutting the o-ring groove in the bolt.

Chamfering.

Turned to remove scale.

Looks like a bolt.

Finding the centerline and end.

Spotting the bolt handle hole.

So when you remove a drill bit from the drawer labeled "#29", it pays to measure the drill bit before using it...because it turns out that this is a #21 drill.

Counterboring the hole.

Tapping #10-32 for the previously mentioned reason

Ready to thread the bolt handle.

The handle end chamfered.

Turning a decorative bullseye in the end.

Yes, it's a bit chunky and I'm not entirely sold on it. But it is comfortable.

The pistol so far.

3 comments:
Beautiful!
I am somewhat disturbed at times by the bolt moving forward by it self making it hard to load the gun, and I've meen thinking a grove on the end of the bolt with a ball bearing and spring in the breech would stop this.
/Mike S
Mr Carter
Thank you for taking time and trouble
to run this blog, it is very informative and well explained.
Keep up the good work.
Kind regards
Tomislav
Mikael,
Drill a small hole in the rear of the bolt and install a rare earth magnet.
http://anotherairgunblog.blogspot.com/2009/03/magnetic-derricks-crosman-bolt-hold.html
Works just dandy.
Derrick
Post a Comment